
Unity learning notes
Universal Render Pipeline(URP) setup
- project manager-universal RP install
- Create a urp asset in Assets
- put urp asset in the project settings
- convert original materials using the render pipeline converter
testing materials
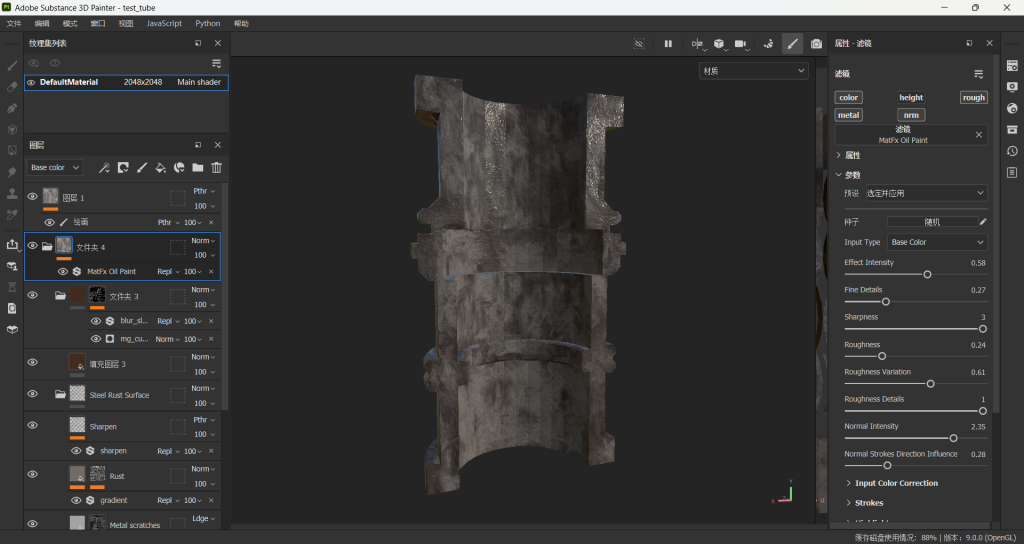
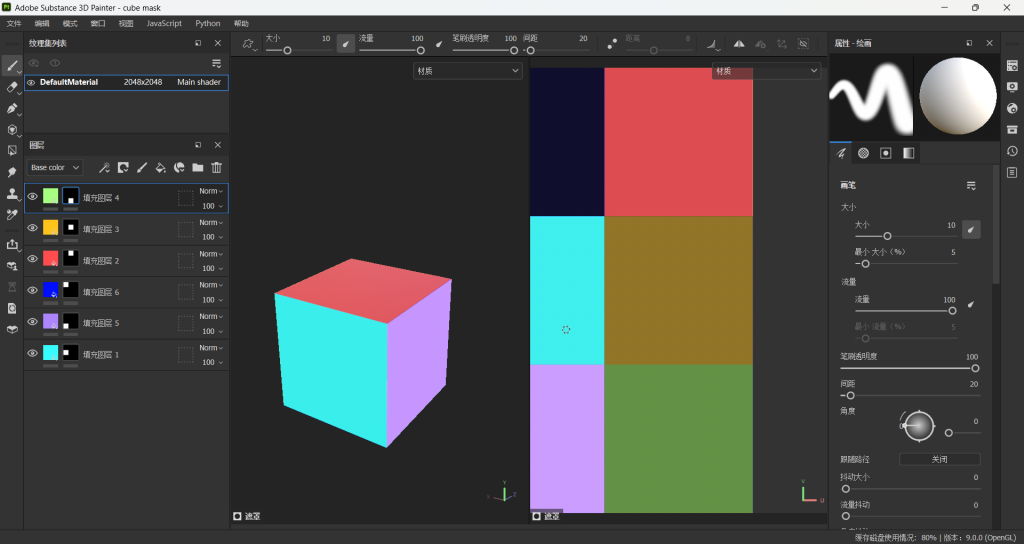
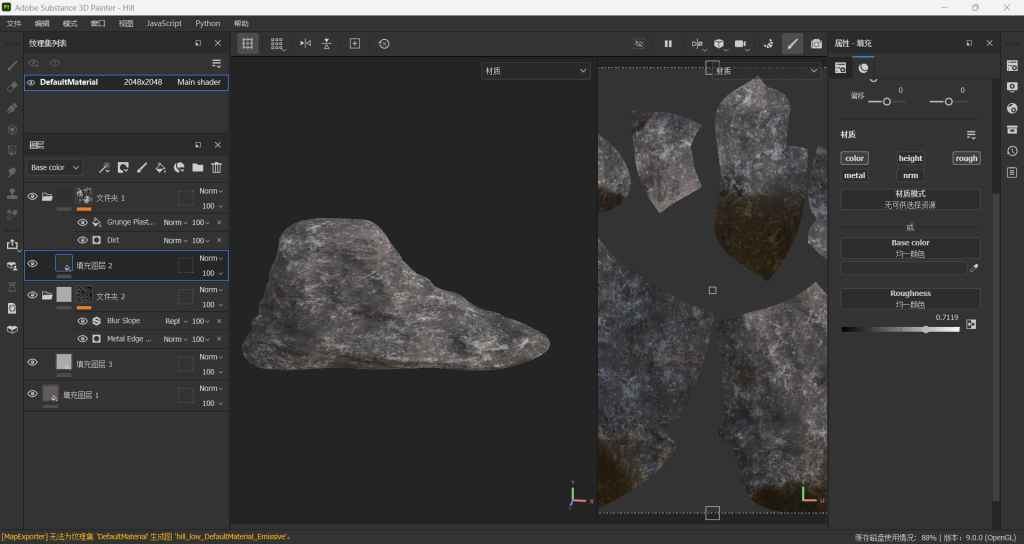
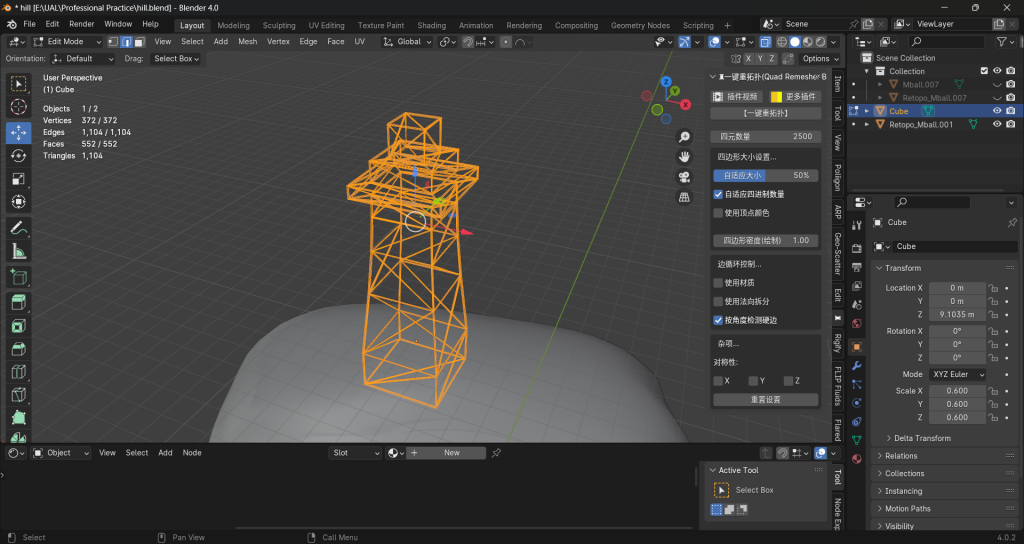
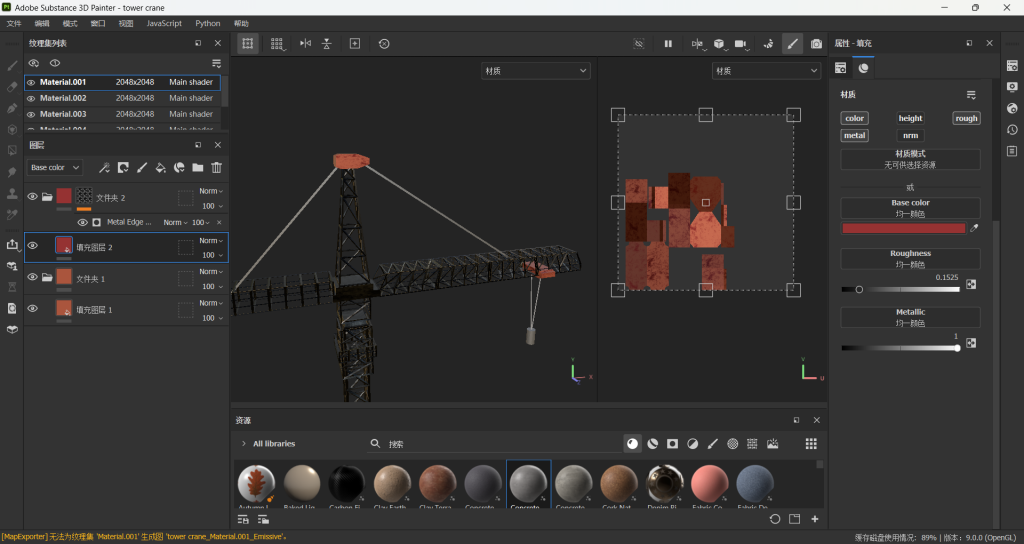
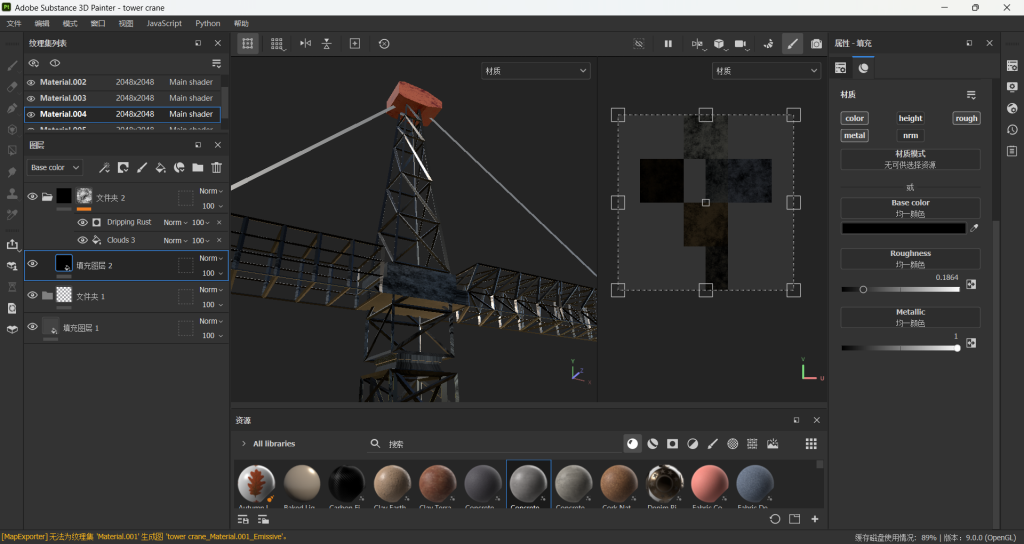
-after modelling and doing the uv in Blender, making the PBR texture in substance painter
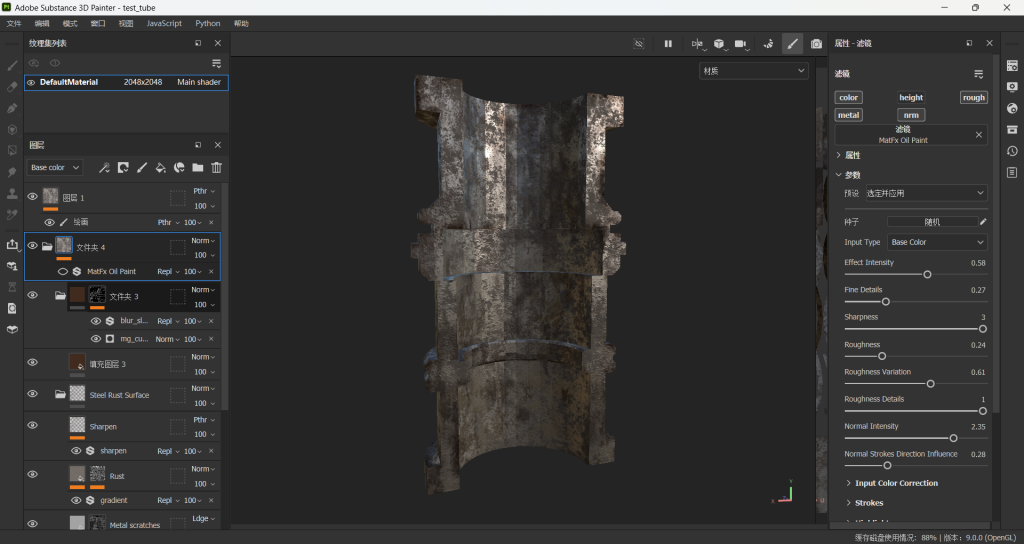
using the MatFx oil paint filter to reach the effect of oil paint
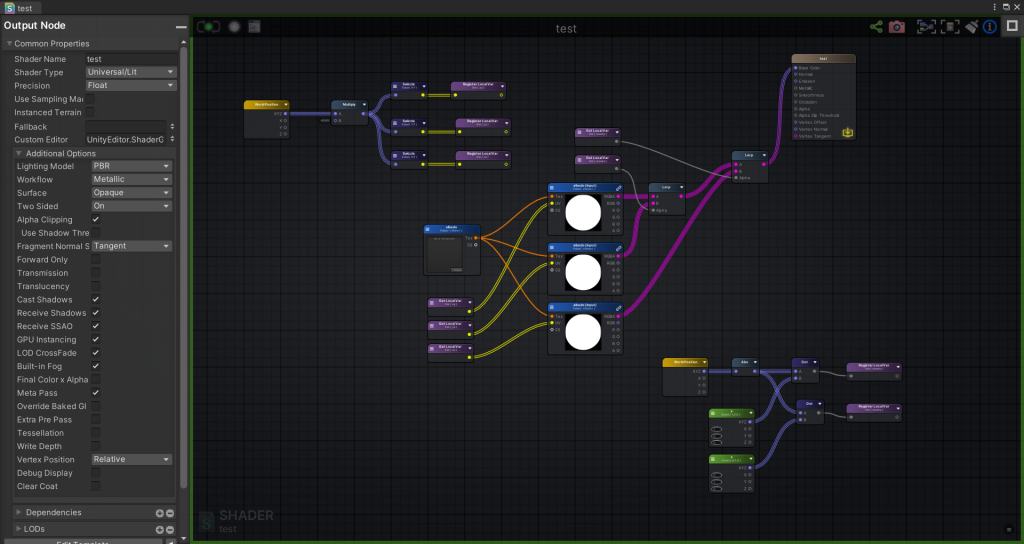
– shader graph under urp
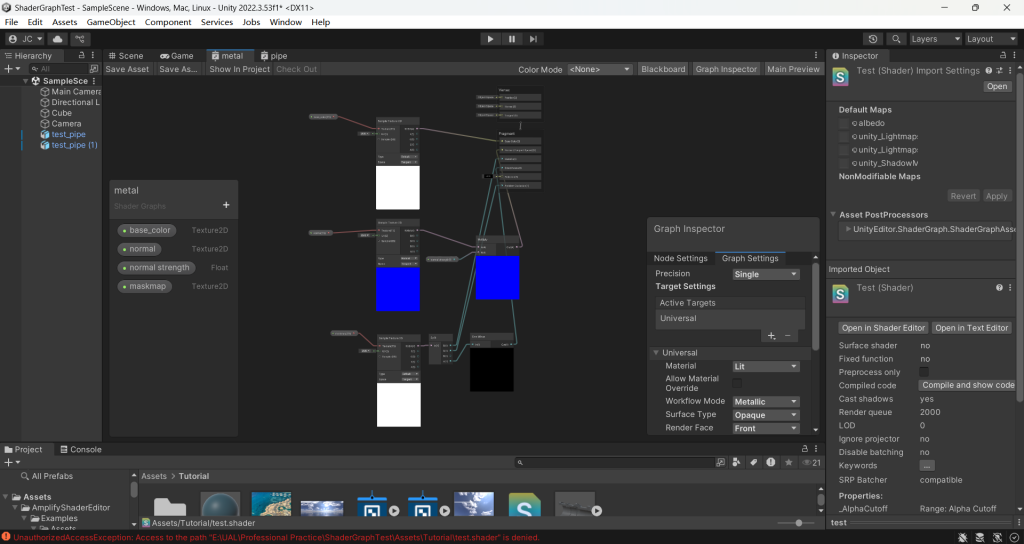
ASE tri-planar mapping material
problem I met:
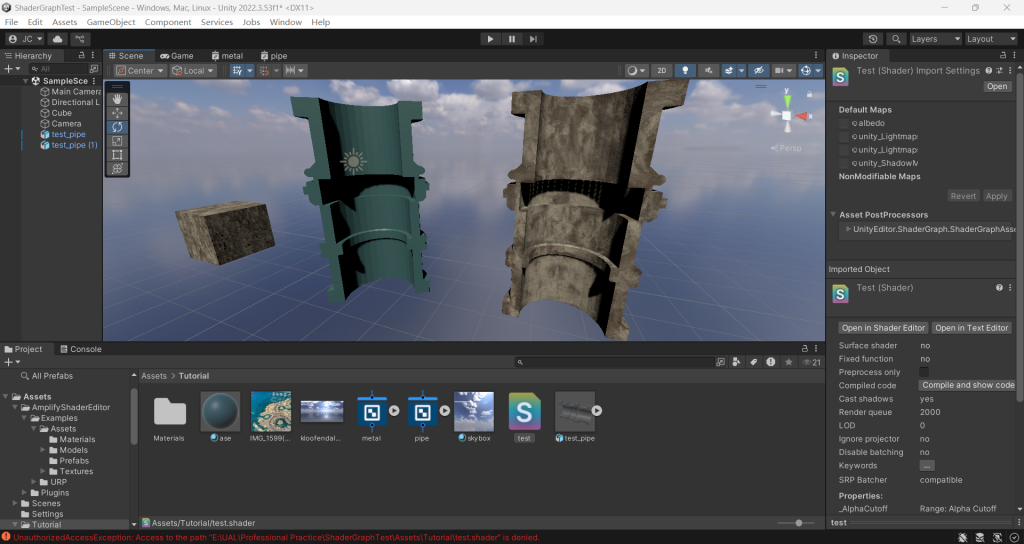
whole material is shown in one color
solution:
put a value in those vectors so it can display normally
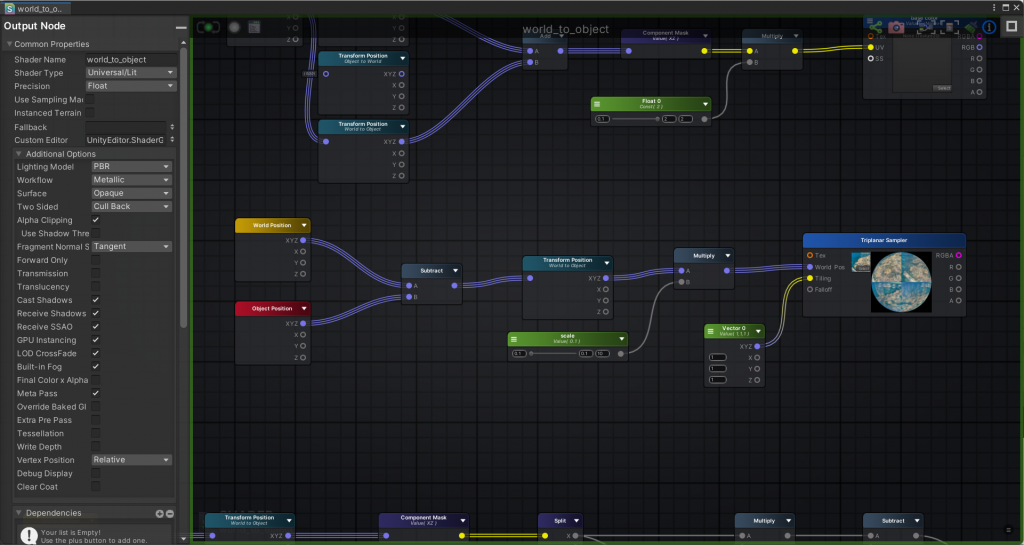
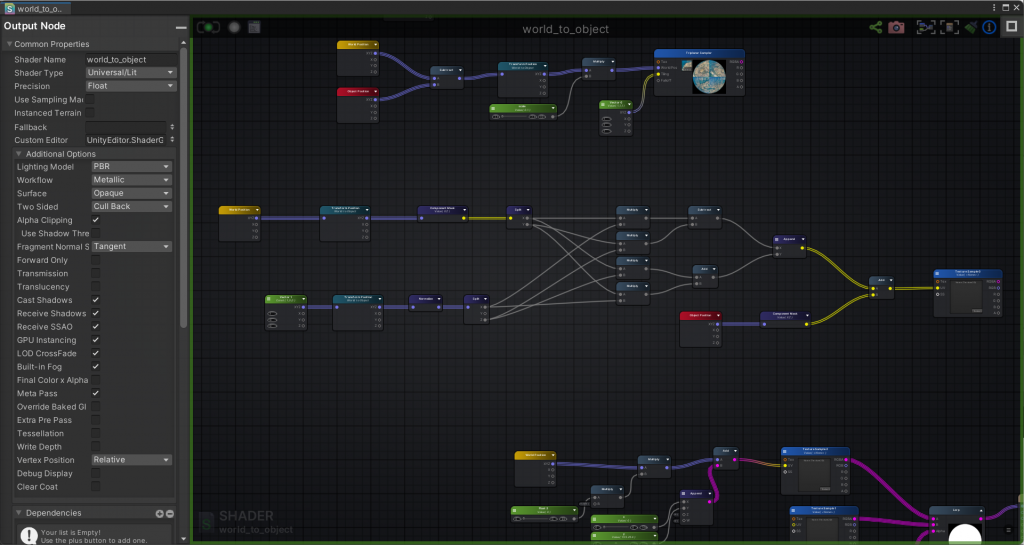
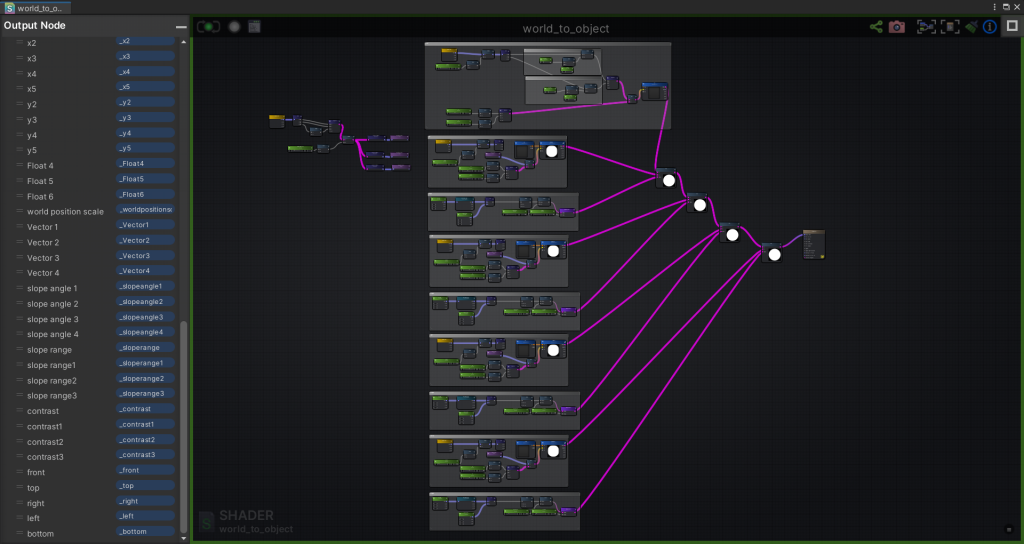
world position mapping texture convert to object coordinate texture
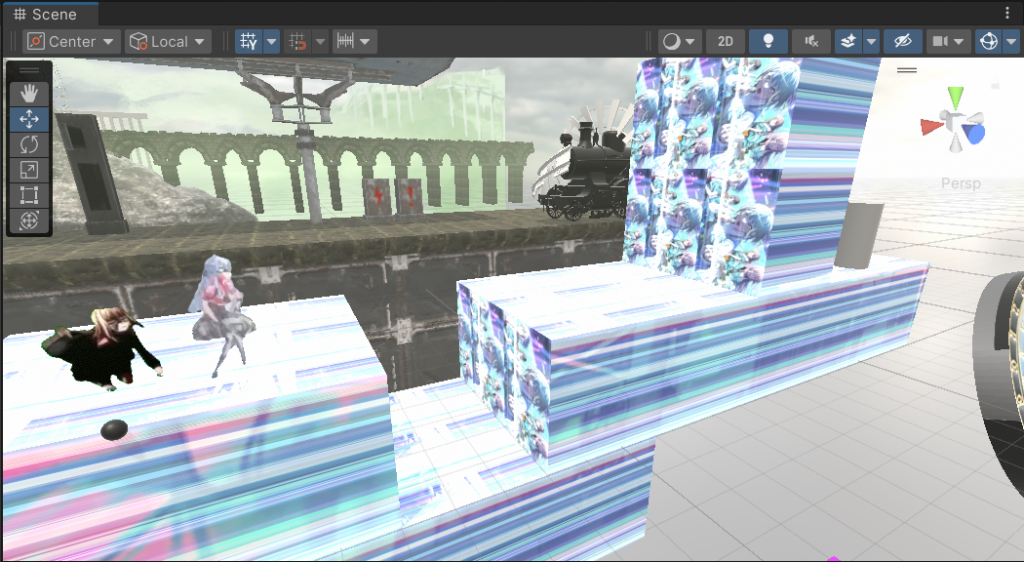
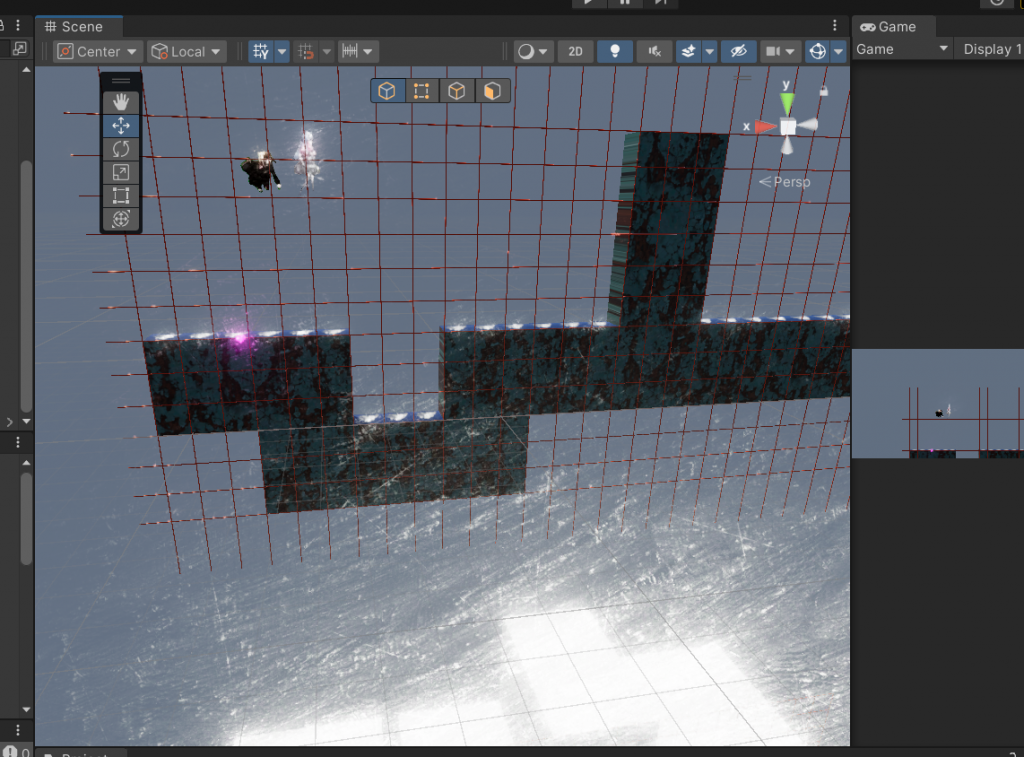
What we want to do is not showing the players a map full of repetitive images, instead, I want the cube part looks like a whole big image. This needs to use the world position mapping. But our mechanism is rotate the cubes and fold the space. I don’t want the textures stay still when the cubes are moving, thus I need to use the world position first, then convert it into object mapping.
3 failed plans
I tried to use the component mask to avoid it from moving, but obviously this way of thinking is not correct.
The I tried to use the world position to minus the object position. I think this subtract could stop the texture moving when the object position is changing. But this also didn’t work.
I tried some more complexed math between world position and object position and hope it can fix the image on the cube, but it’s not working neither.

I asked my friend, and he said maybe try to combine it with the programme. When the cube is still, use the world position. Test when the cube moves and fix the texture on it. He gives me some inspirations.
And I aked another friend after that, he is good at programming but can’t write shader. He’s idea is to create a new material for each cube using the script, and tweak the uv tiling and scale to make it show in the right place.
As I can’t solve the problem only using the shader, and I am learning more about unity technical art at the sametime, I decide to combine them together.
When I am browsing the information about the camera in Unity, I found there’s a tool called render texture which need to work together with camera. It can outputs the current camera capture in real time and generates a texture map. Combining all existing ideas and available tools, I think the most feasible way of reaching the effect is doing a fake realtime bake.
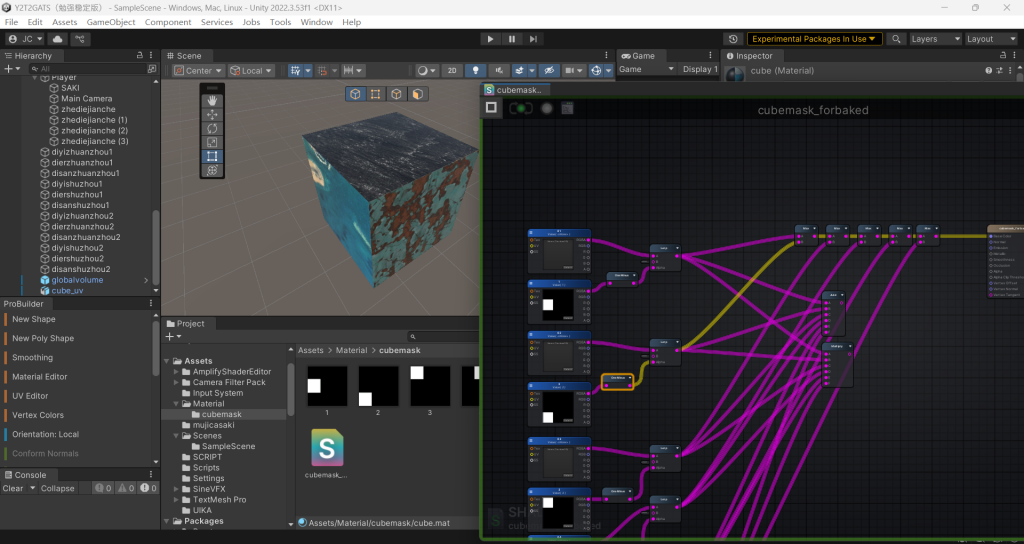
Firstly, make a world coordinate mapping map for each of the six faces inside the shader. When clicking play, use the code to generate an orthographic camera facing that surface vertically in front of each face, and have them generate a render texture for the current surface.
Write another new shader for object local coordinate mapping. Use a mask to limit the position of the texture, and then use the script to have those previously generated render texture pasted to the corresponding position. This simultaneously satisfies the visual effect of world coordinate mapping and works with the game mechanics to achieve the effect of the map being folded while the game is running.
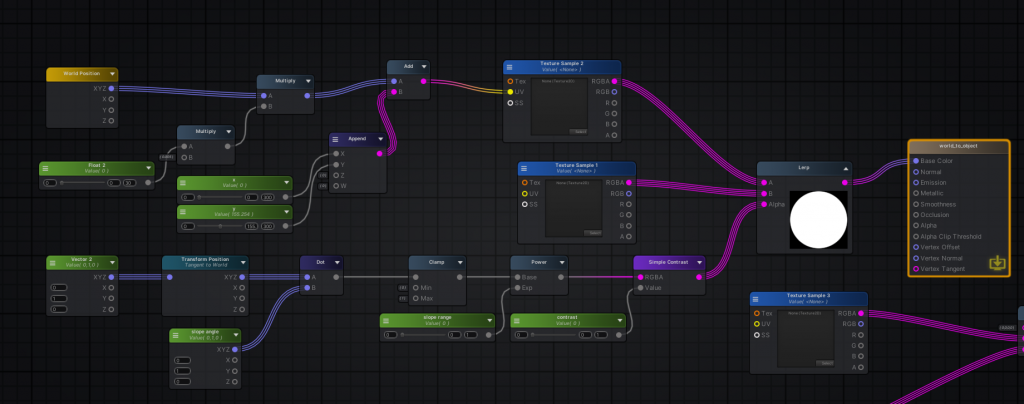
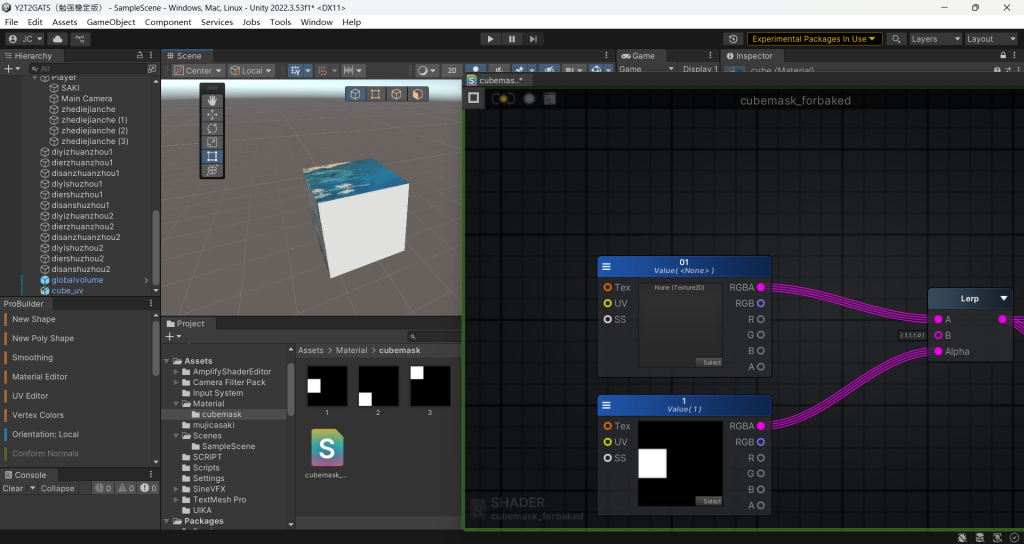
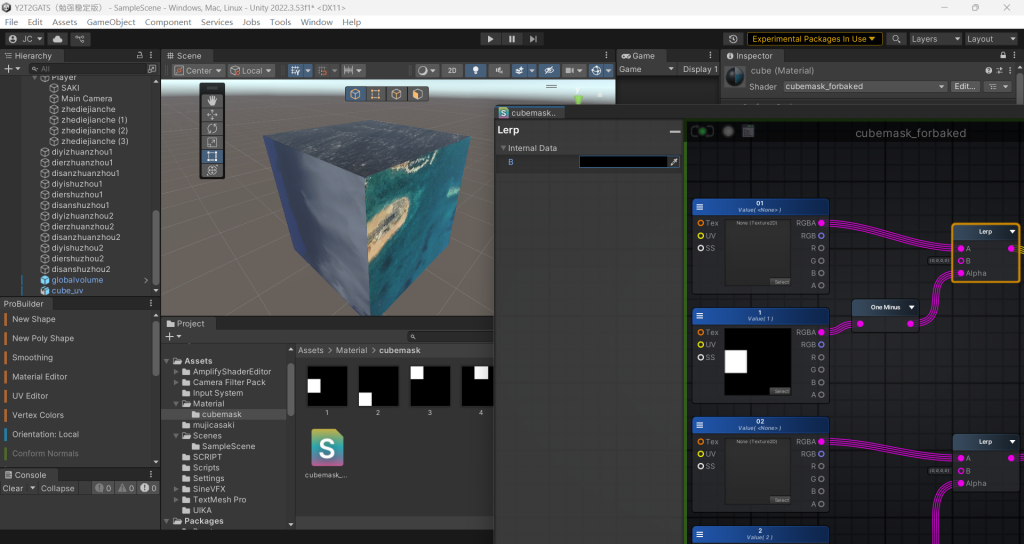
This is the face that face the players. I use the world position for this shader. I do some multiplications and divisions on it to correct the scale. Then use this location as the UV of the texture sample. This is only one face, I didn’t figure out what to write for the shader for the remaining five faces yet, so I put in a texture sample instead, then merged it with a lerp node, and used a string of nodes to control the position of the mask at the location of its alpha channel. This allows us to adjust the display position, slope, and contrast attributes of the two maps entered by the current lerp node.
instead of split and combine the attributes of the world position every time, I use the hack I learnd in writing that tri-planar mapping material. I register 3 different component masks and get them whenever I need in the next steps.
I finished two faces first. For the third one, I don’t know how to combine it with the first two initially. I tried add and max, but I found it can’t work correctly. It will be overexposed.
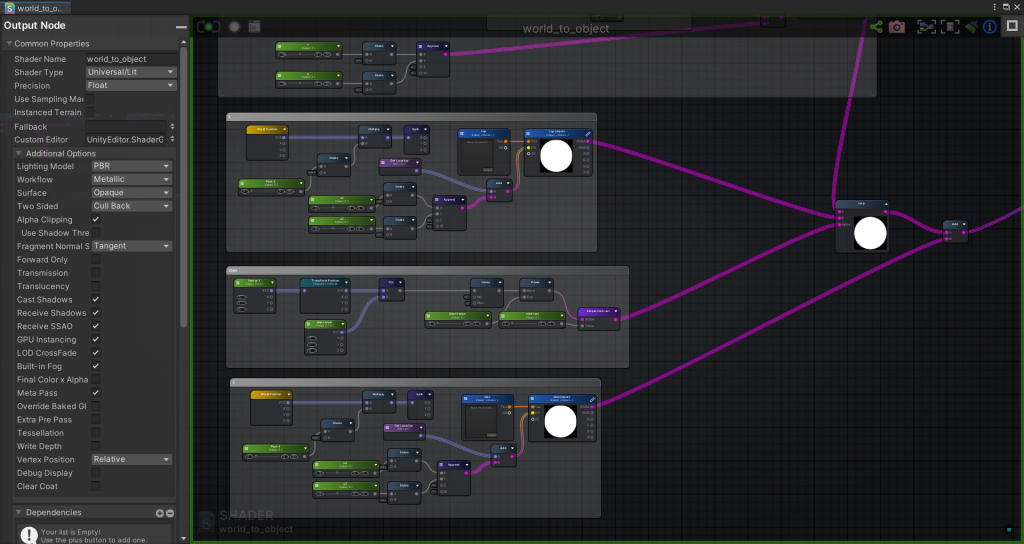
I wanted to solve this in a easier way to give the programme less pressure. But I found I have to replicate the mapping and alpha channel for the lerp every time to adjust which face it’s gonna show on and lerp them together, in order to avoid them all show on the same face and add together. Thus this shader gets tons of adjustable properties.
Shader for temporary baked material
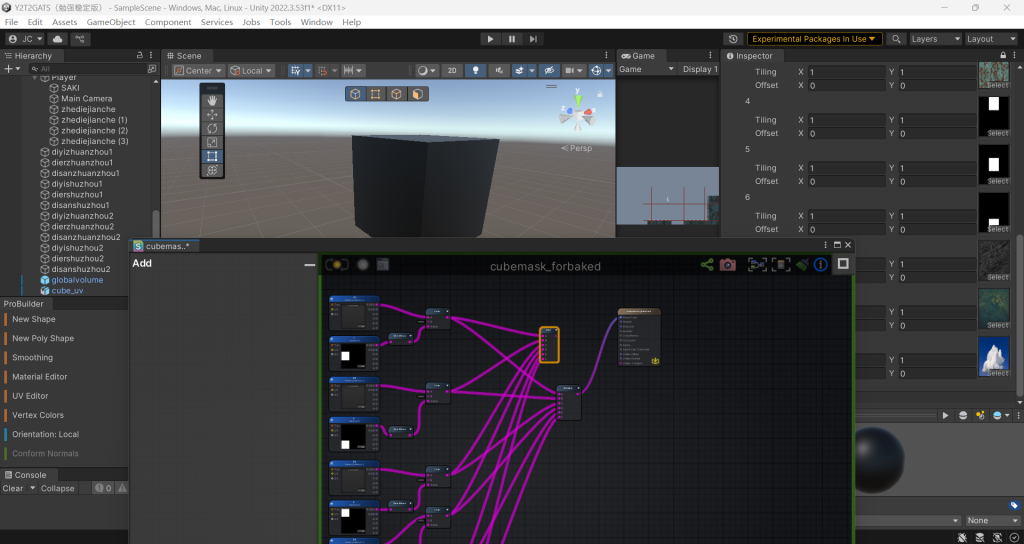
I unwrap the uv for a cube and make a mask for each face on the cube. Then make a shader in Unity to limit the texture.

I try to use add to combine 6 faces together, but they become brighter and brighter on each face.
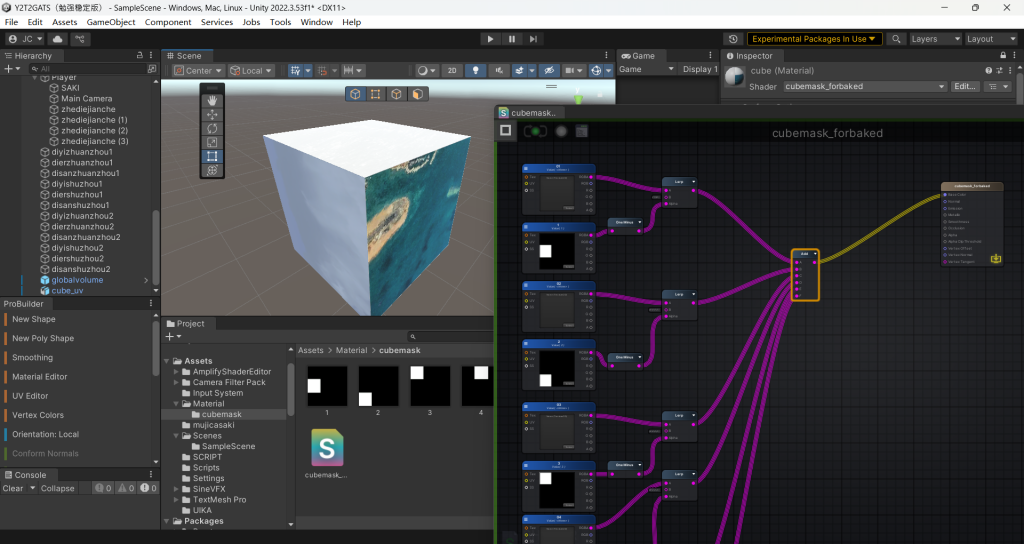
I also tested multiply, but everything will turn black
max also can do this effect and avoid overexposure
Props

Stylised shader test
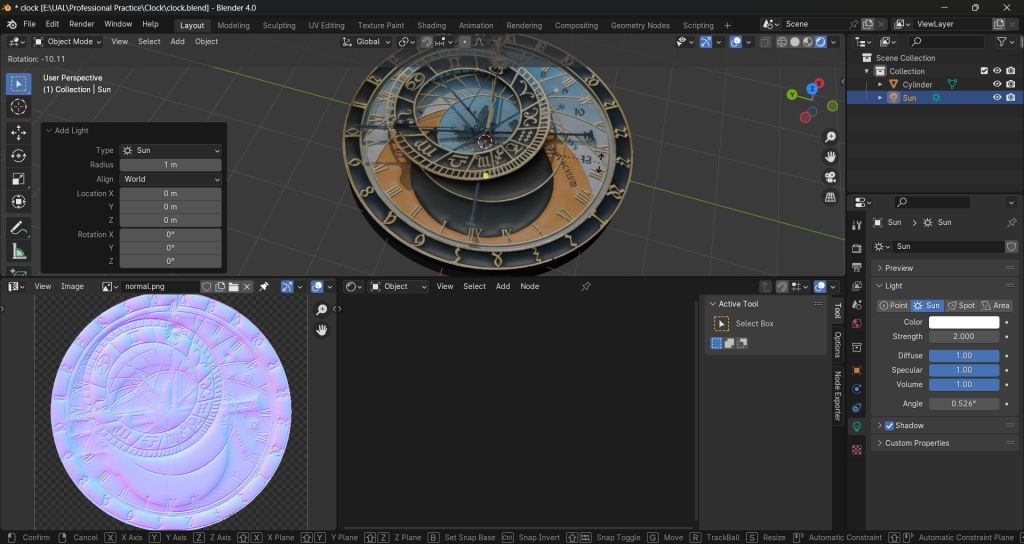
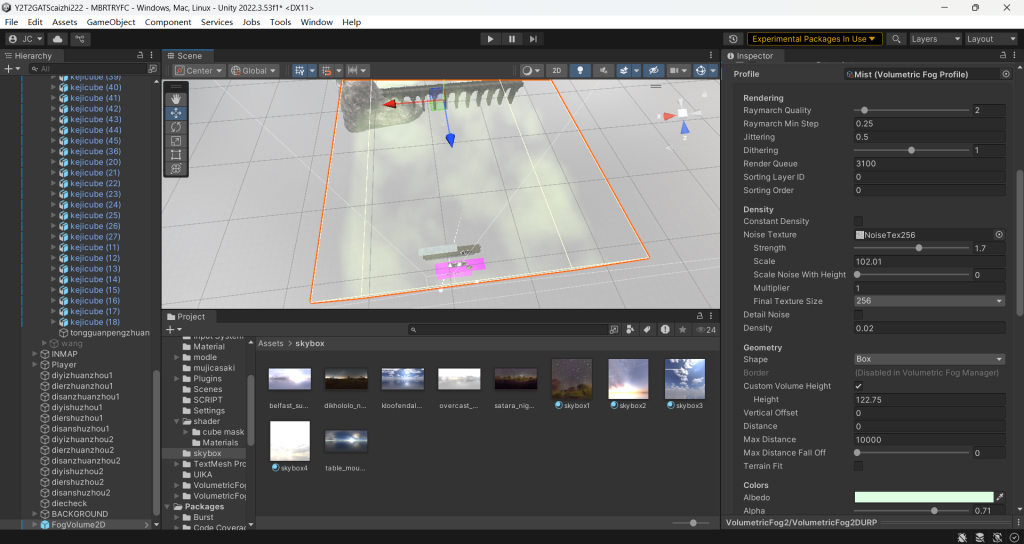
Skybox, Lighting, and Fog
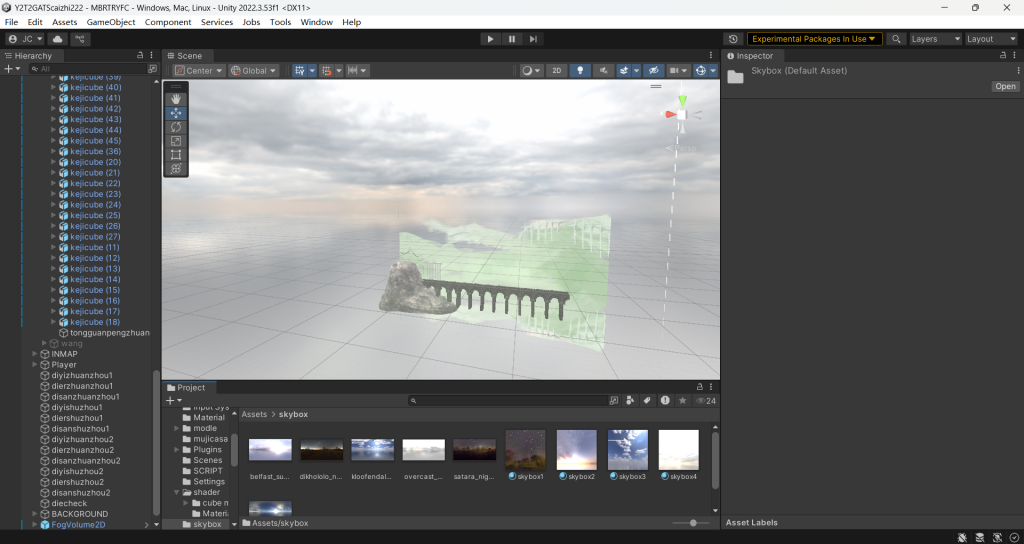
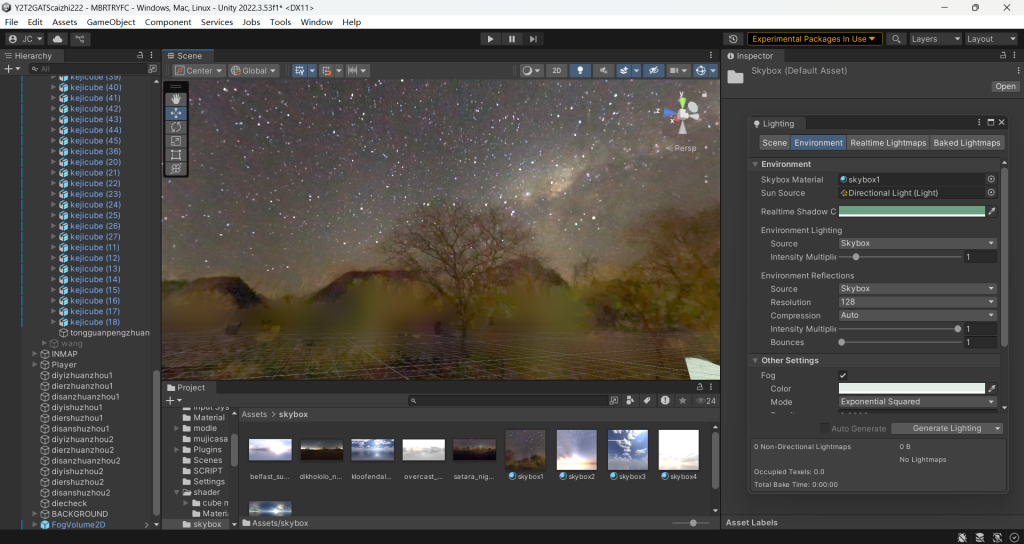
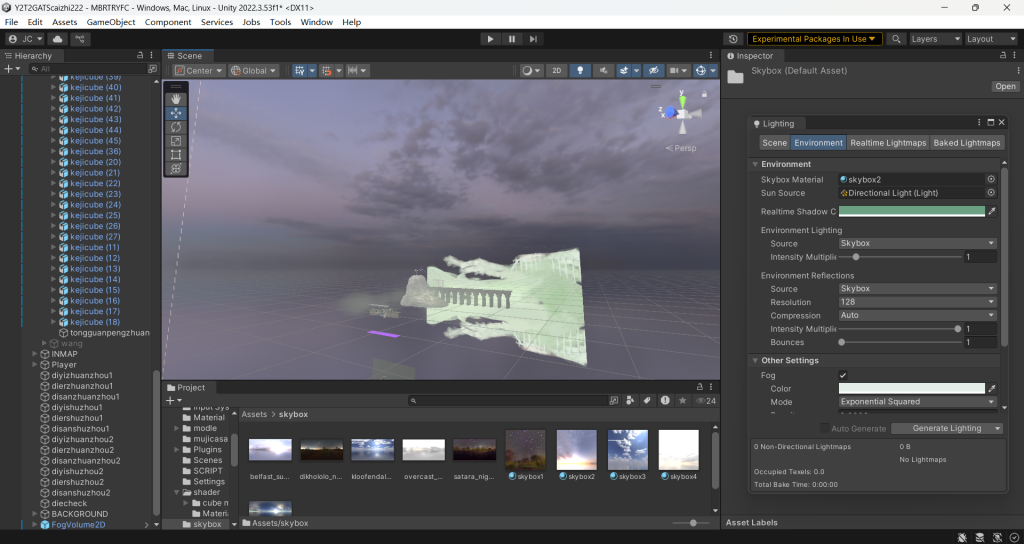
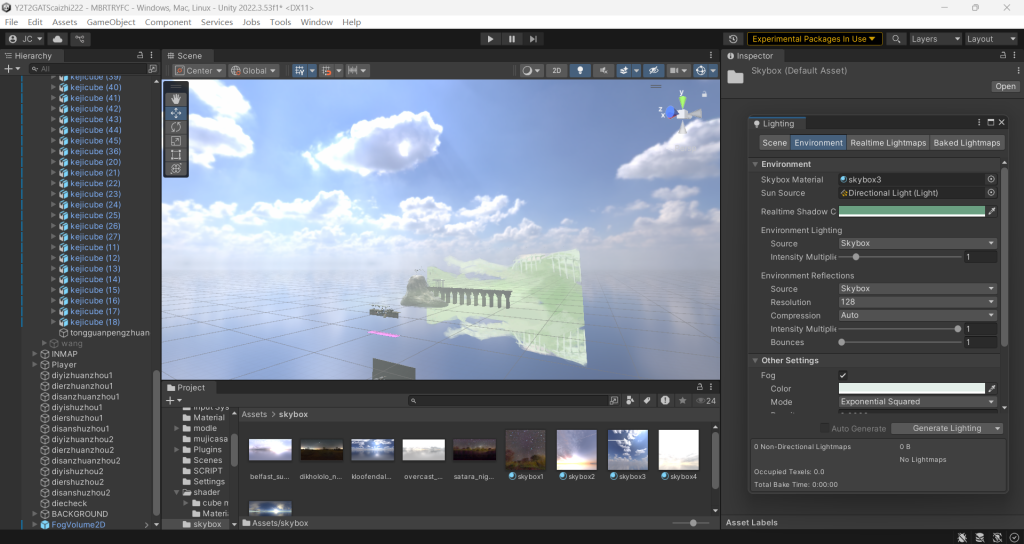
default fog
it makes background objects shown as solid color, which doesn’t give a good effect.

so I use a volumetric cloud bundle, which can create fog using noise texture just like in Unreal. It has many adjustable attributes. I’ll tweak them to the tones of the different concept art for each map scene.

Post processing test
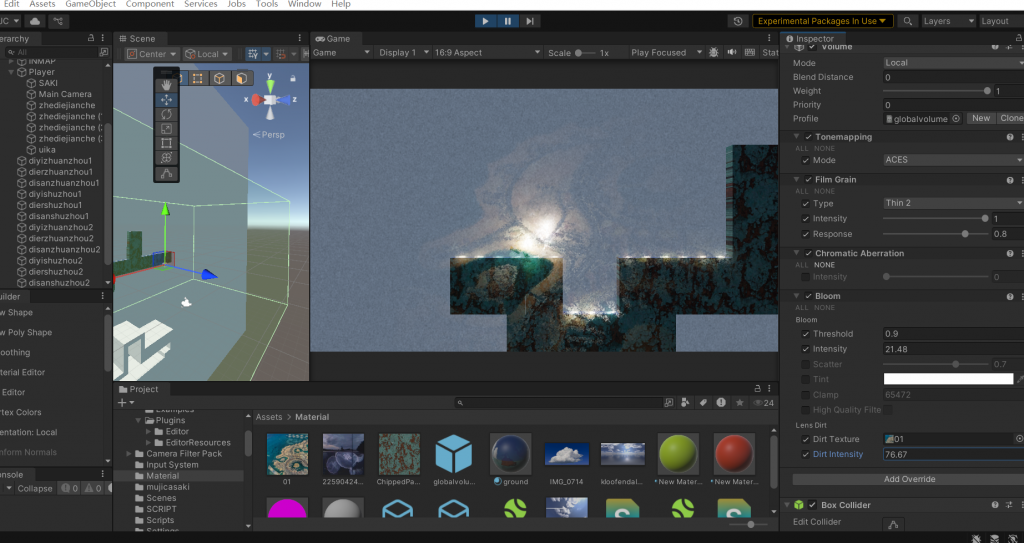
Atmosphere for all Levels