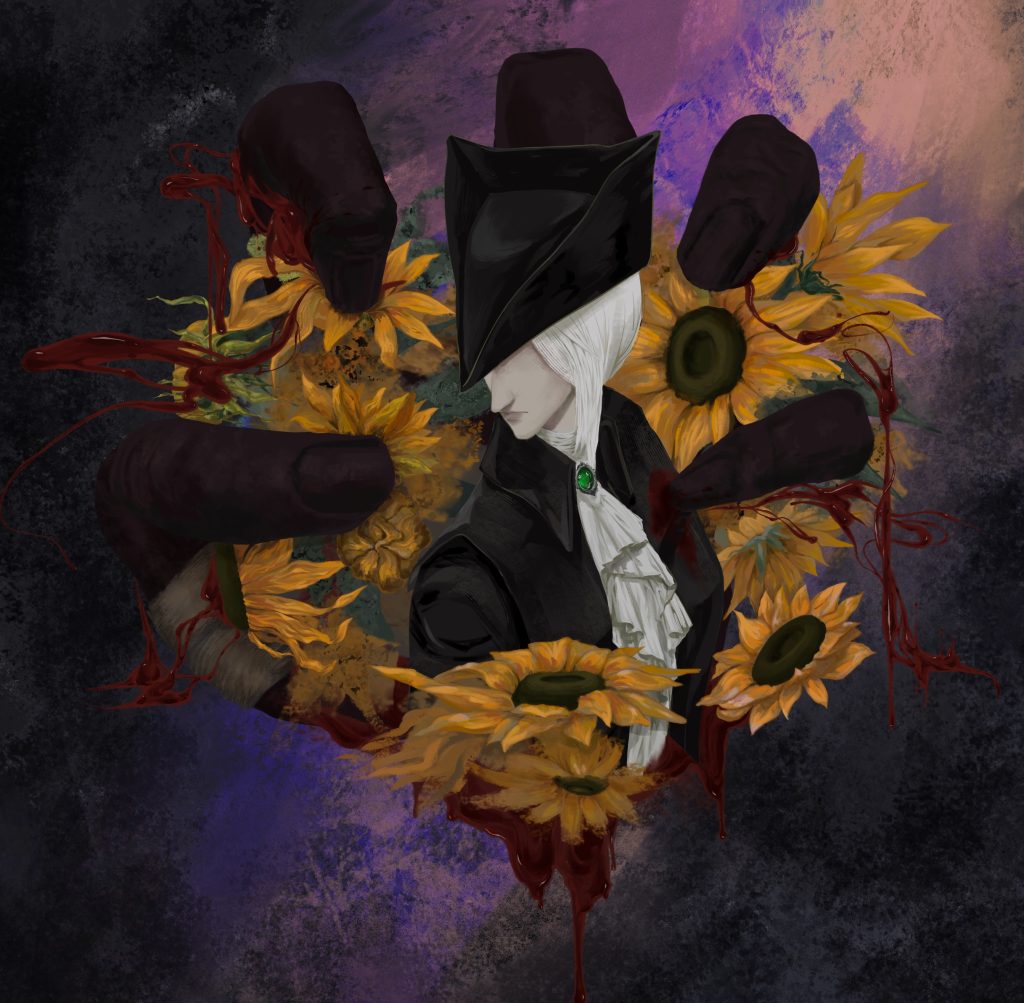
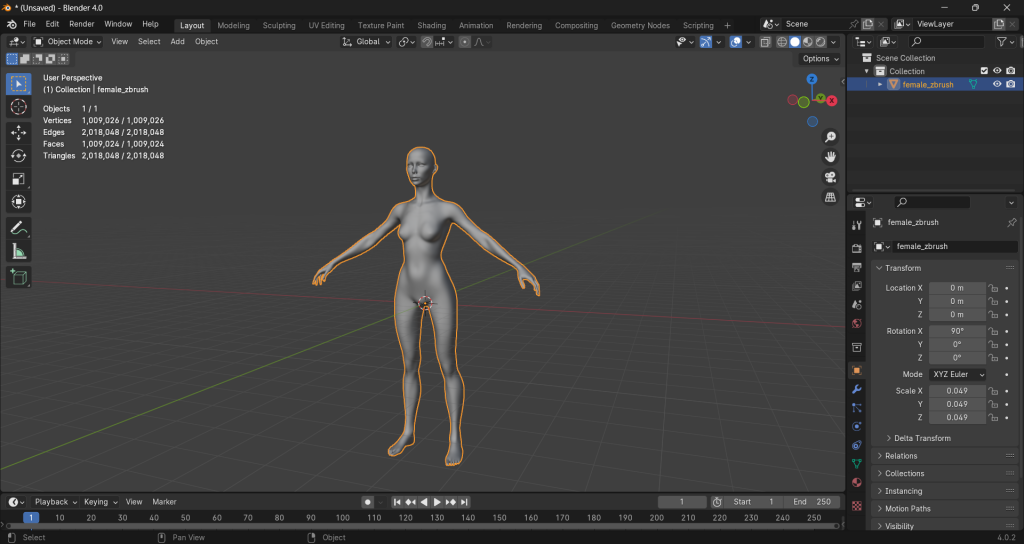
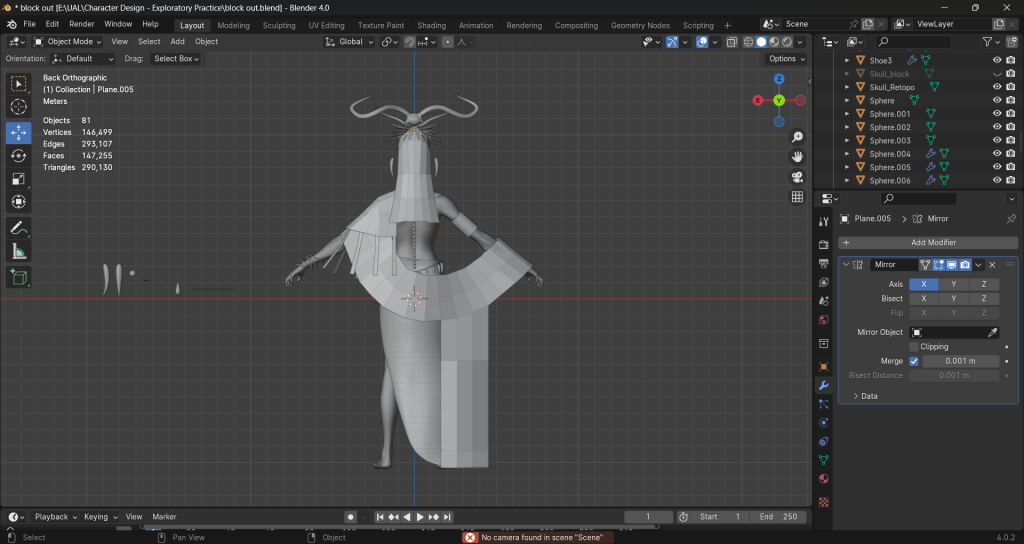
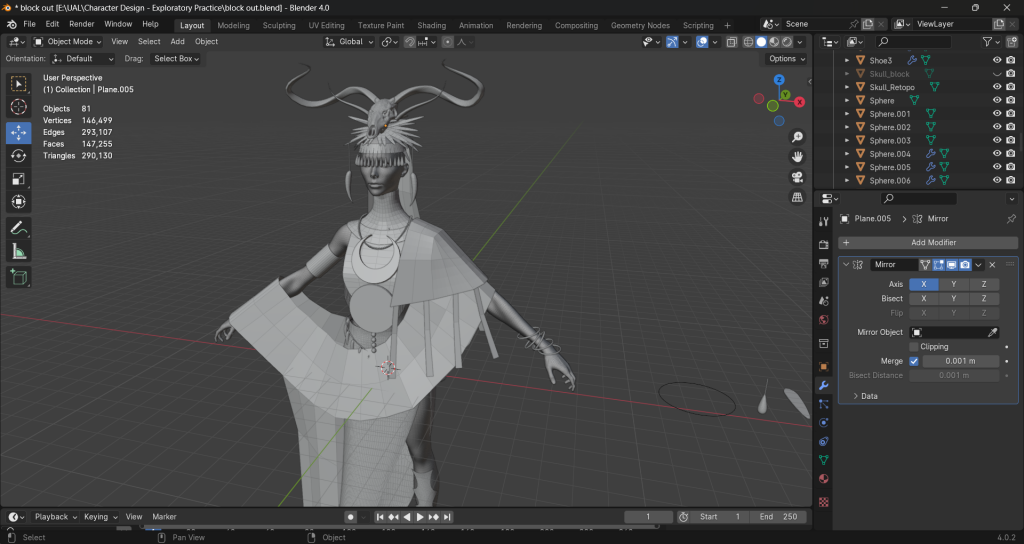
Block Out
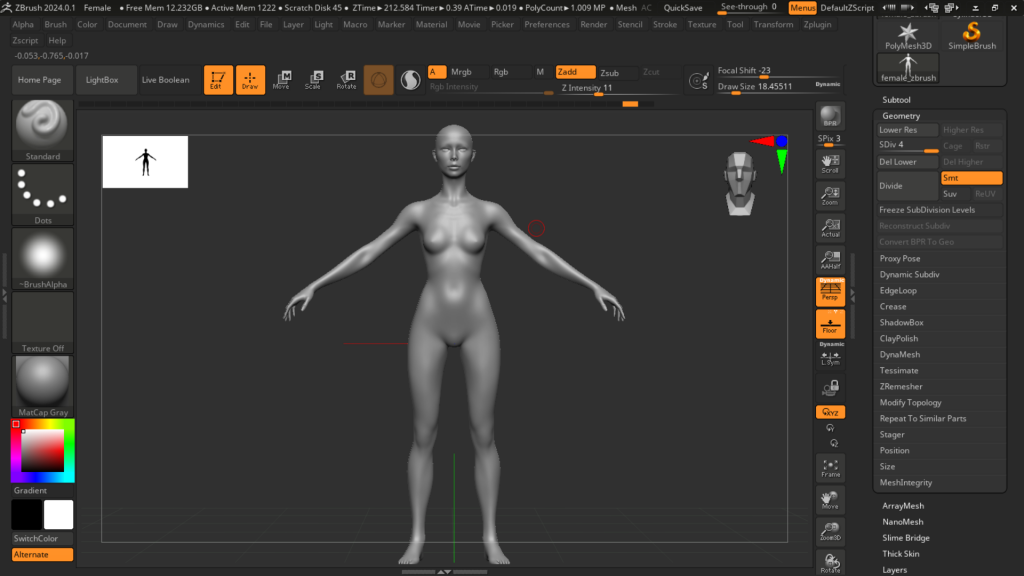
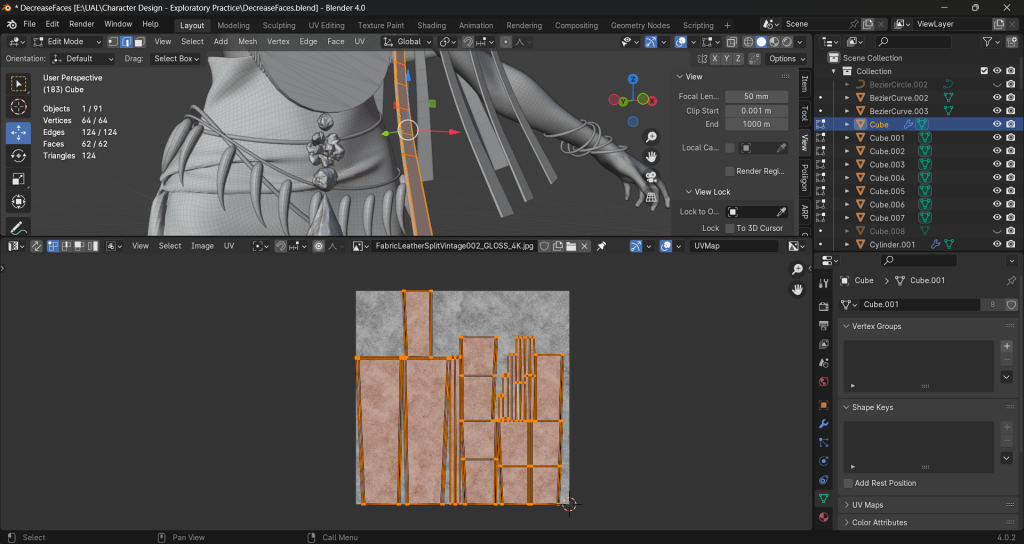
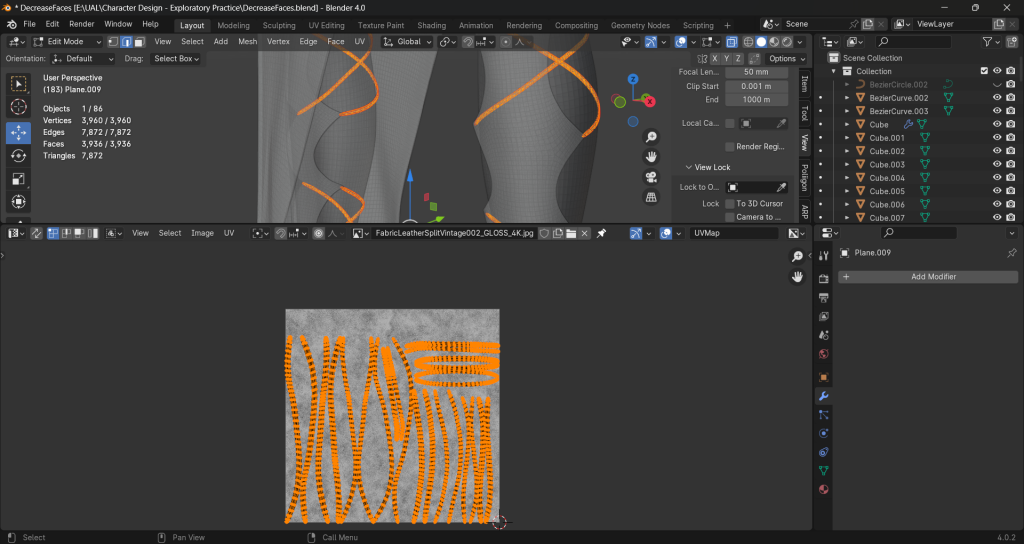
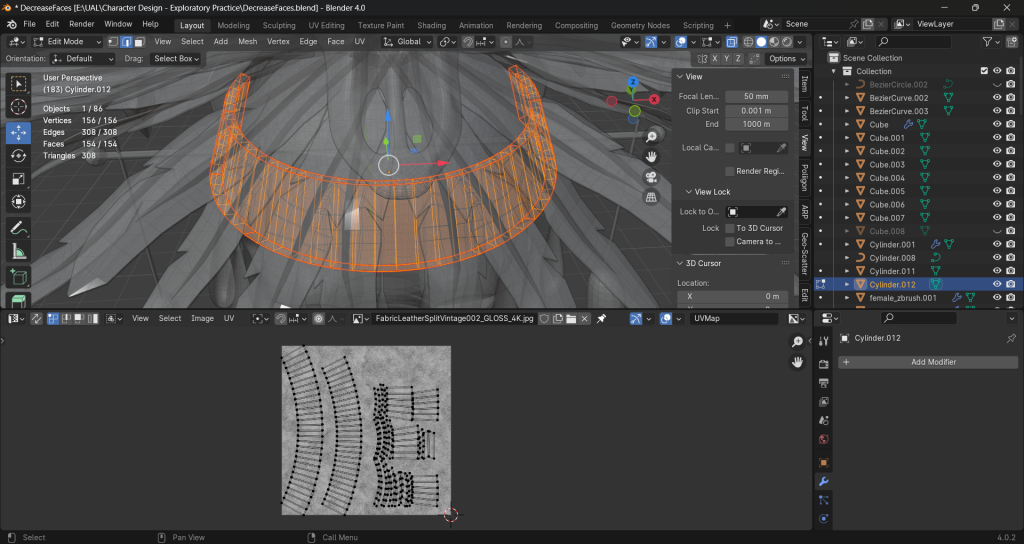
I found it has too many faces
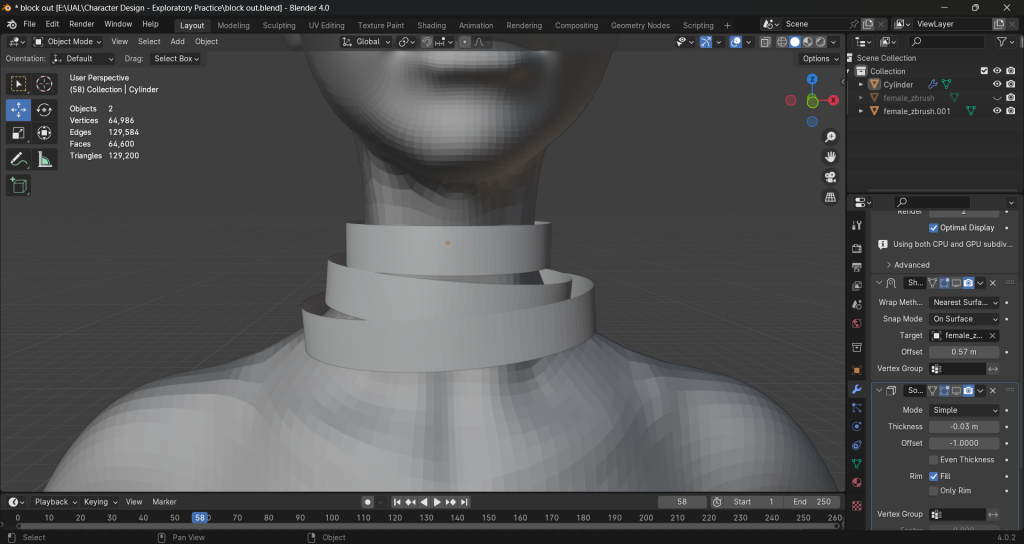
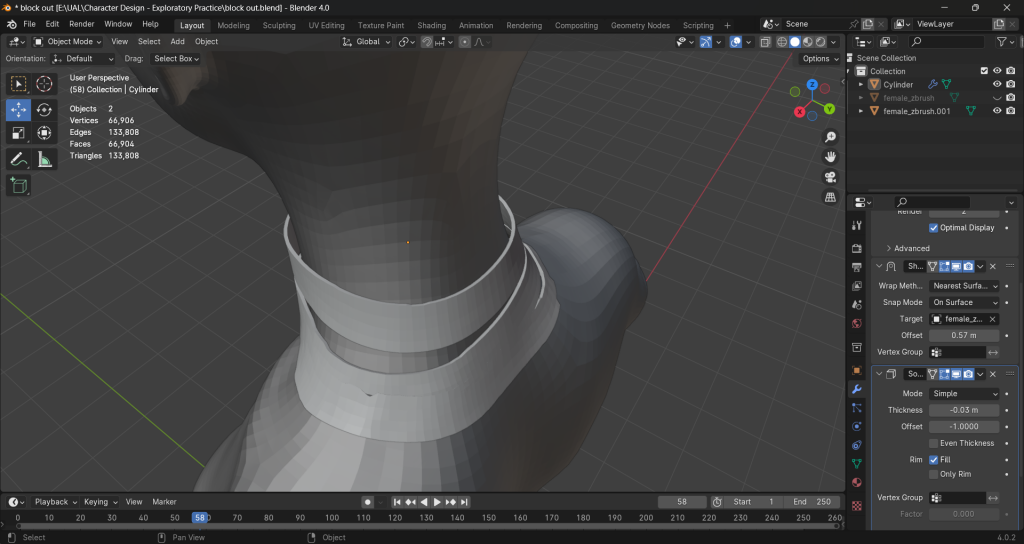
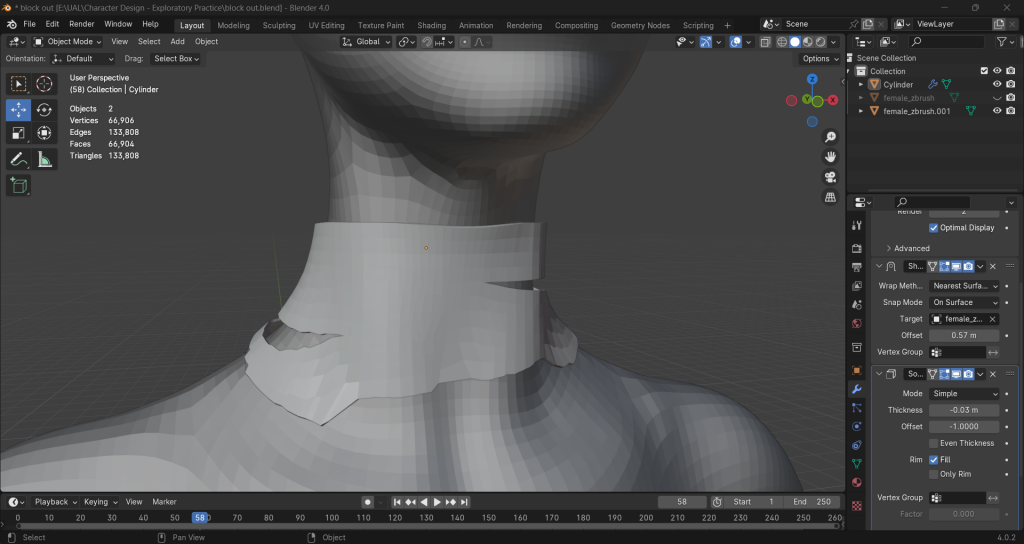
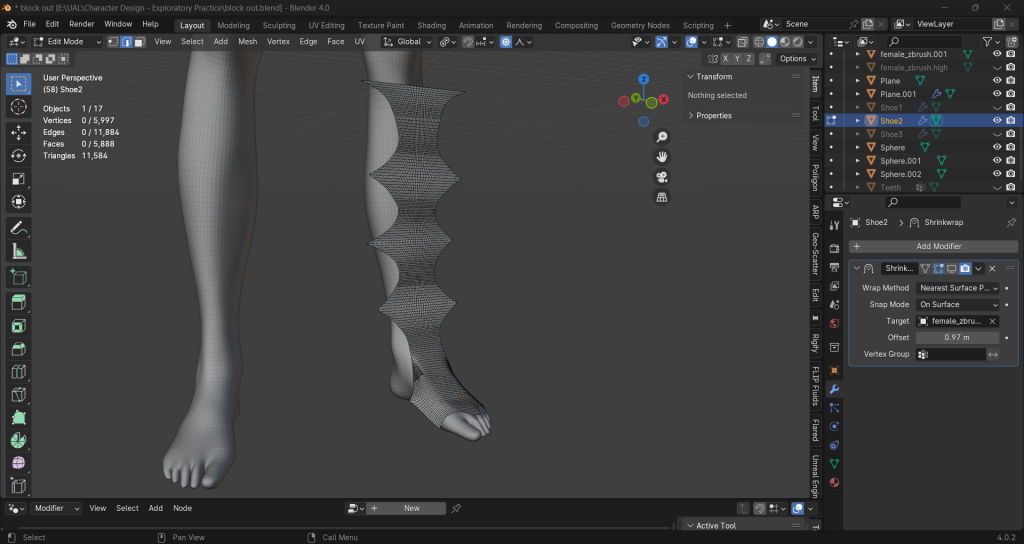
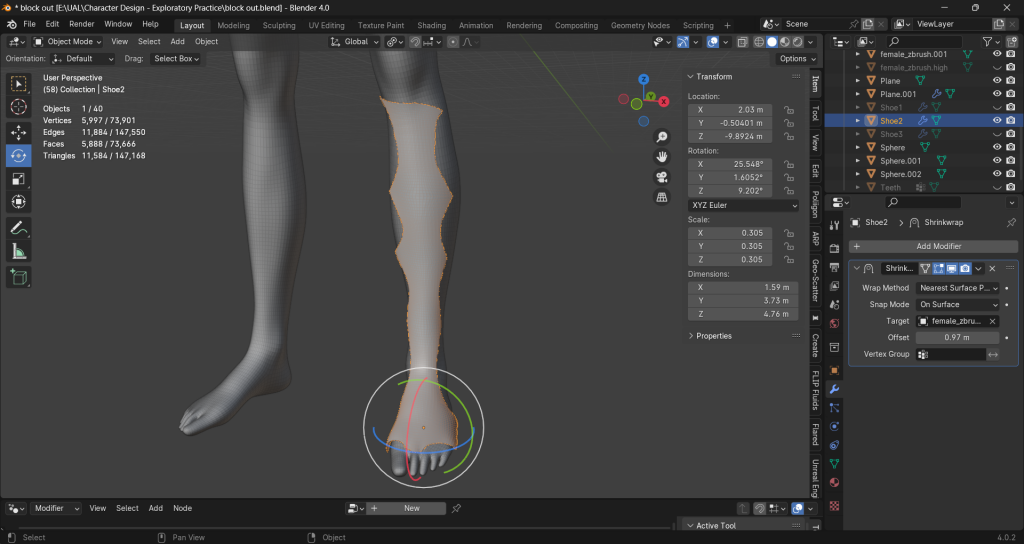
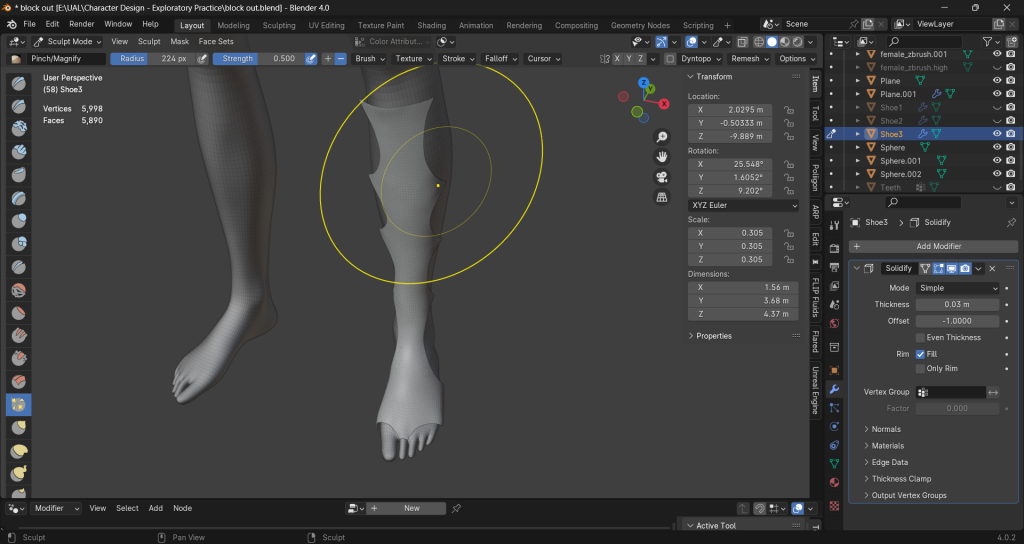
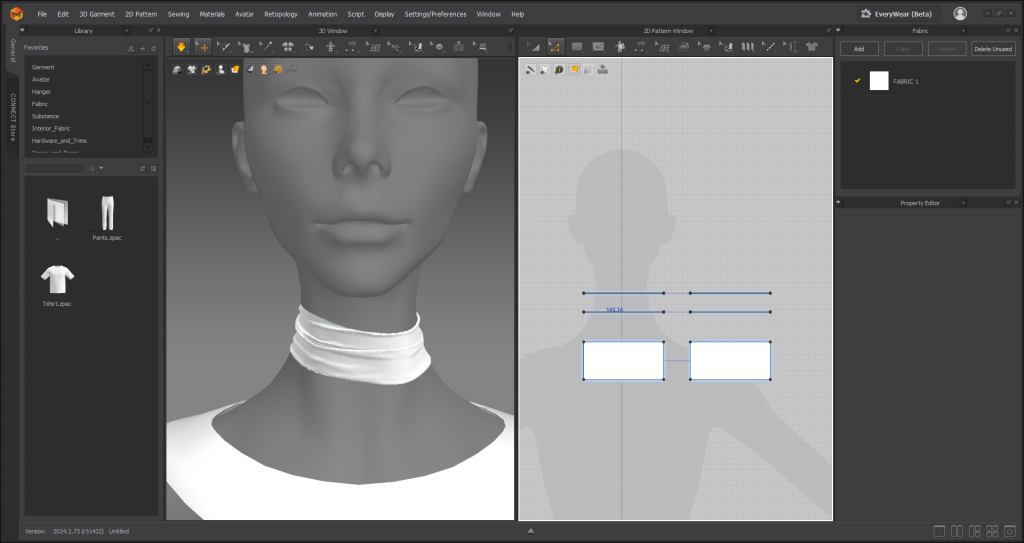
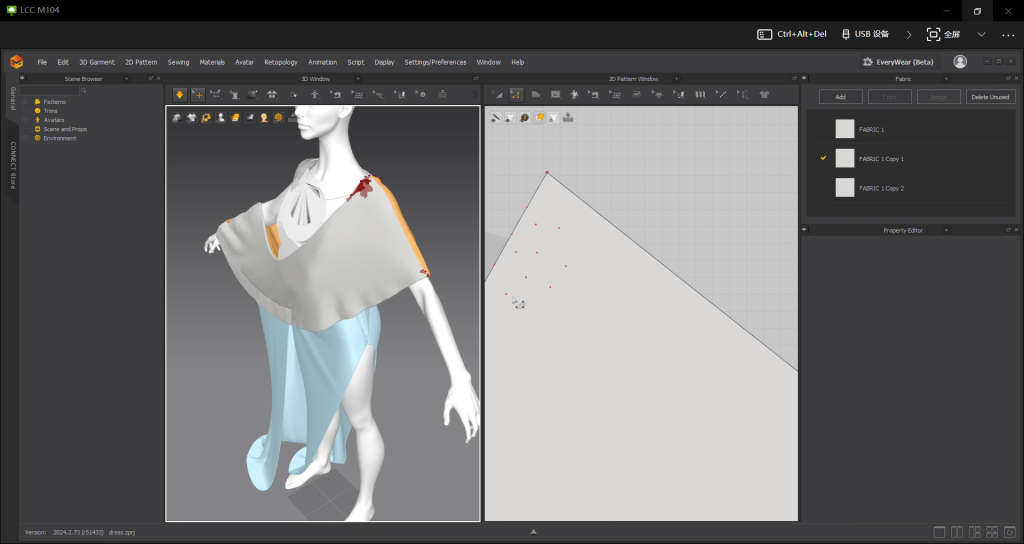
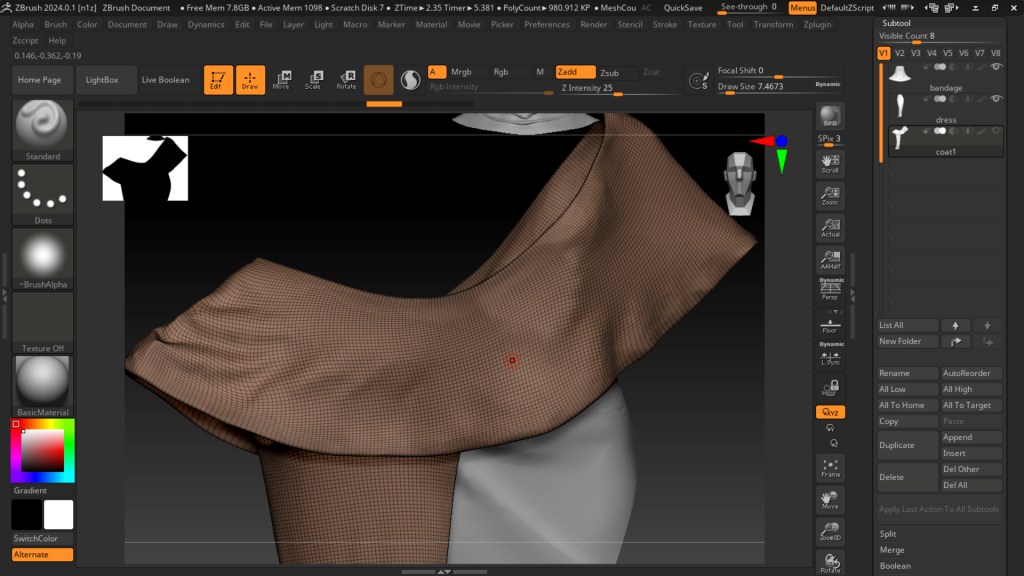
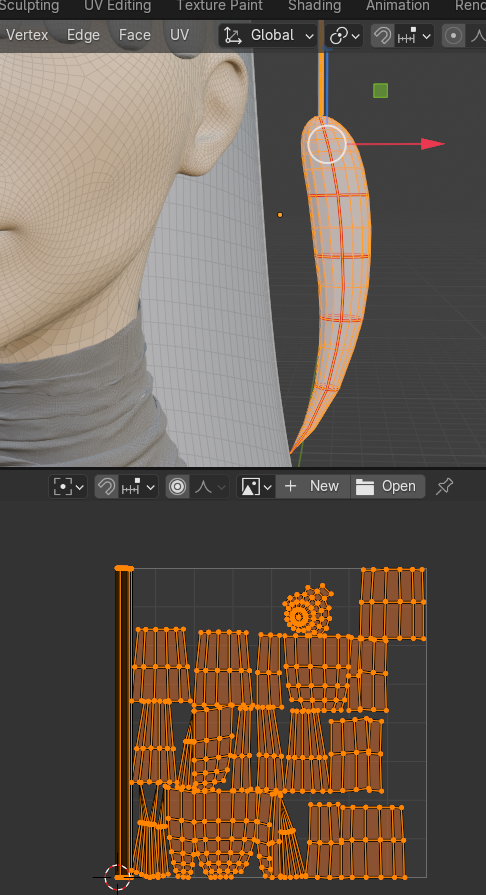
bandage
first, I tried to use three cylinders to make the bandage. Then I added a shrinkwrap and a solidify modifier. This method doesn’t look very nice, because the shrinkwrap might cause some errors and the bandage will not overlay each other, instead, they are all in the same layer.
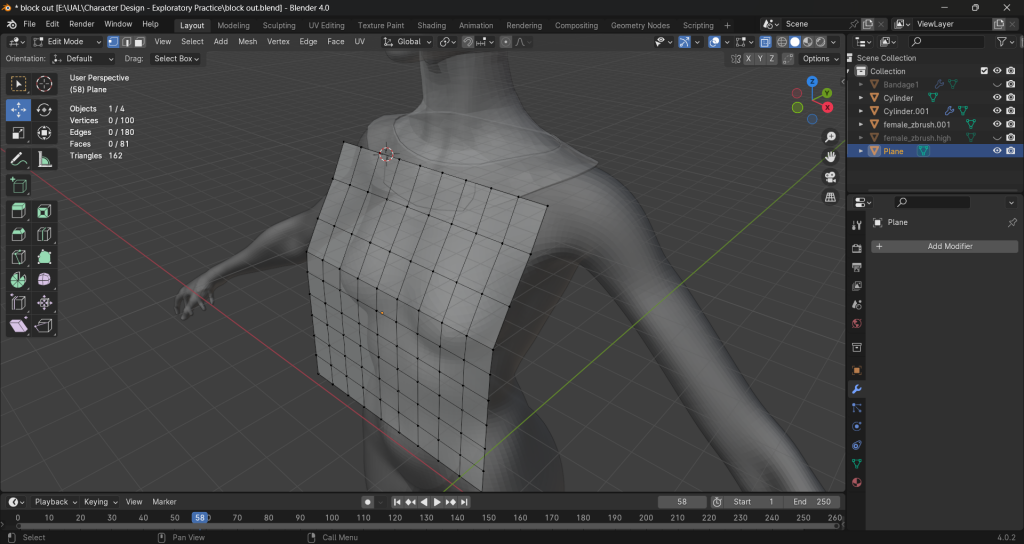
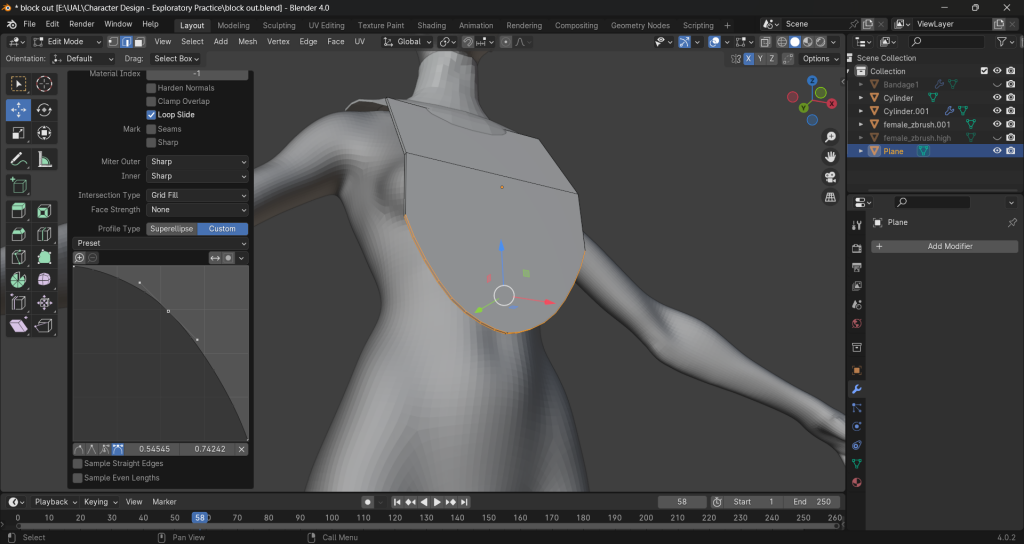
First, I tried to make the top starting with a plane. But I found it hard to tweak into a semi-circular shape when subdivided initially. So I’ll put subdivision step later.
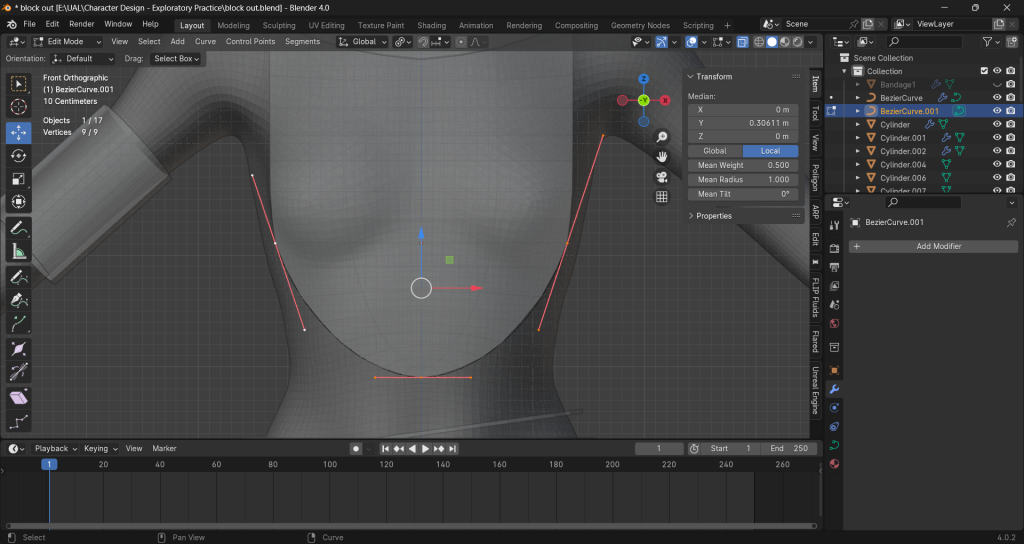
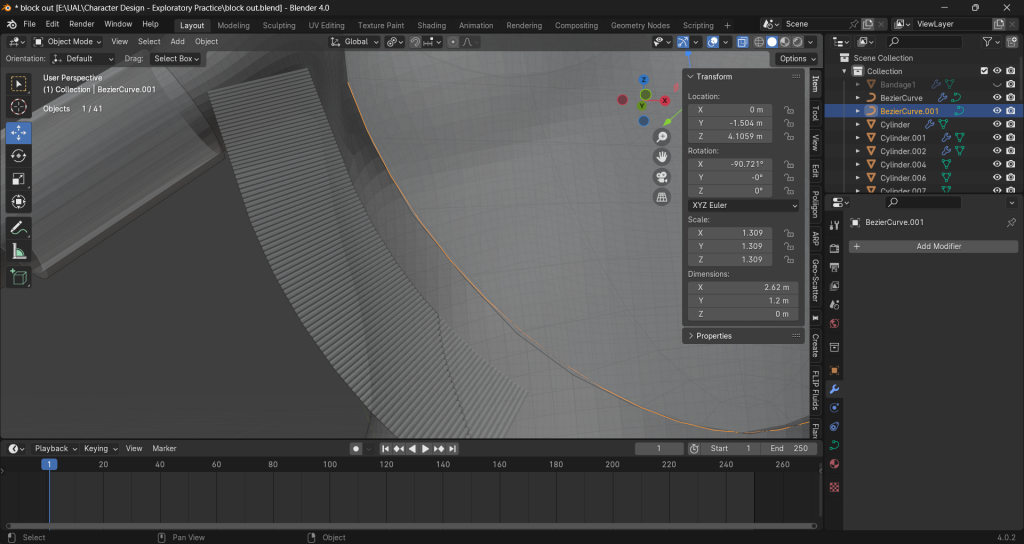
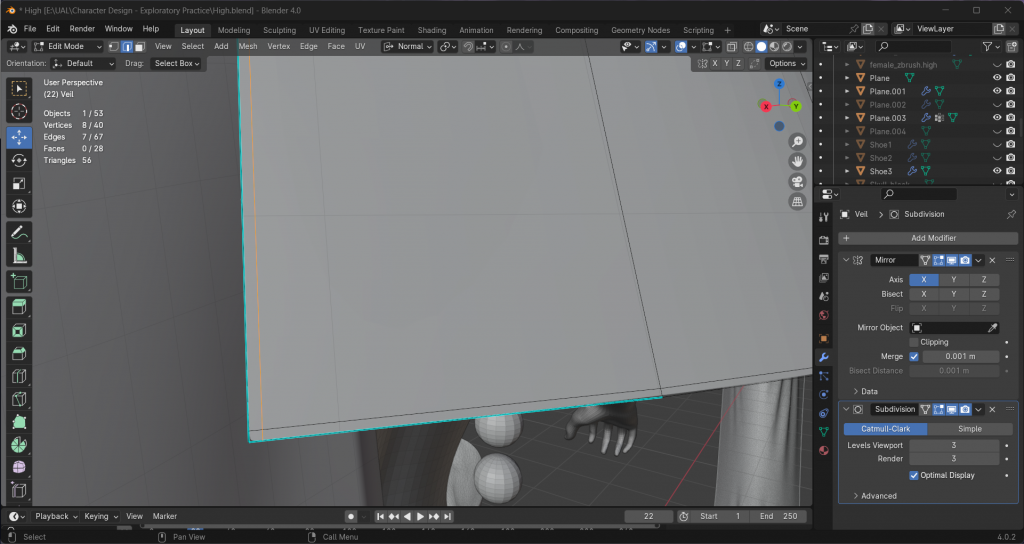
fail to fit the curve
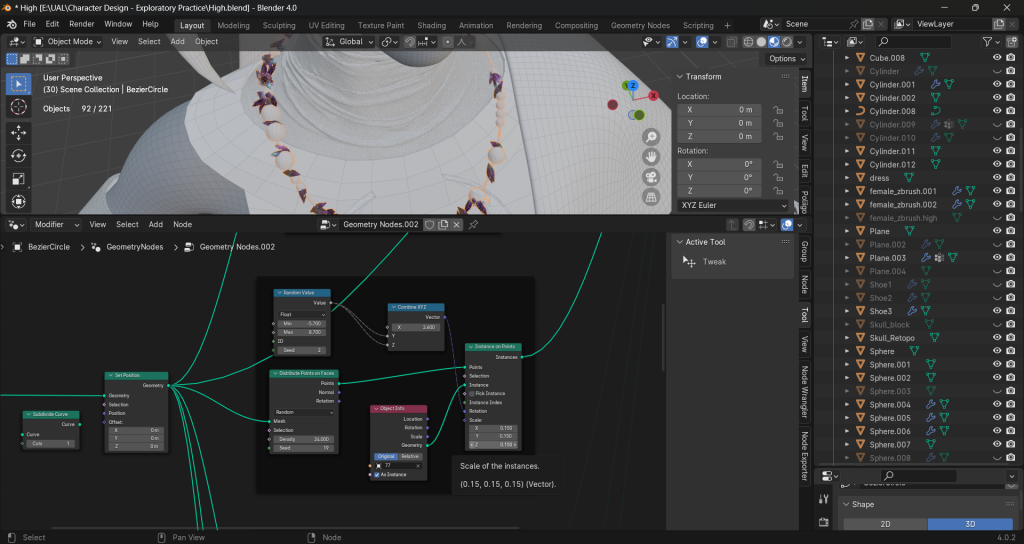
test geometry nodes
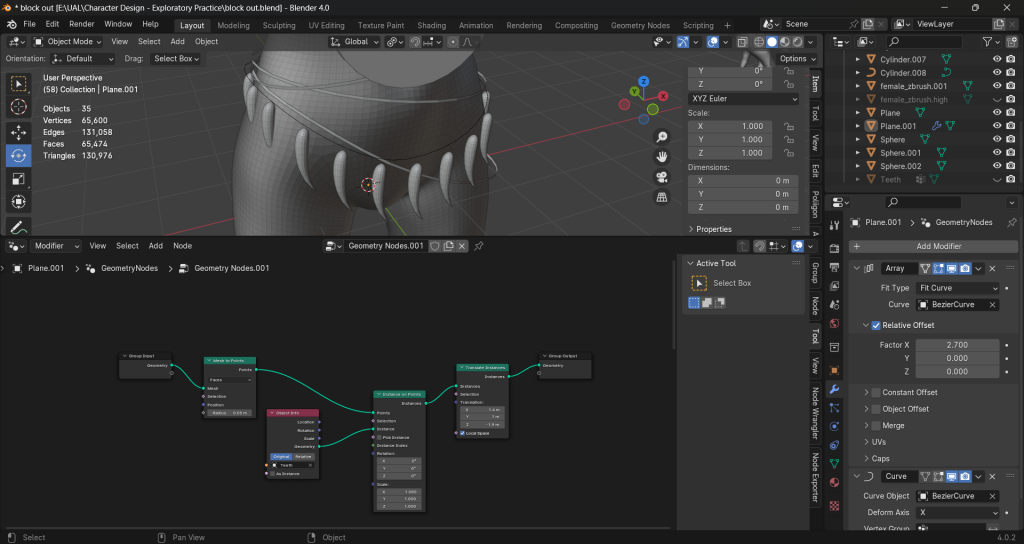
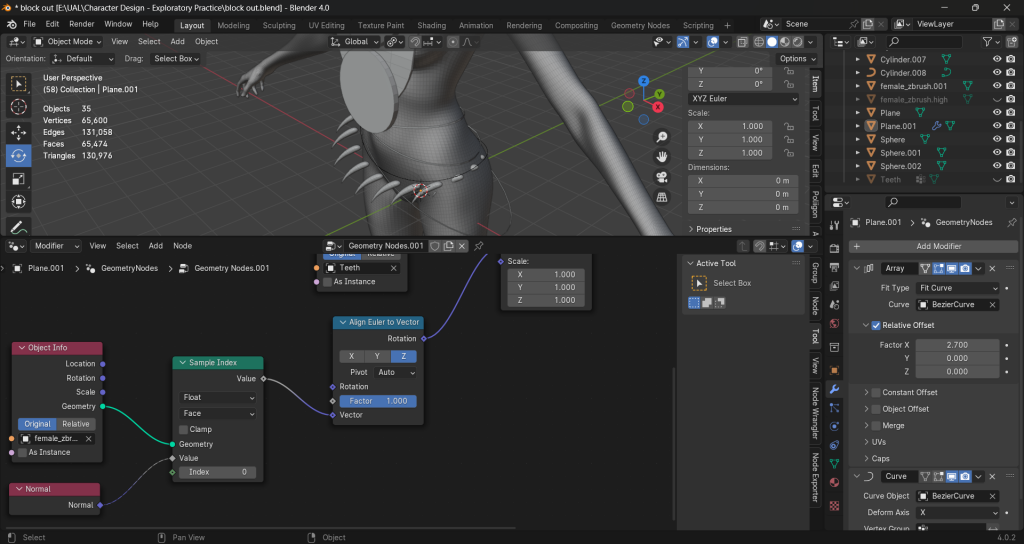
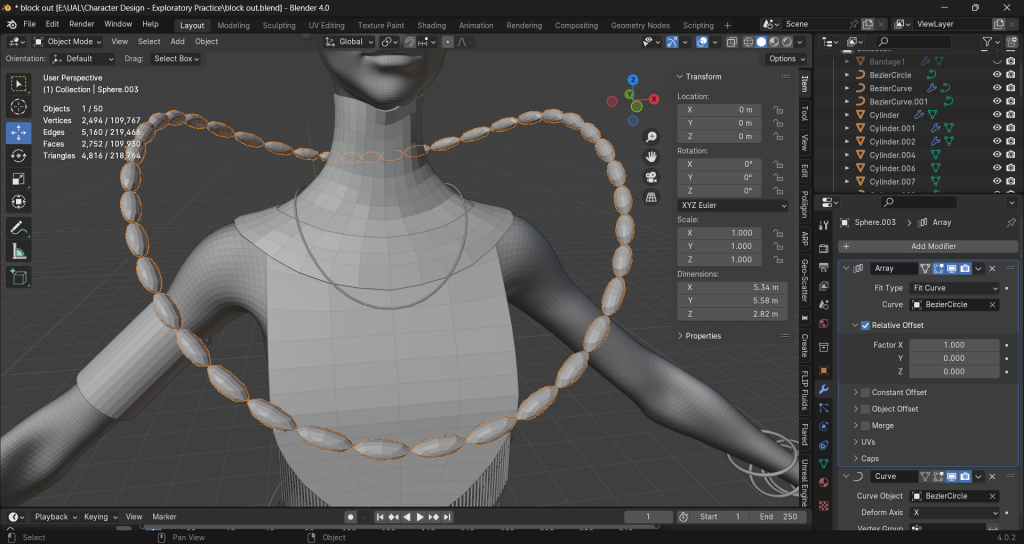
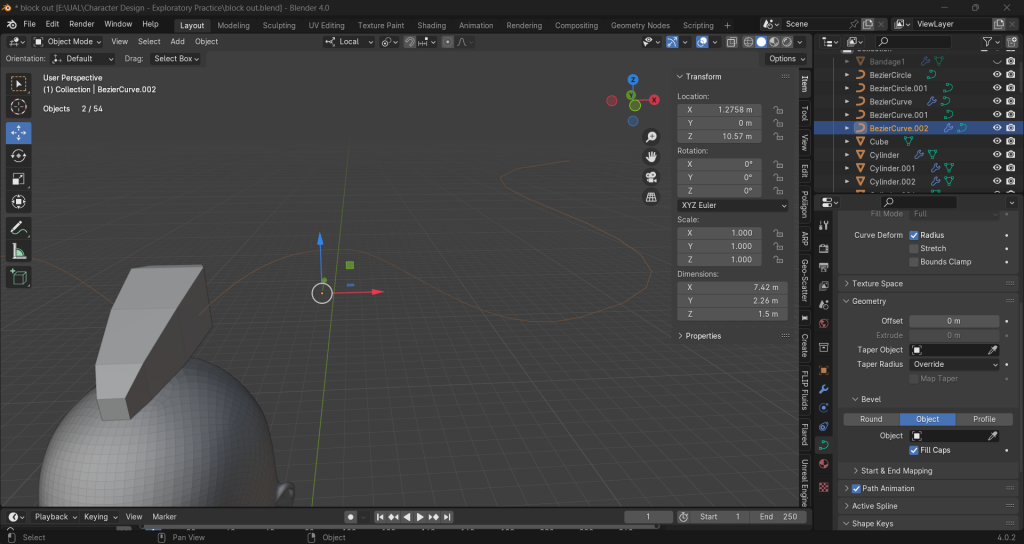
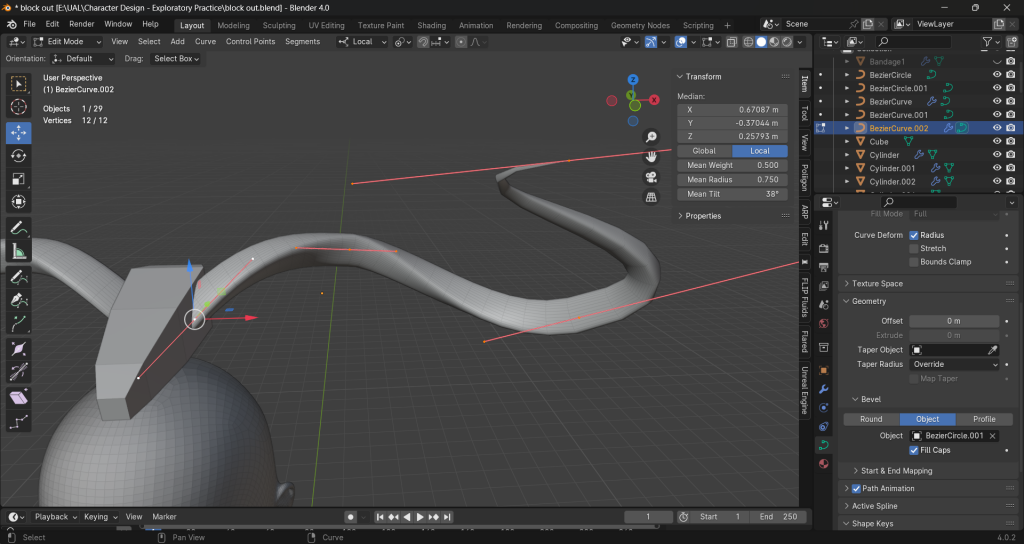
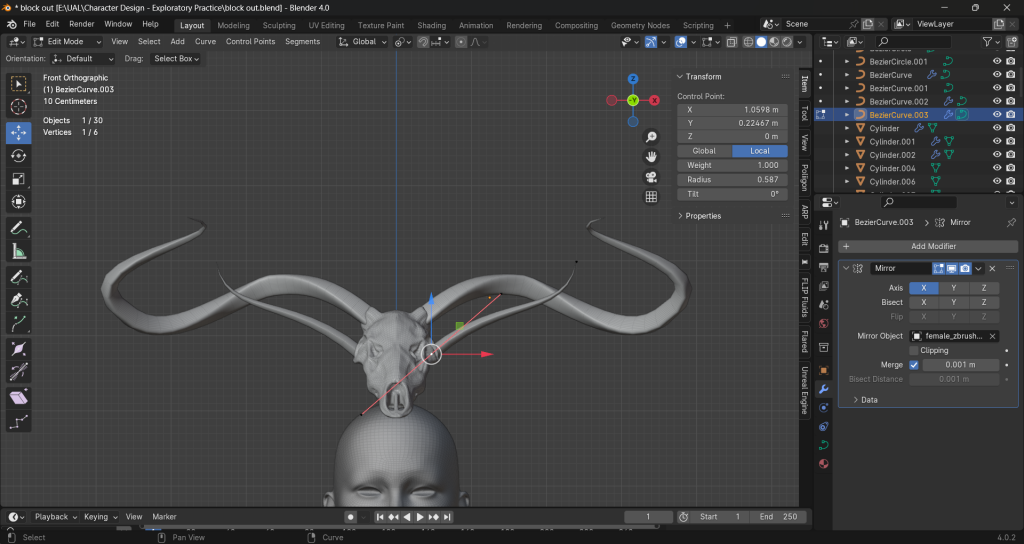
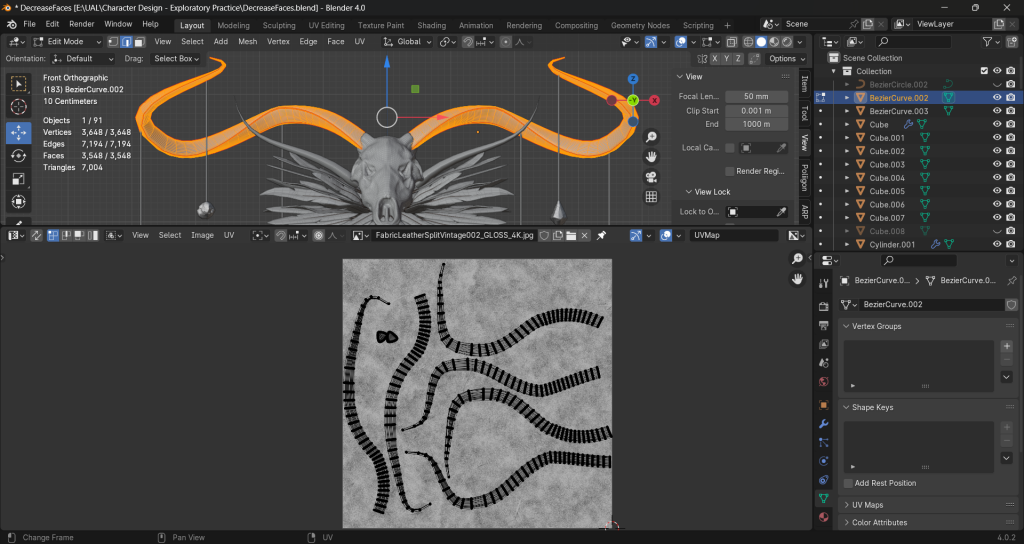
Beizel Curve works better than the cylinder without cap
Shoes
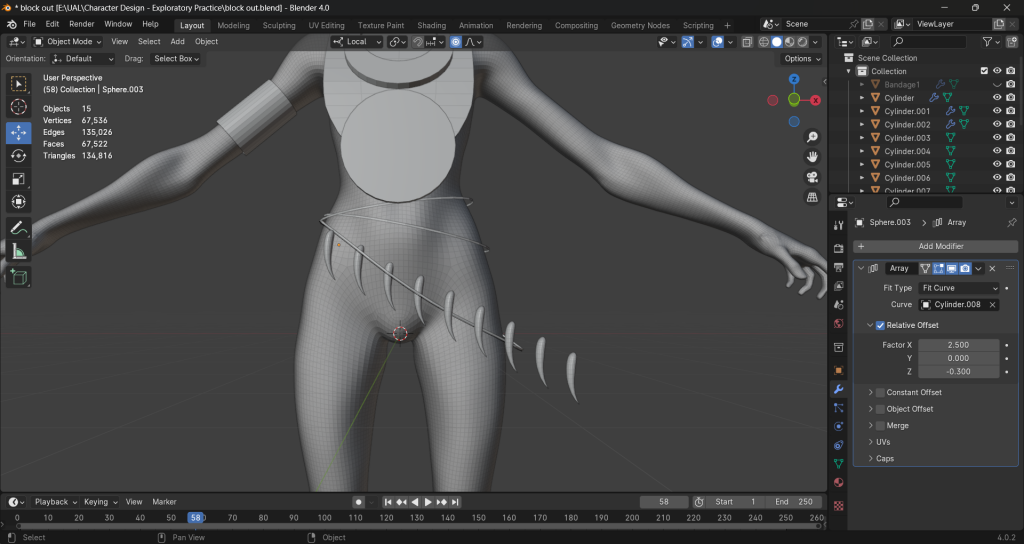
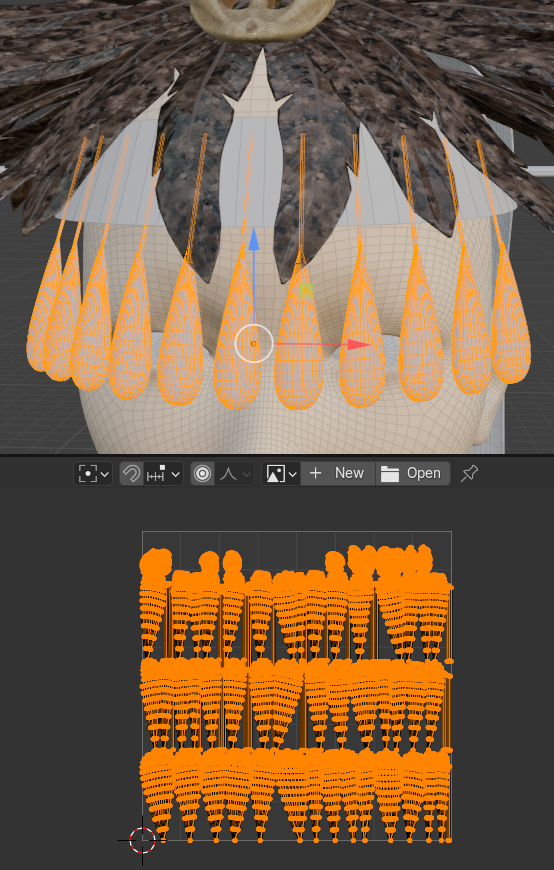
Tassels
fail:
turn into faces, then apply modifiers before extrude
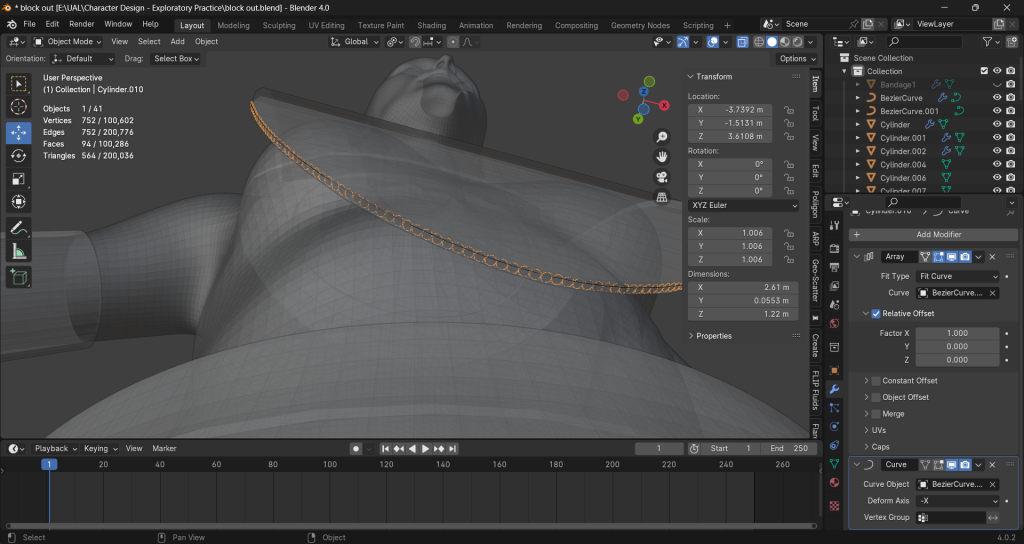
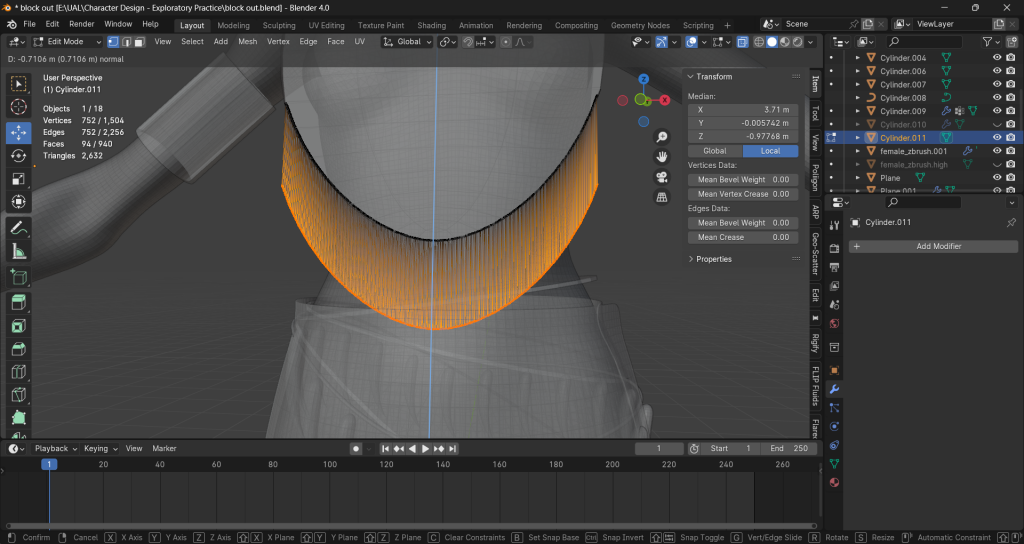
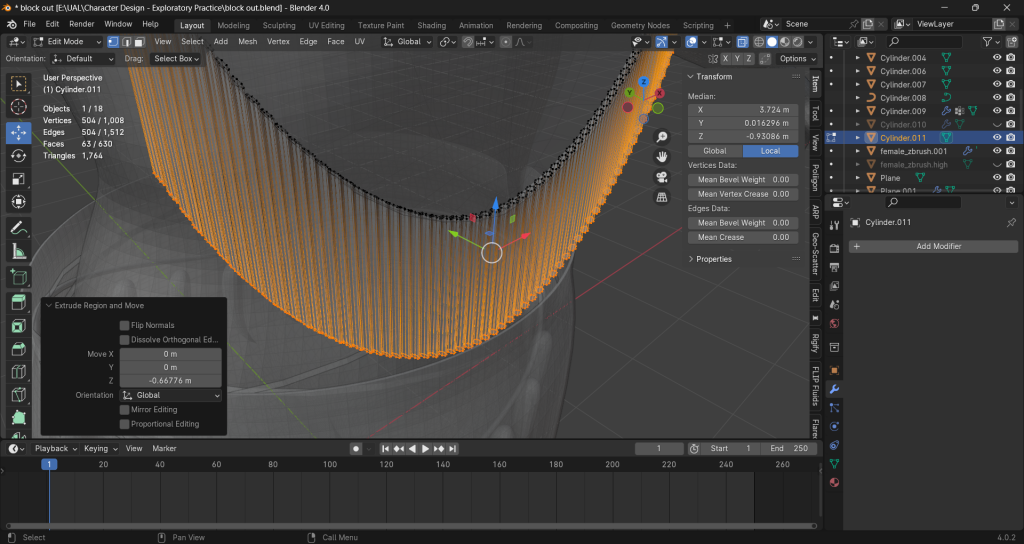
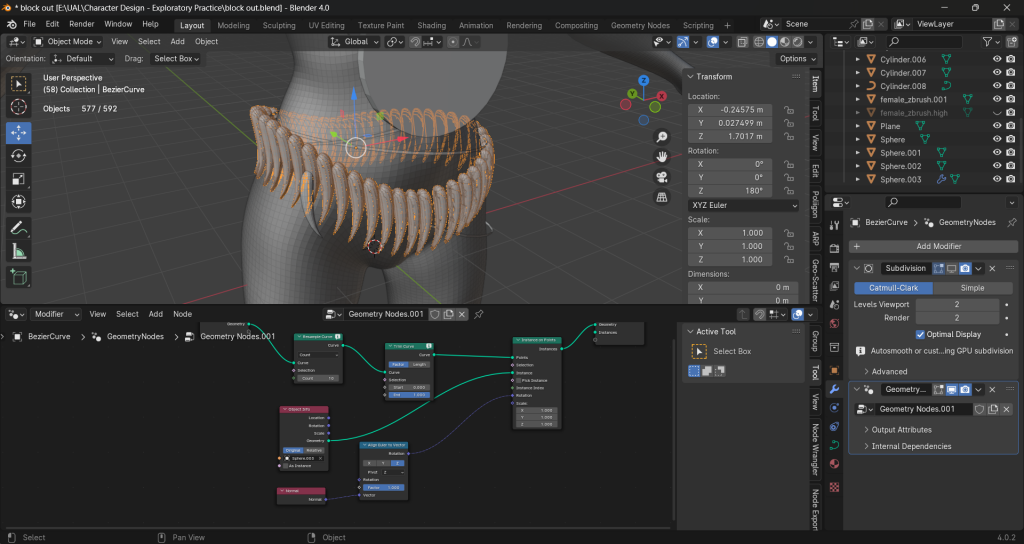
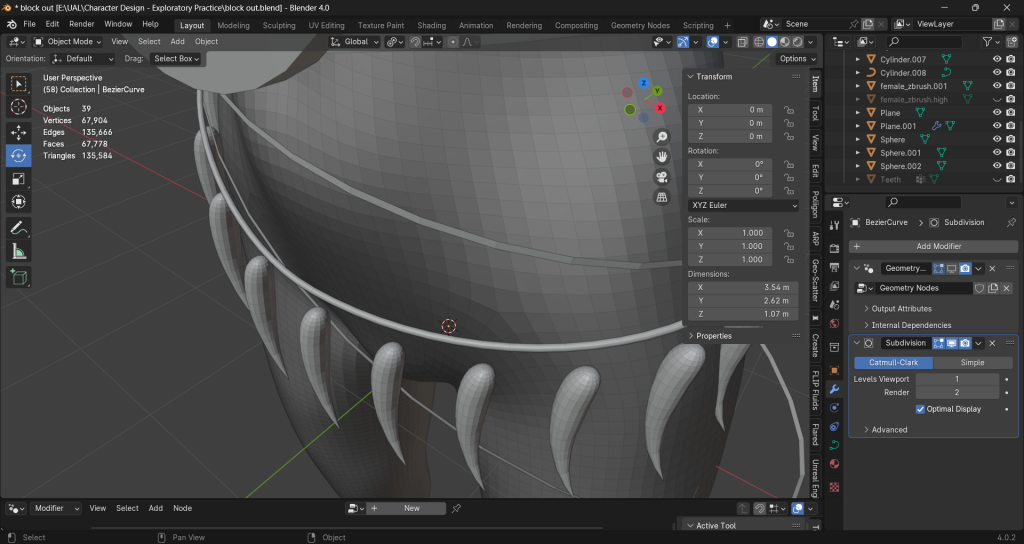
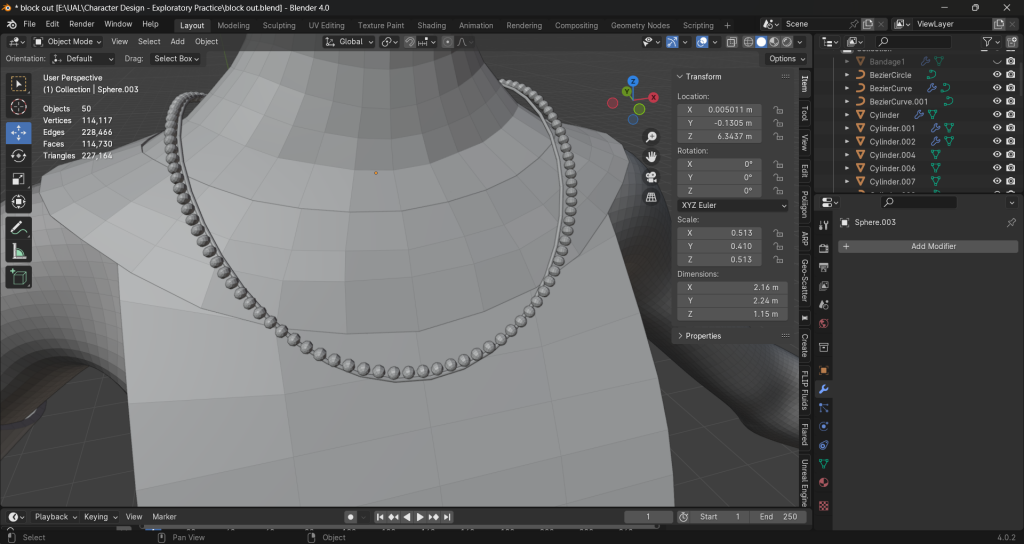
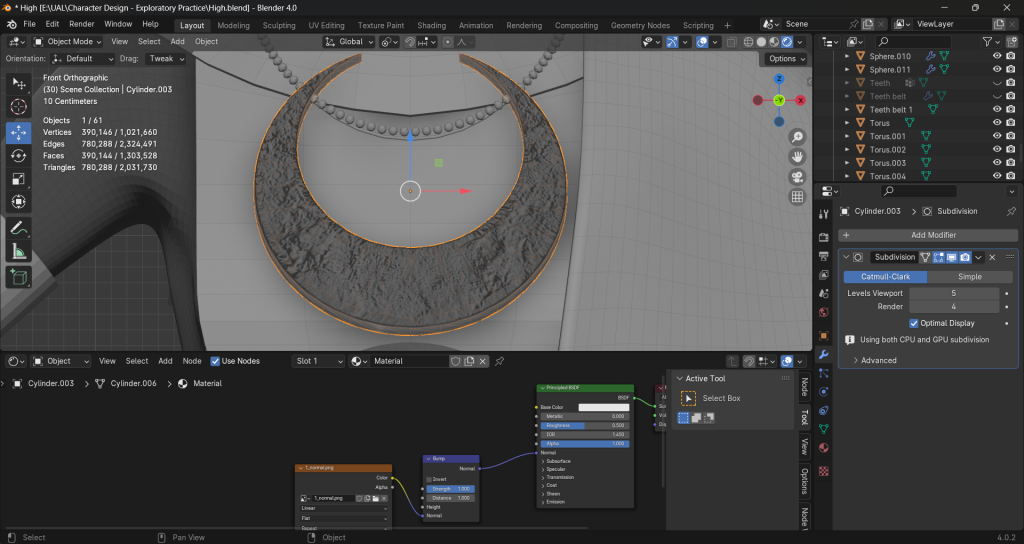
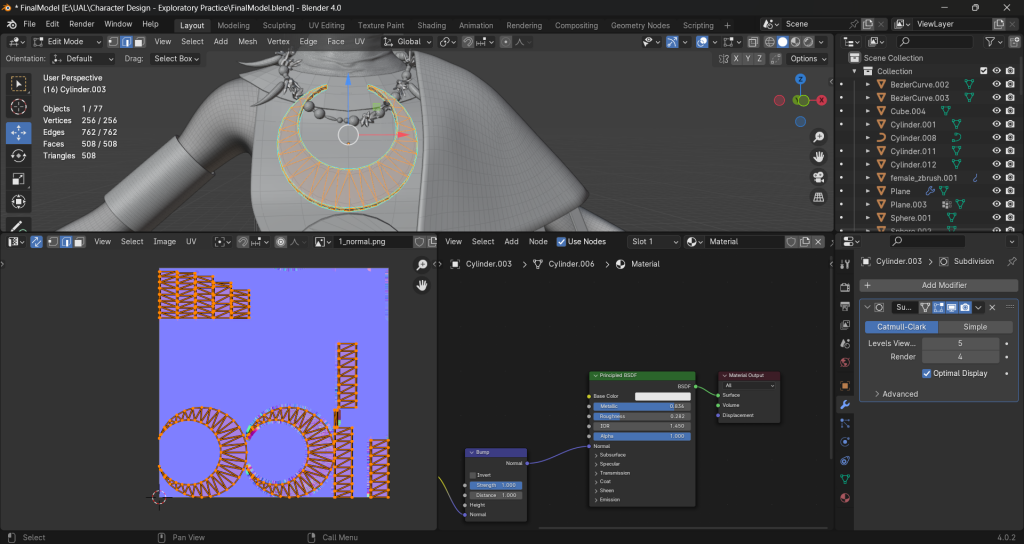
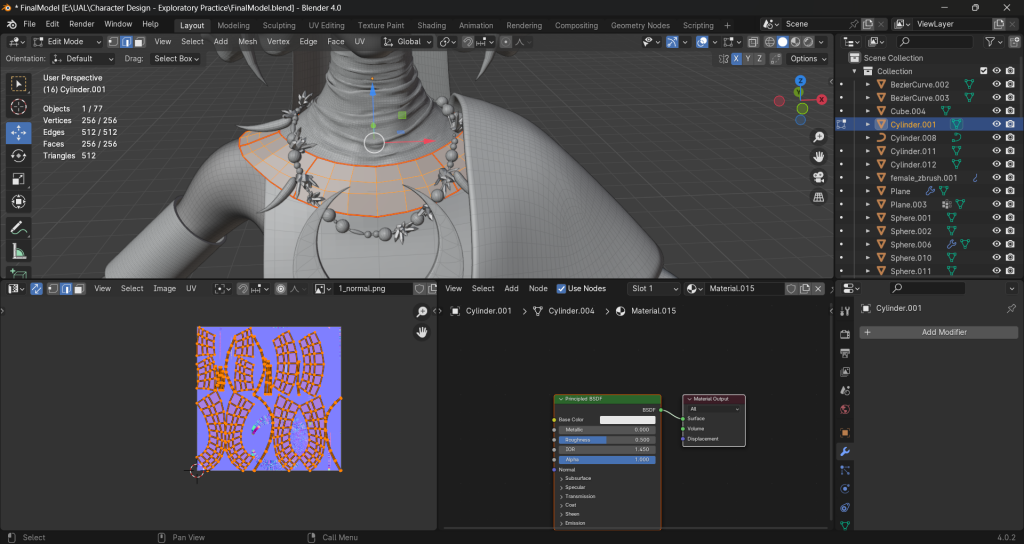
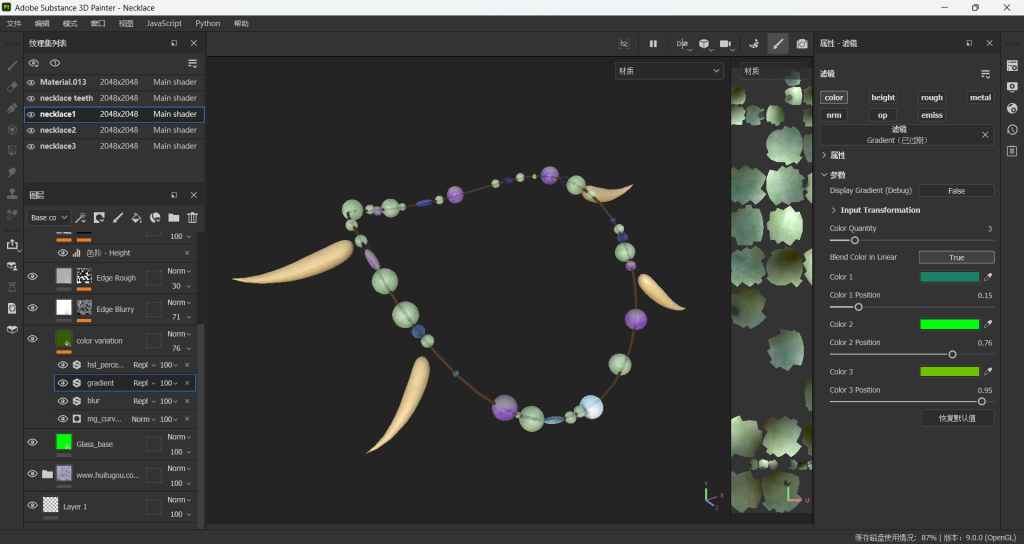
necklace
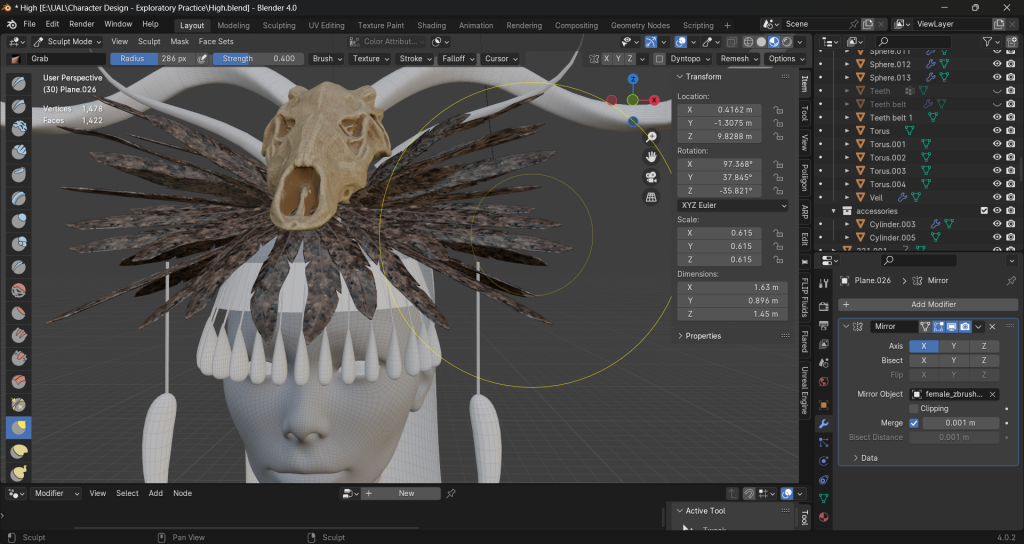
horns
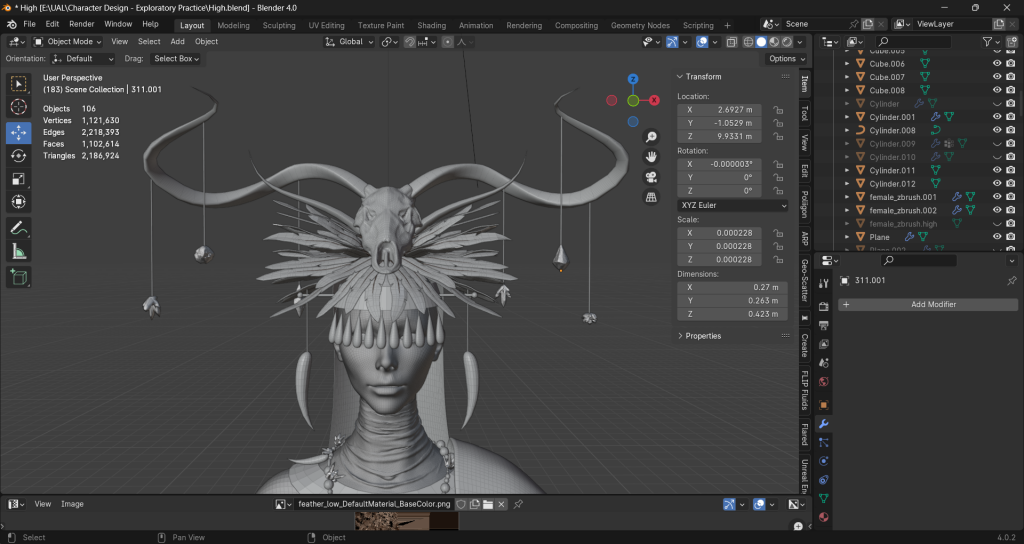
Final Block Out
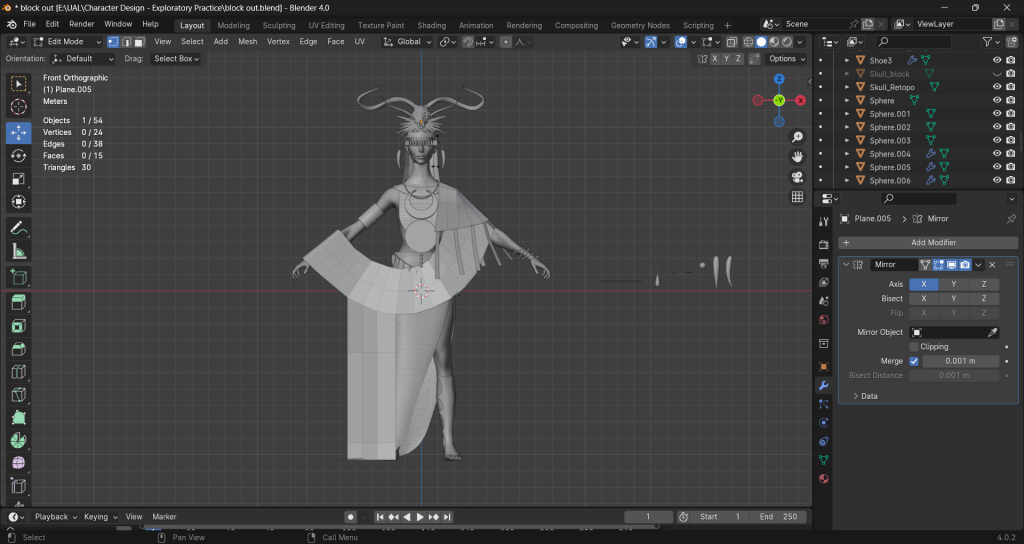
Main Parts/Props
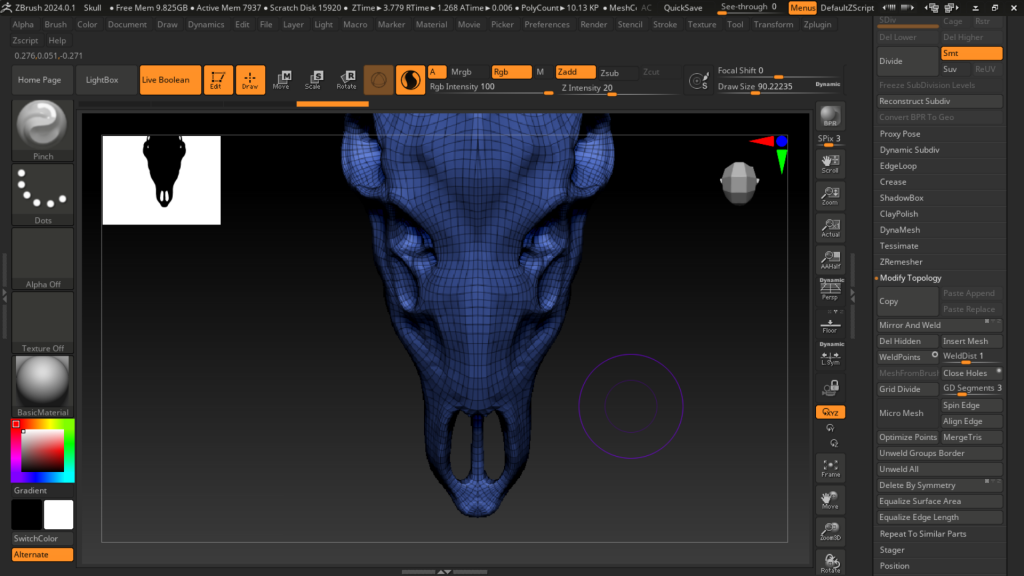
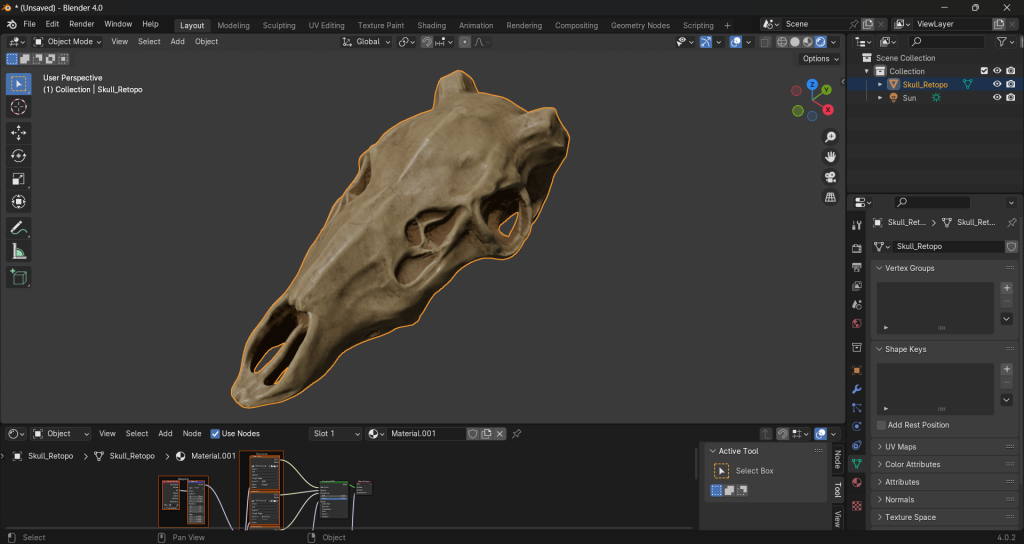
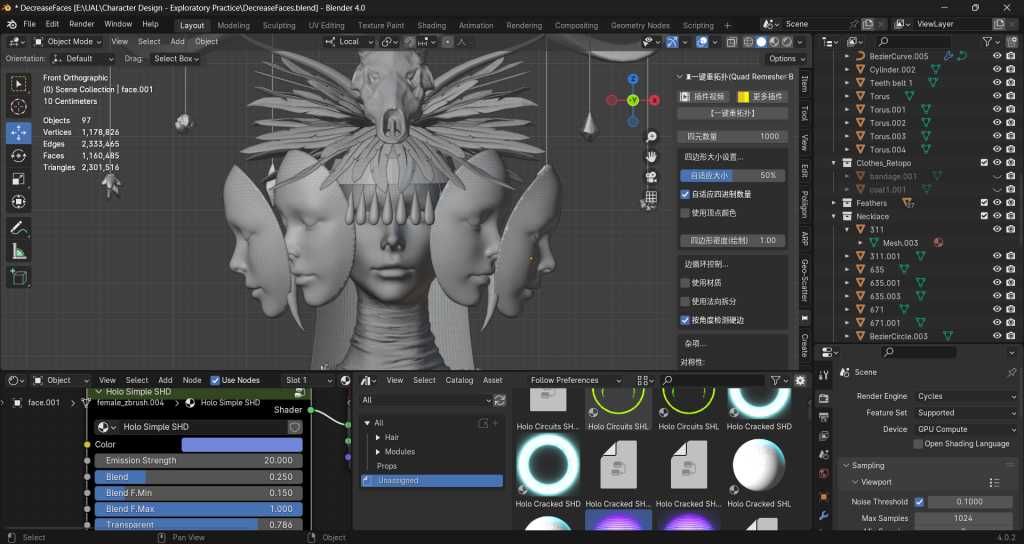
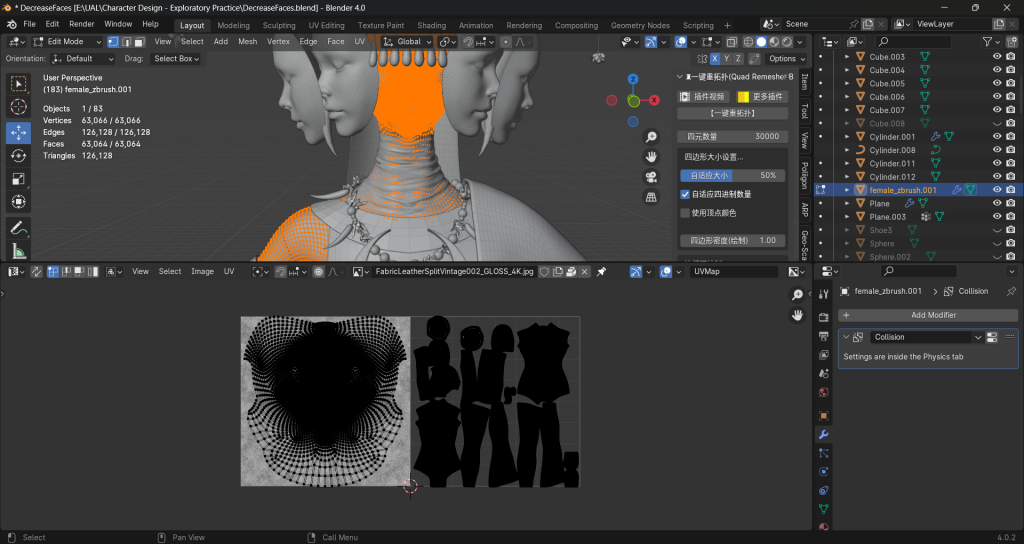
Skull
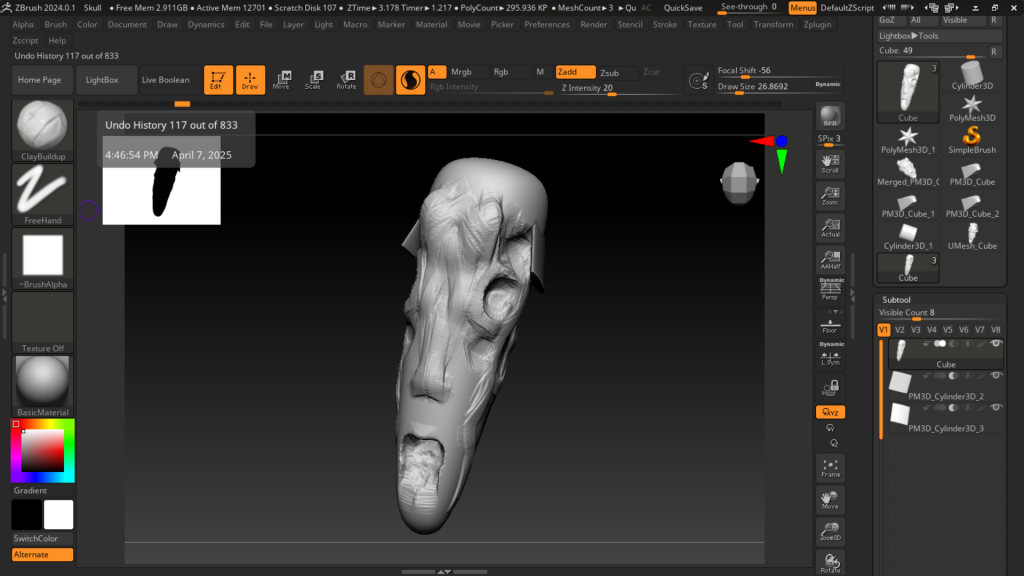
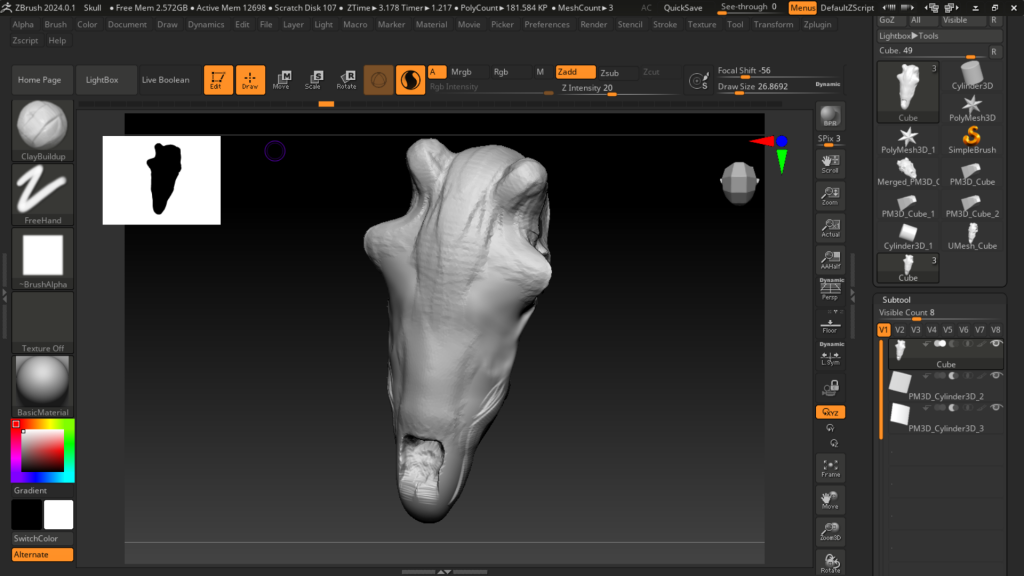
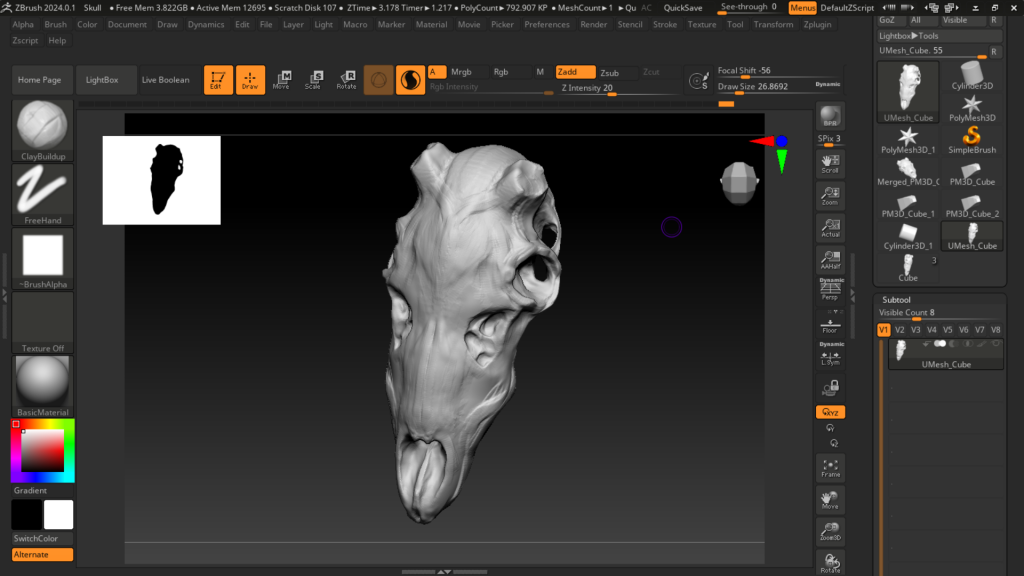
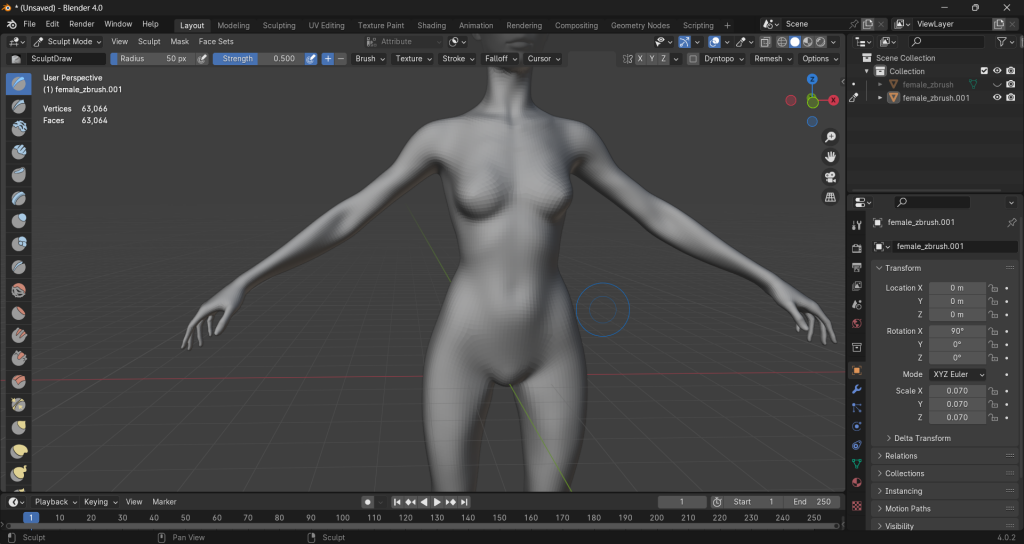
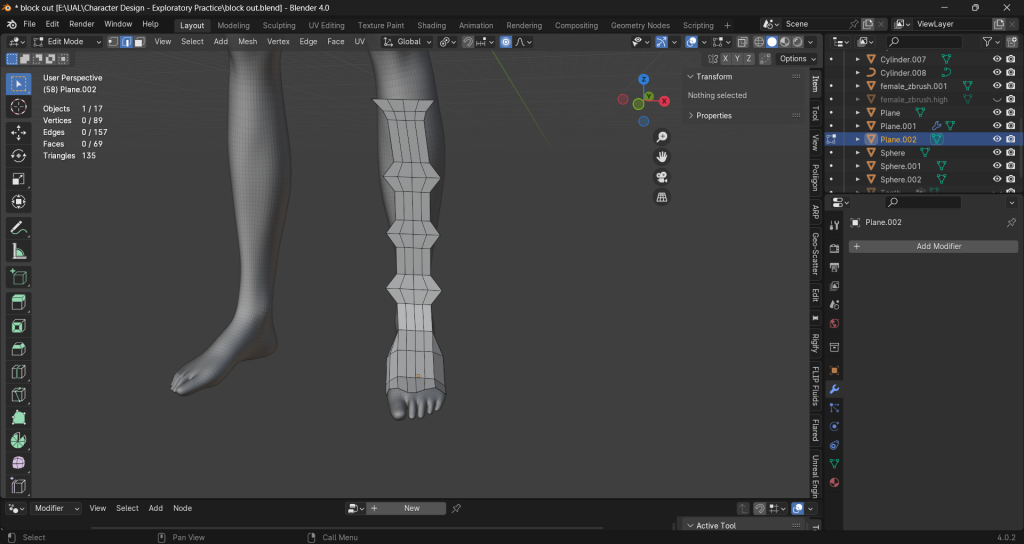
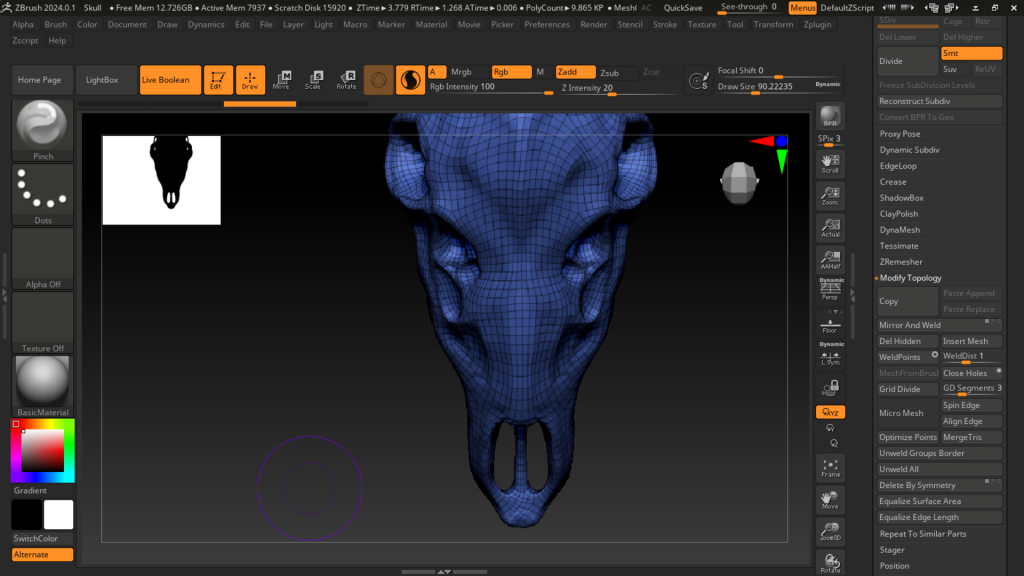
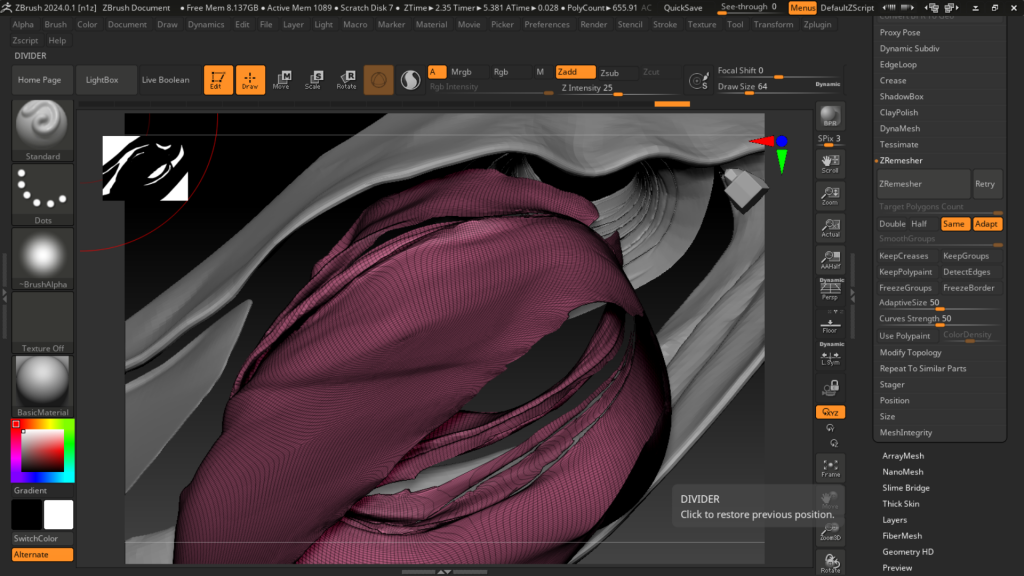
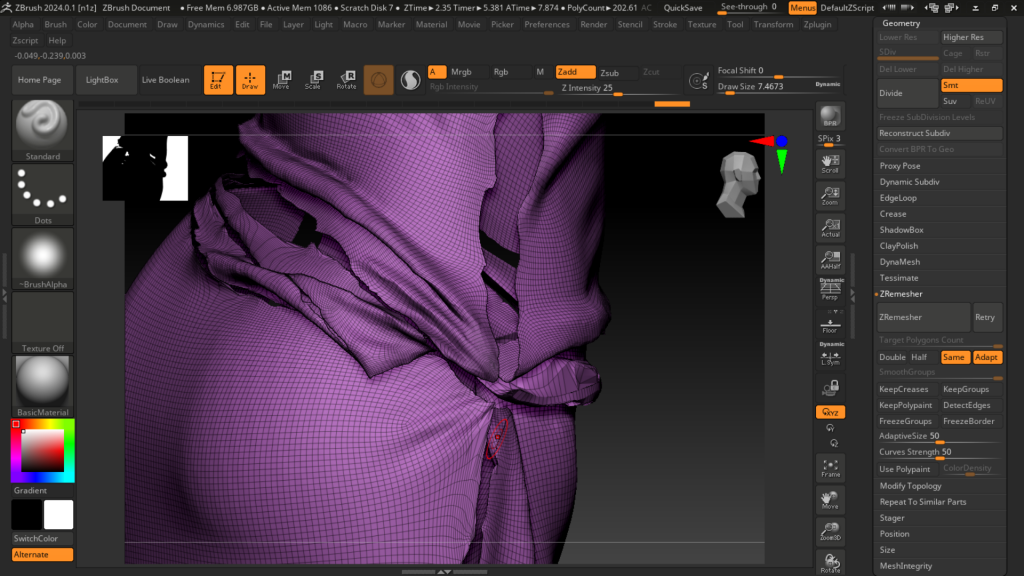
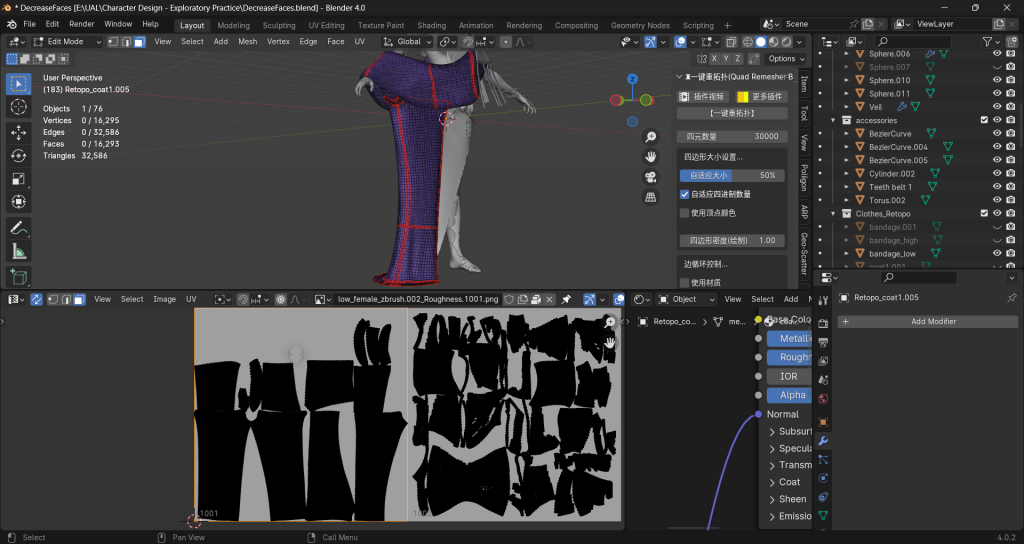
Retopology
Bake&texture
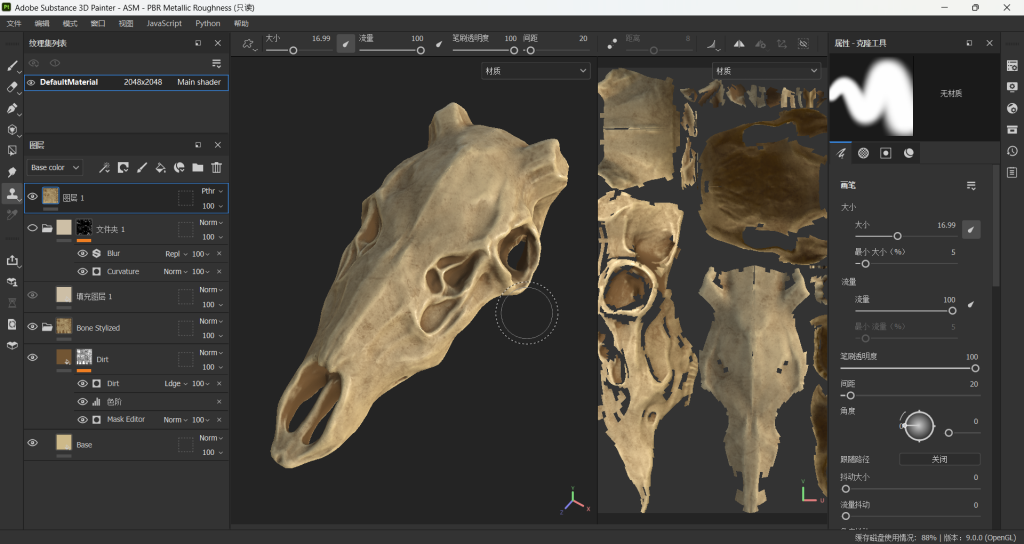
final result for the skll
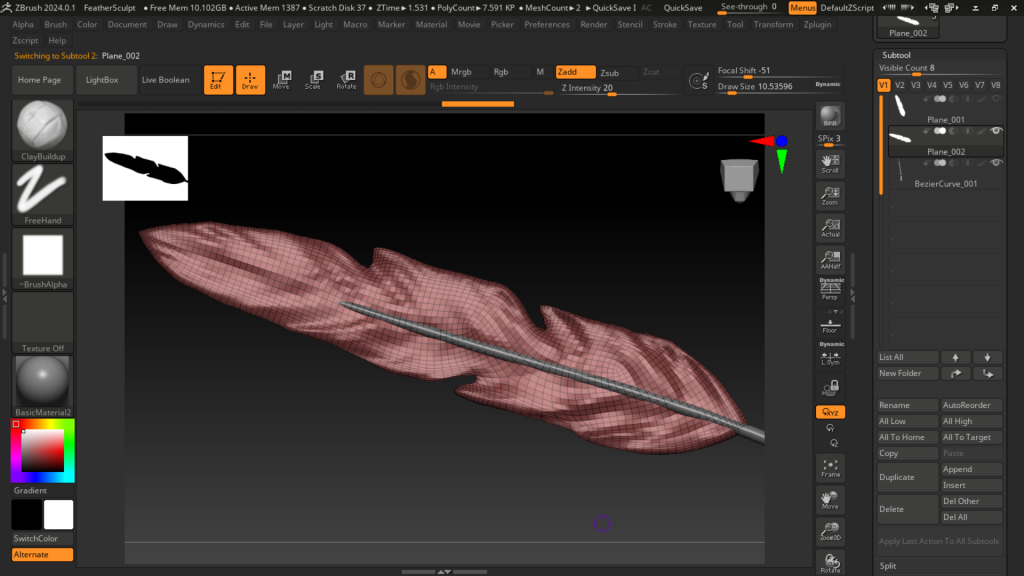
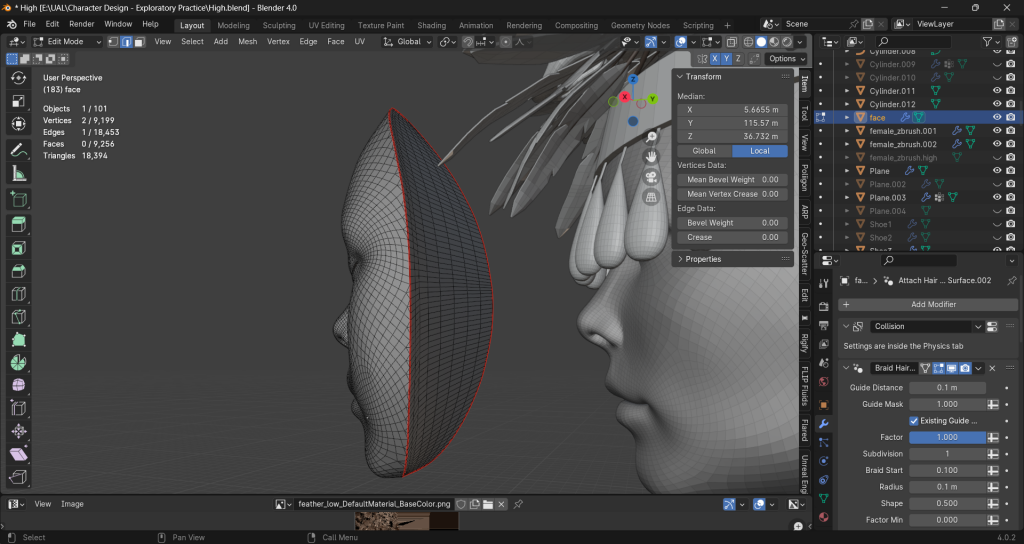
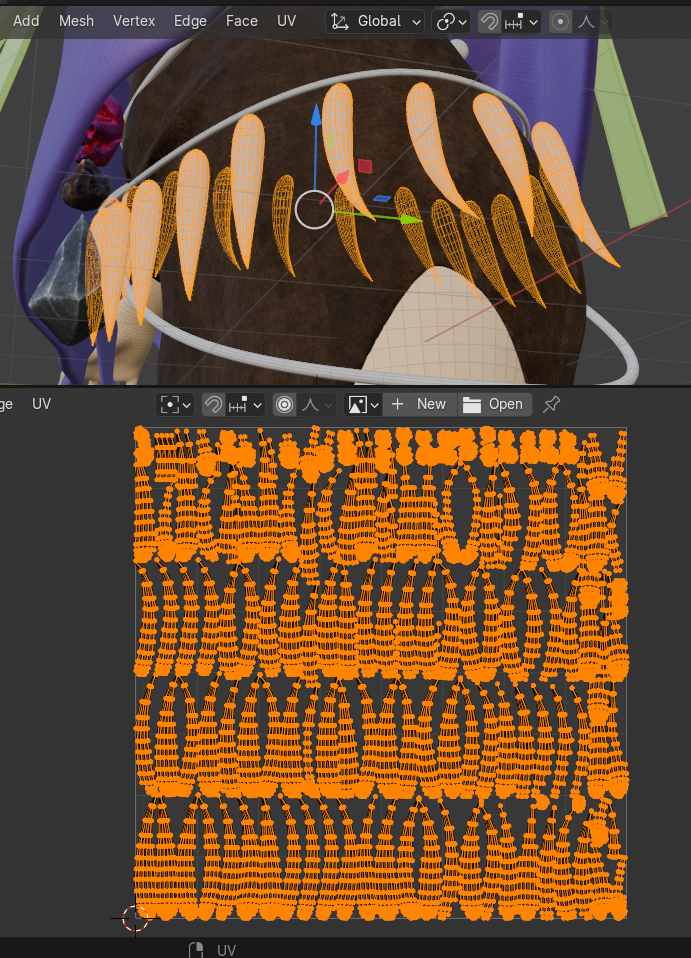
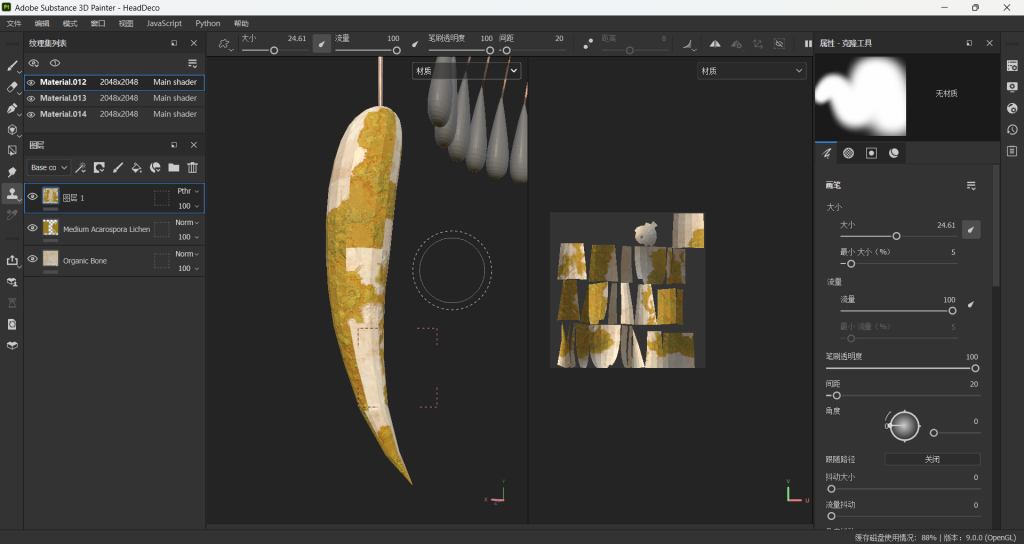
Feather
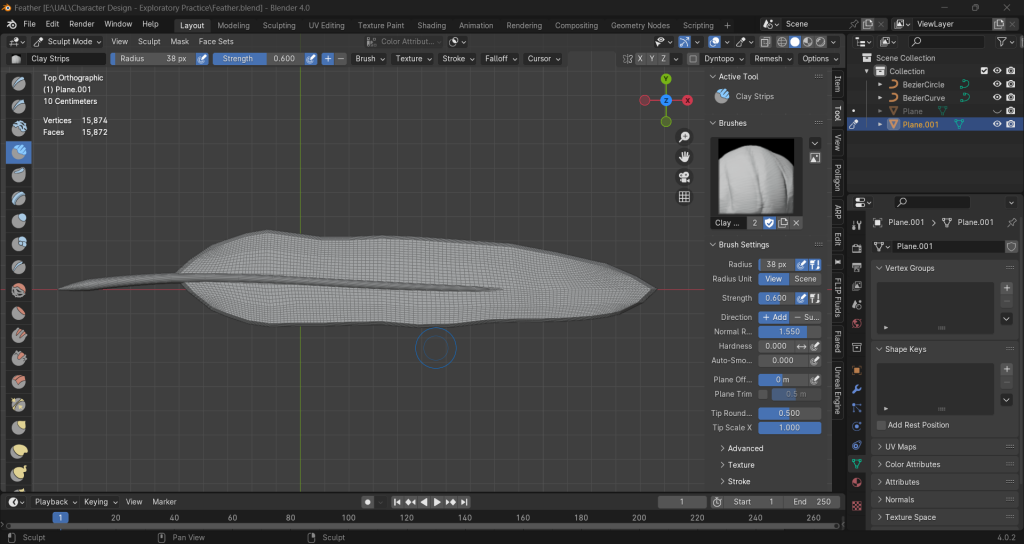
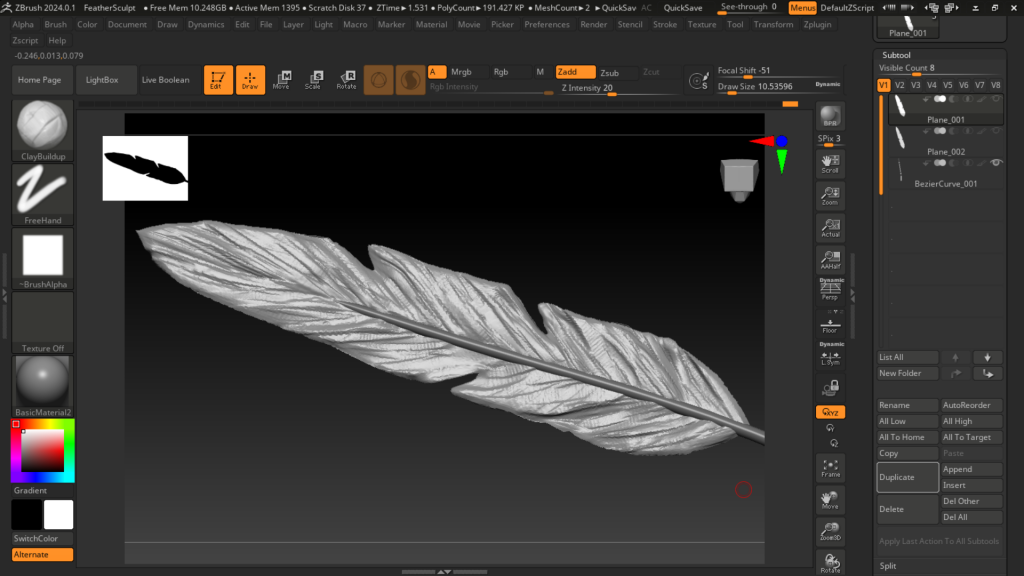
I use the Zremesher but I am not quite satisfied with this grid, so I decide to bake it
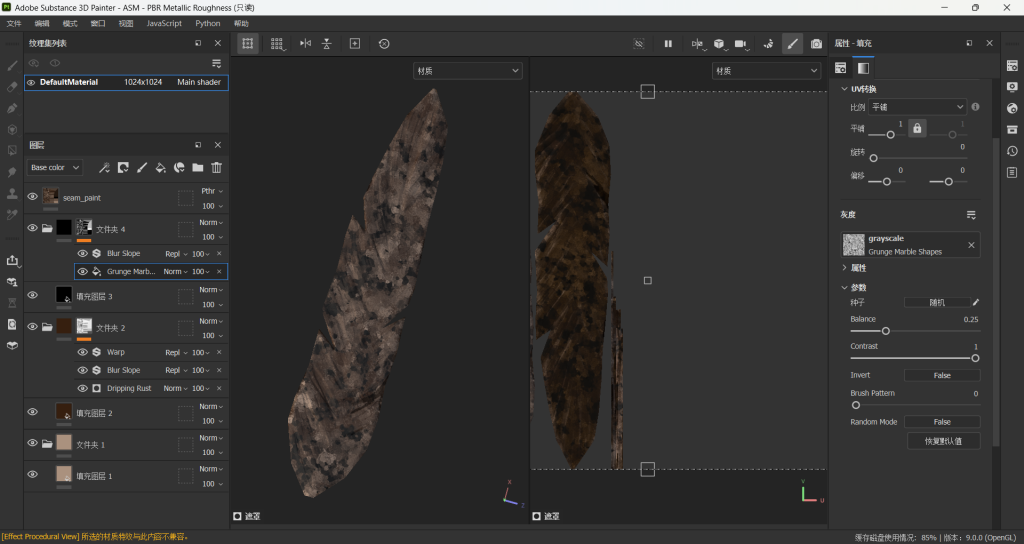
bake&texture for the feather
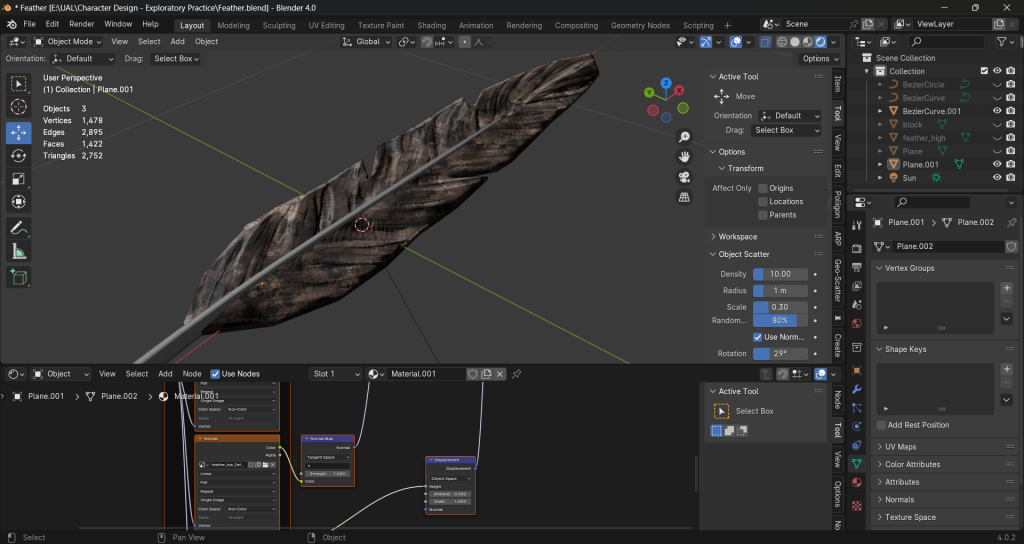
final result for the feather
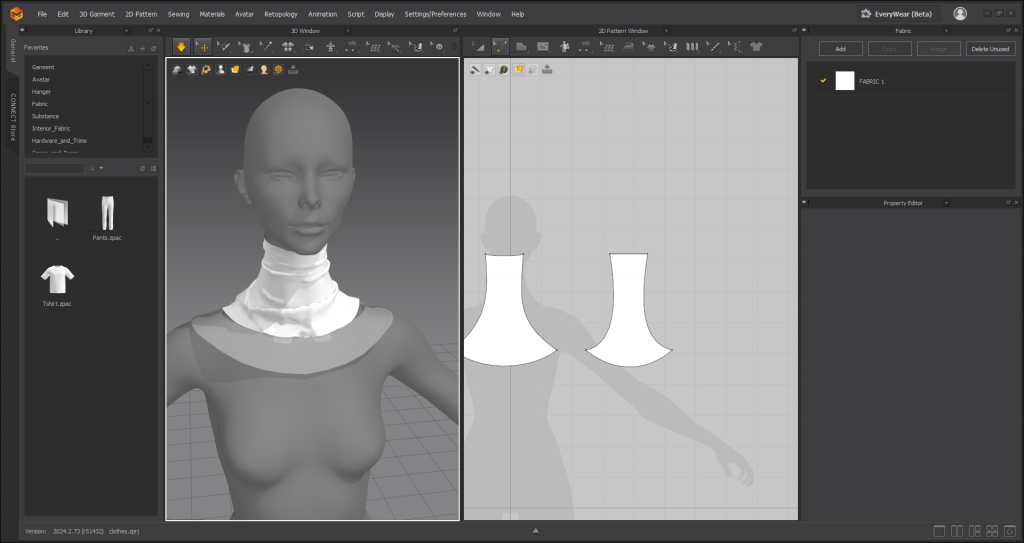
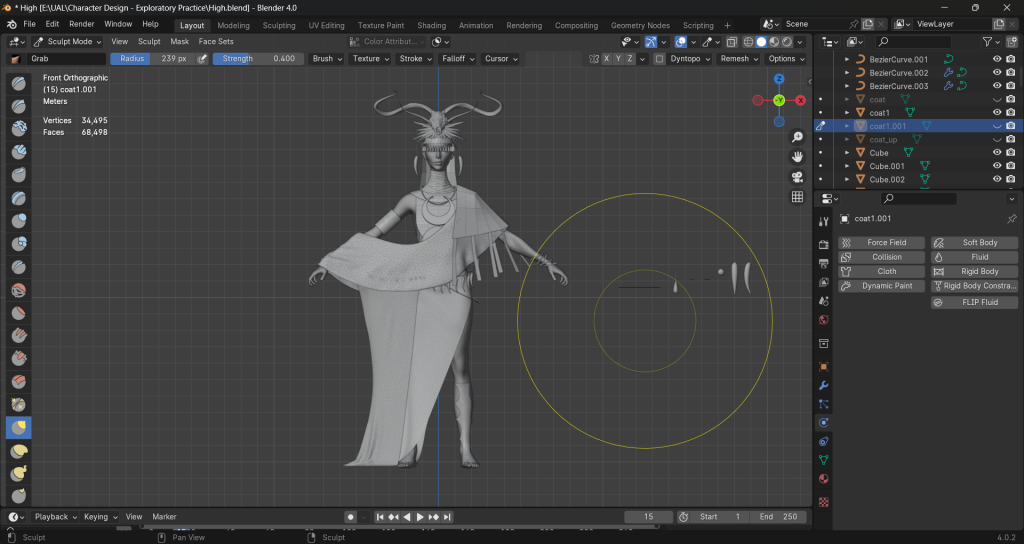
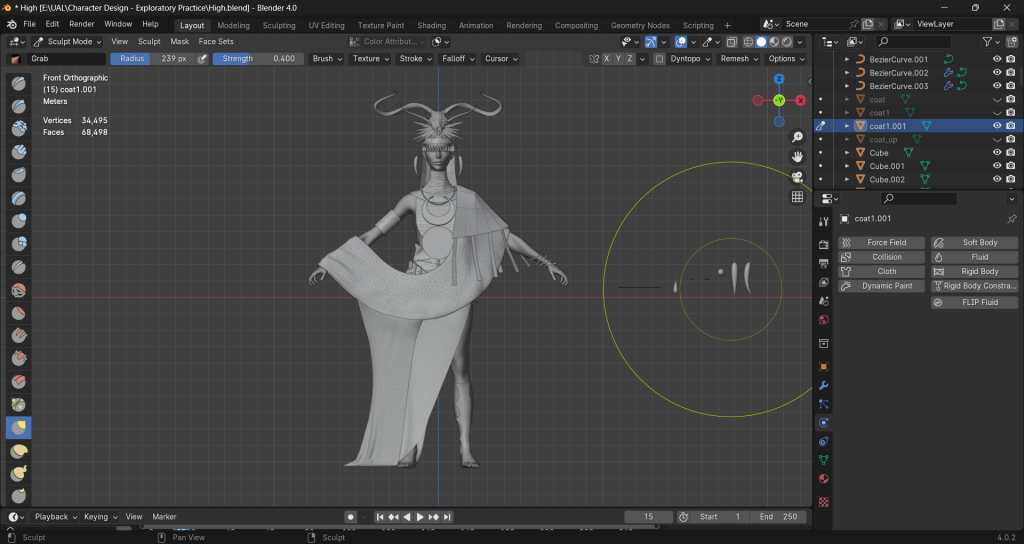
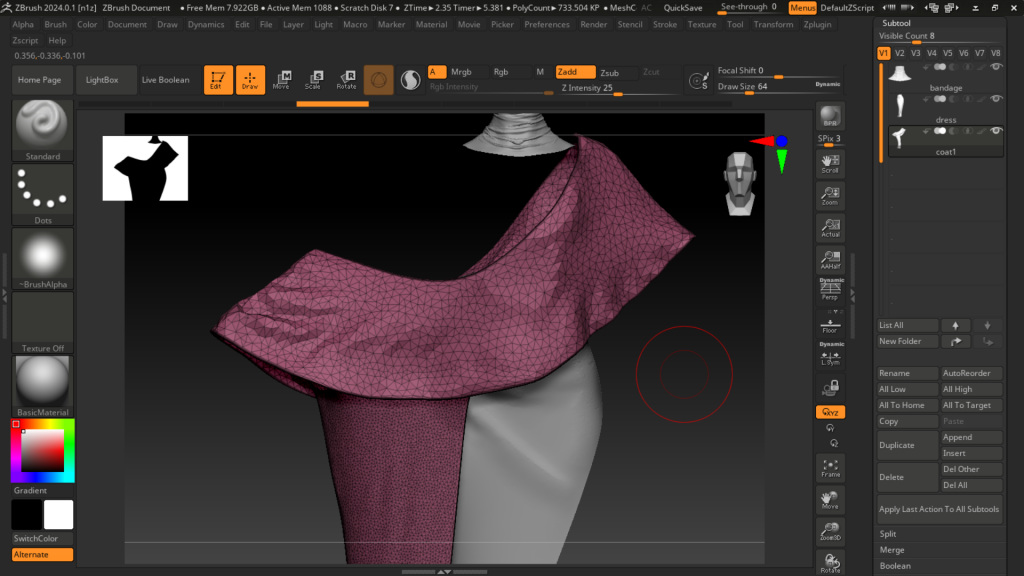
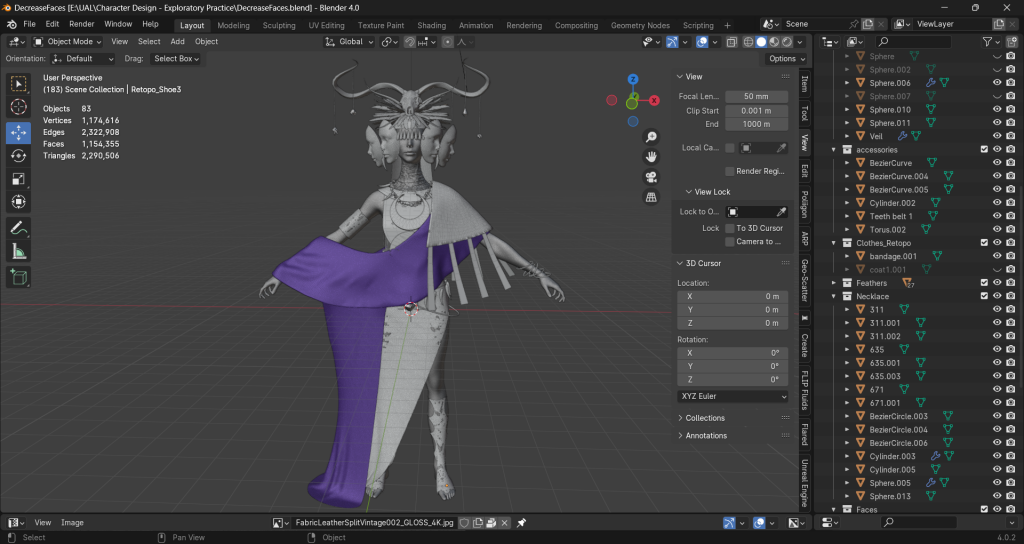
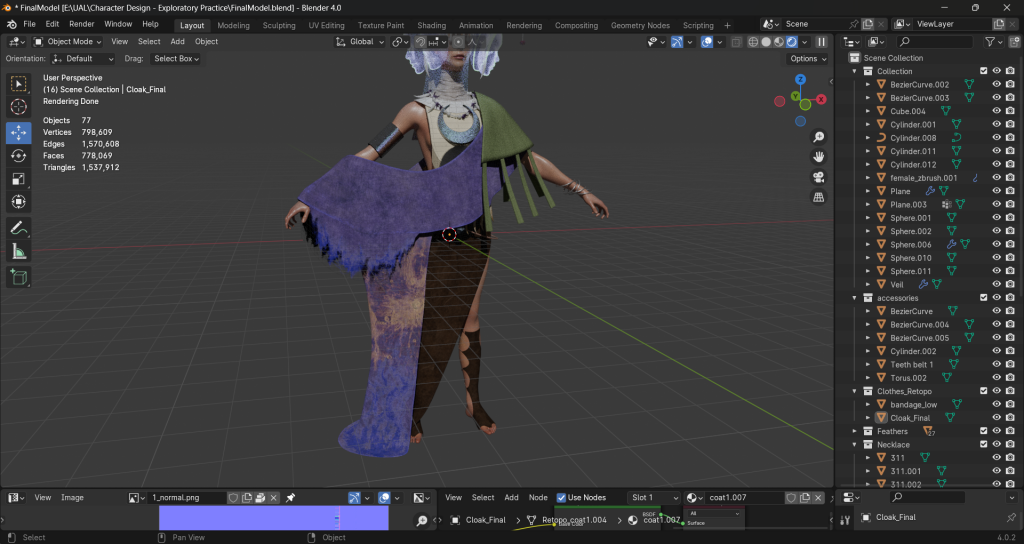
Clothes Making
Ray Zhang:
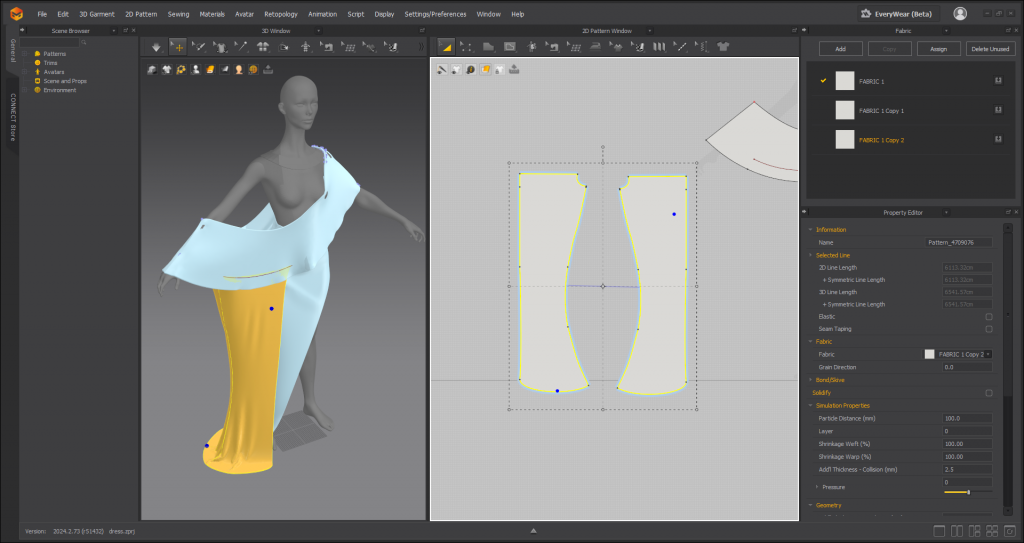
Marvelous Designer
Tutorial he recommended:
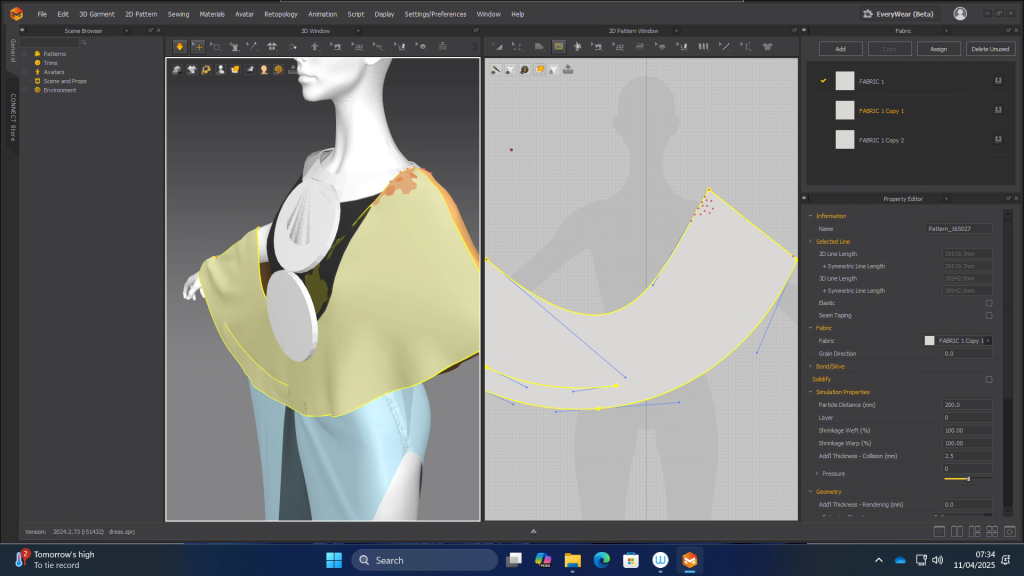
Bandage
I don’t like this version. First I thought I can create this with two patterns, but it turns out to look like a scarf. So I would try to make it one cylinder by cylinder.
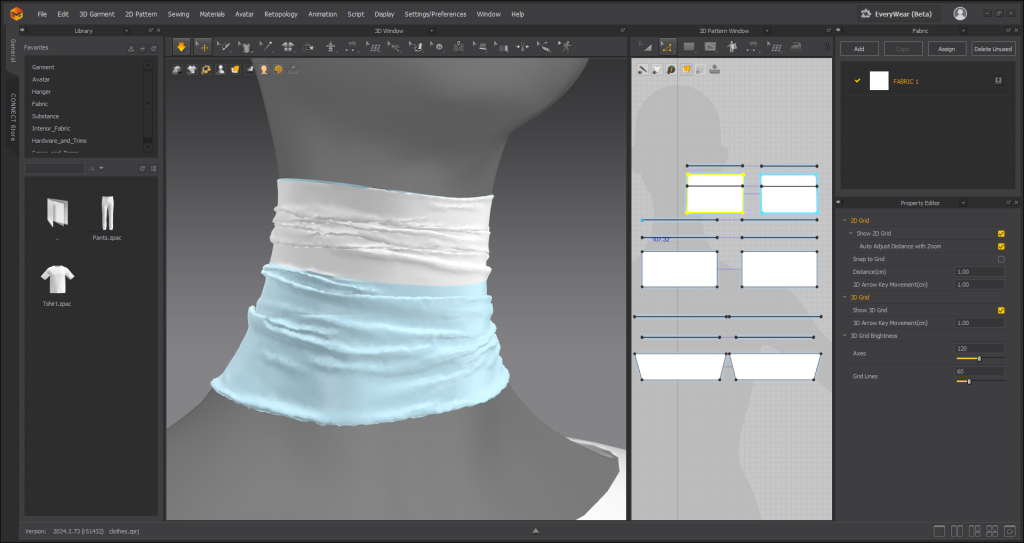
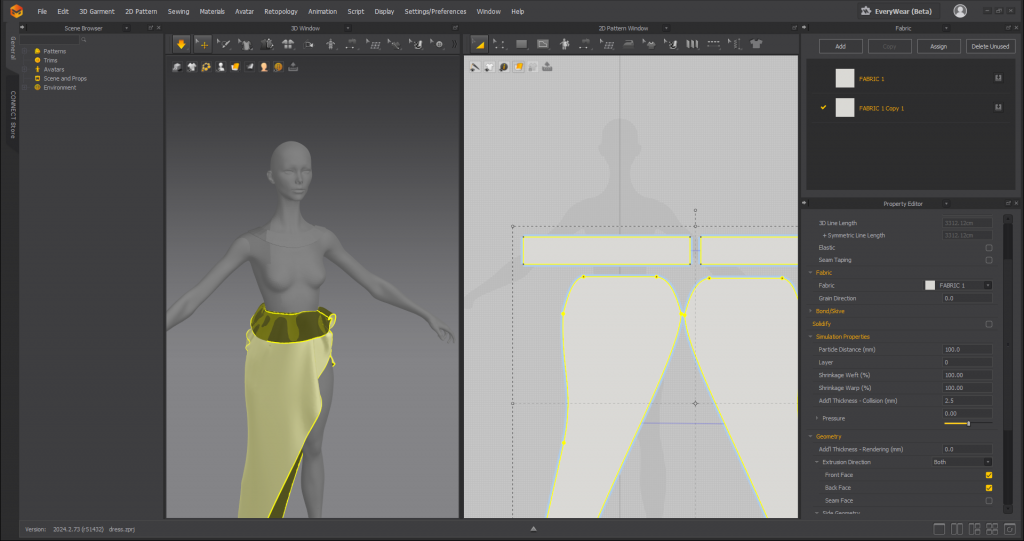
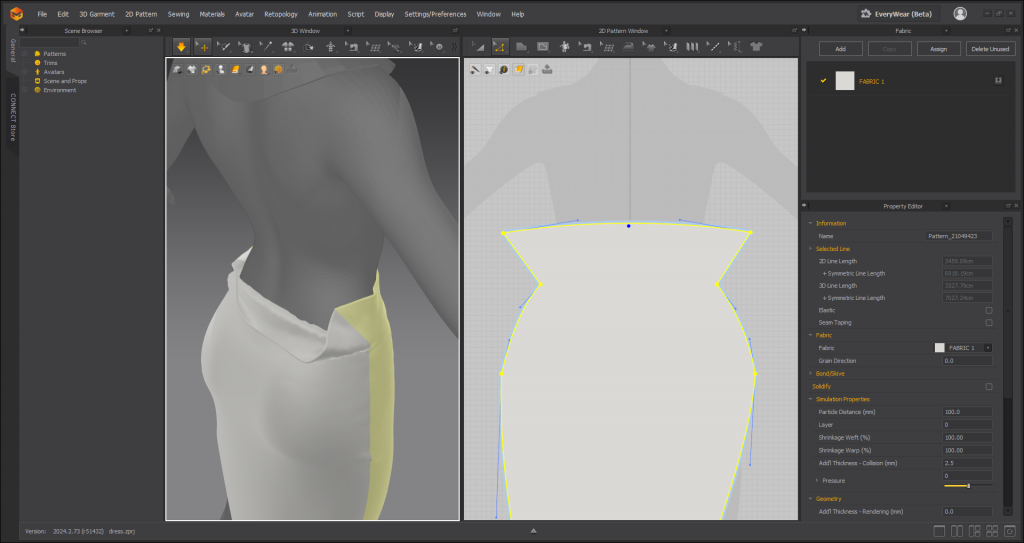
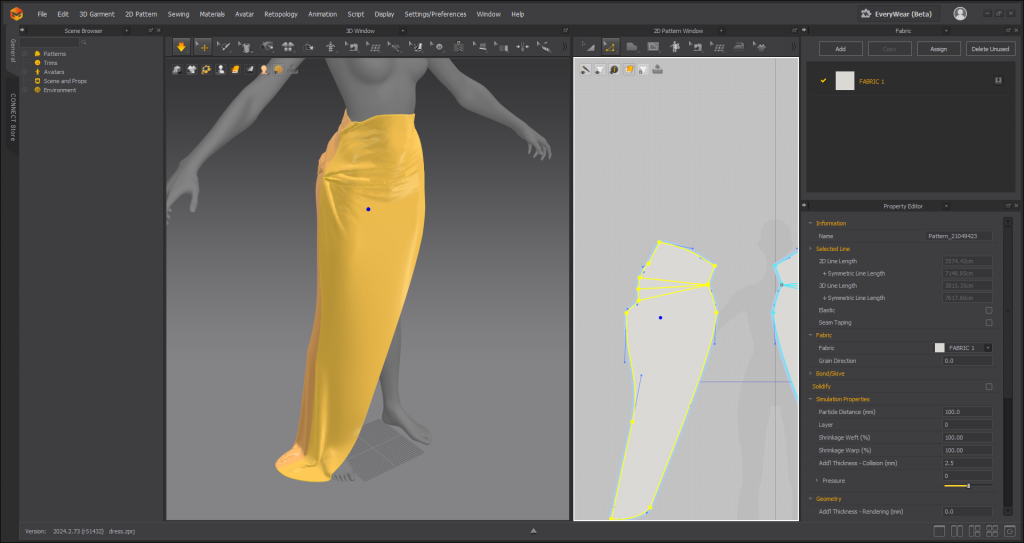
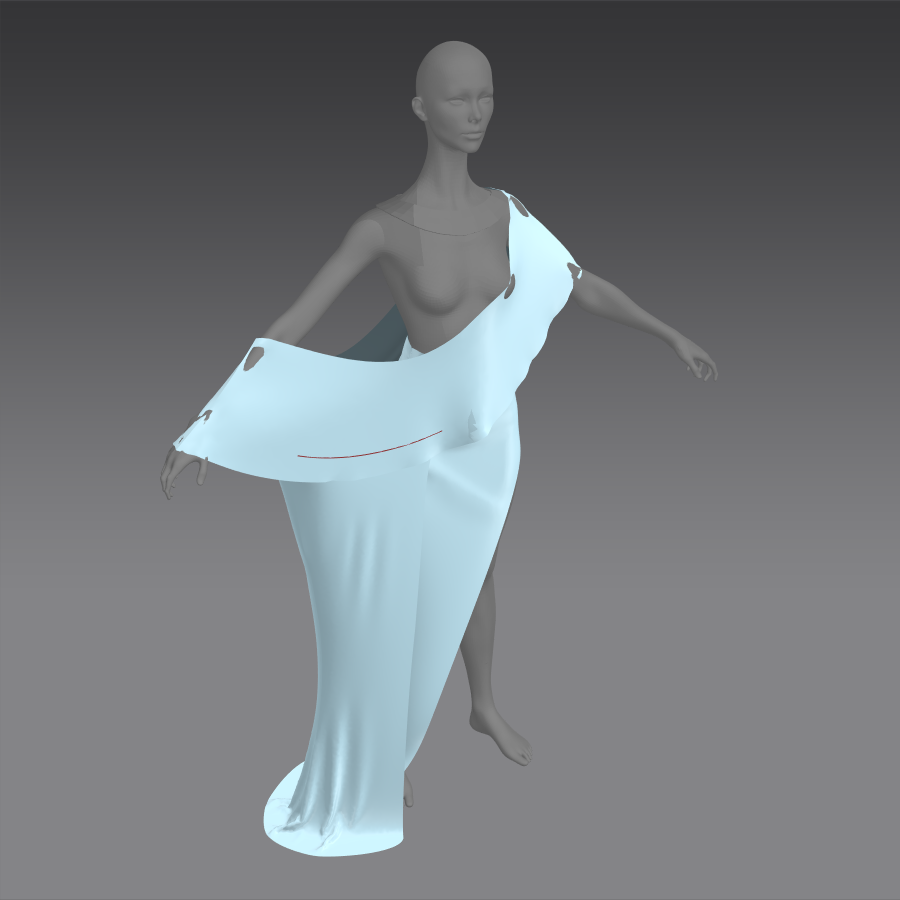
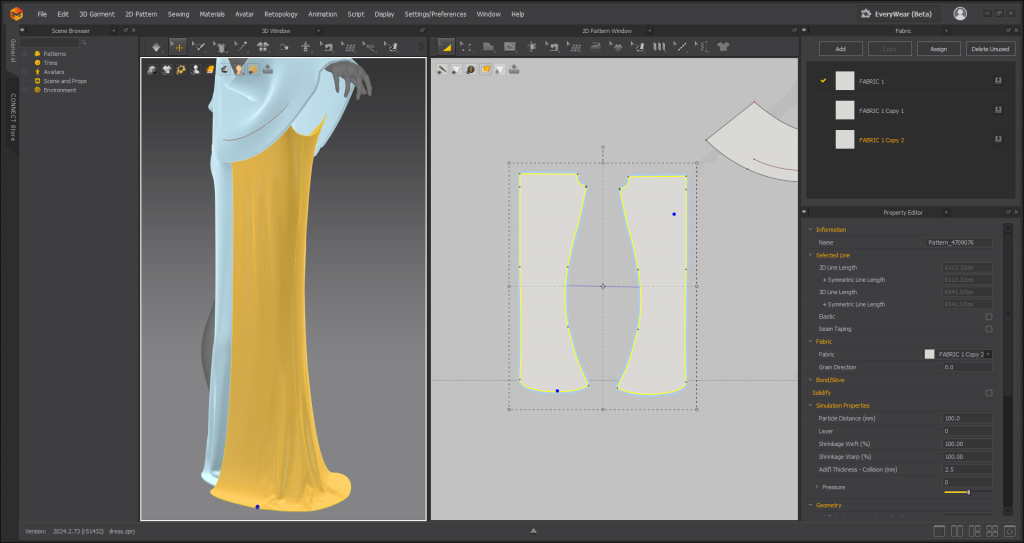
dress
This tack is locate on the cloth and will be moved if I move it before simulation
(the black part is caused by fliped normal, I fixed that later)
so this tool helped a lot — attach all pins to avatar
after importing the mesh into blender, I tweak their shape. I prefer the first one, because it can show the texture of the cloth and have a better body scale.
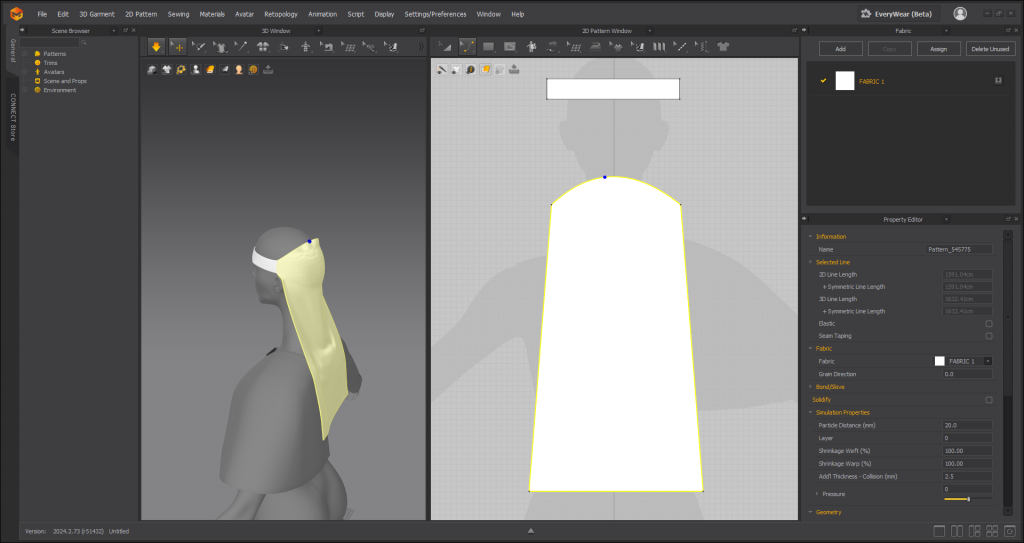
I try to use Marvelous Designer to make the headscarf. But I think it is not efficient as making this directly in modeling software. So I give up this plan.
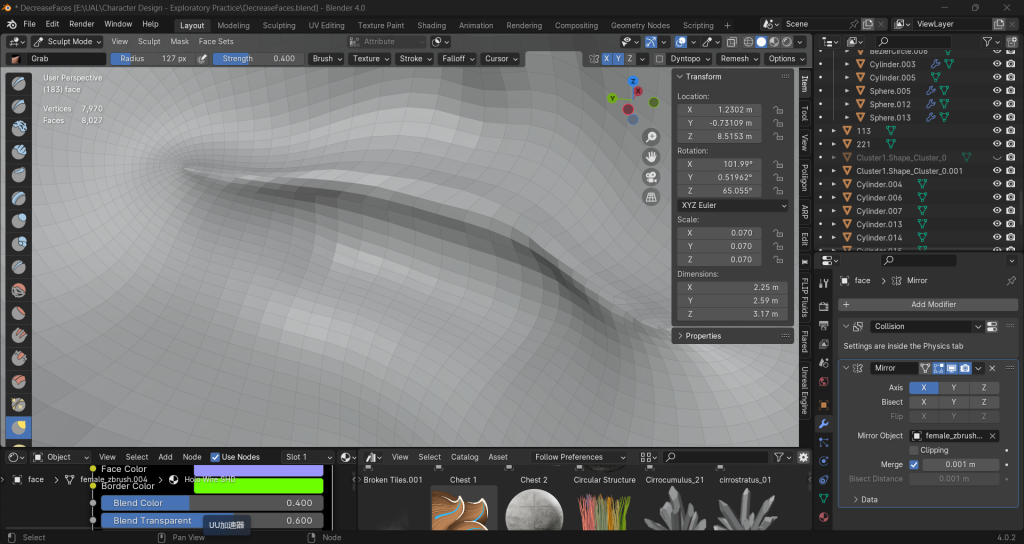
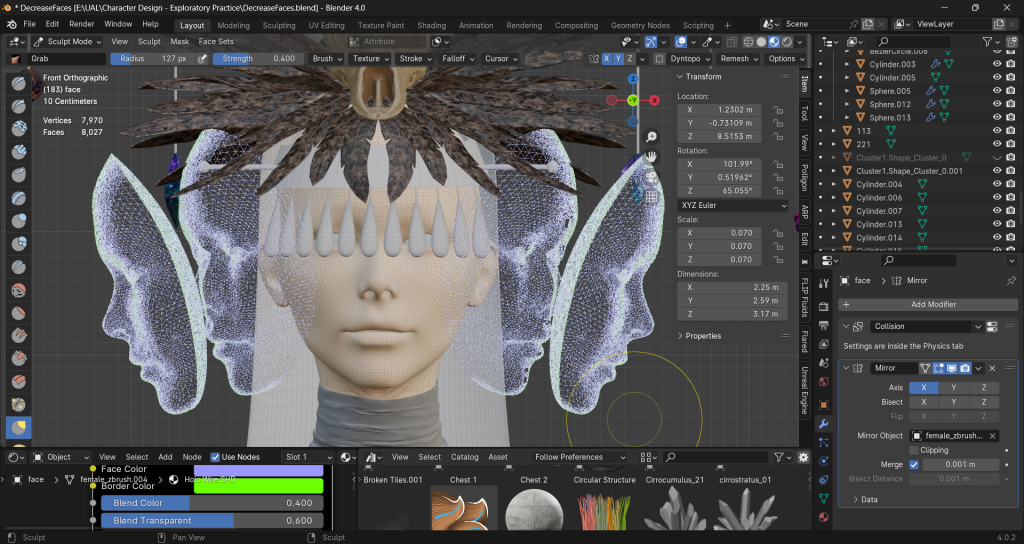
Although I Mark these two edges sharp, it will still become a rounded corner after subdivision.
So, indicated by what Amil taught in class, I added two edge loops to limit its corner in order to make it looks still sharp.
Decorations/Props
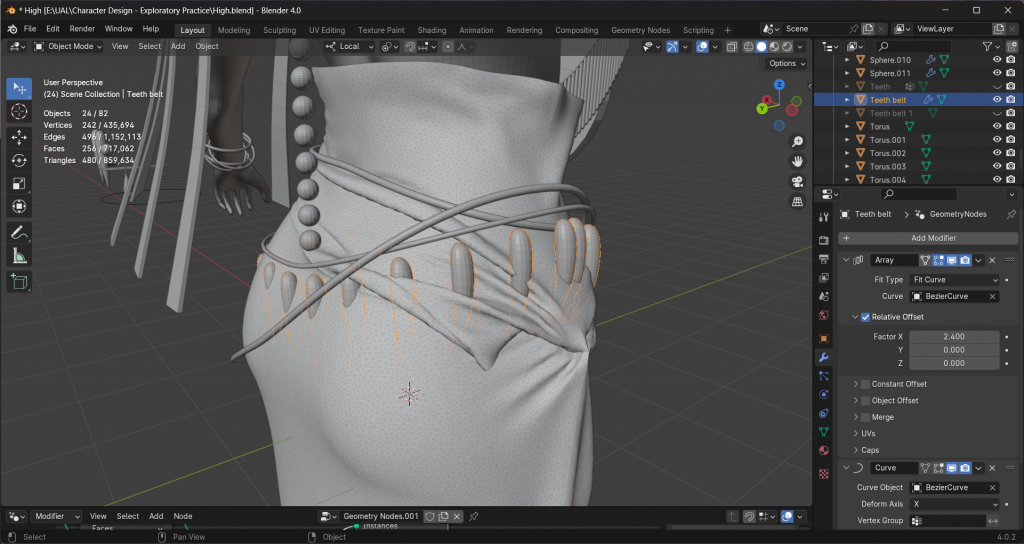
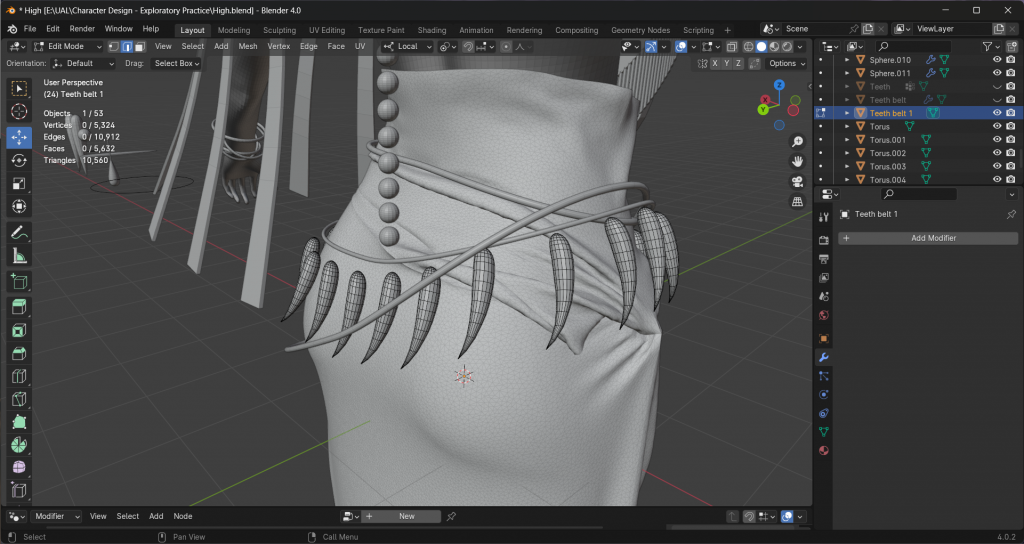
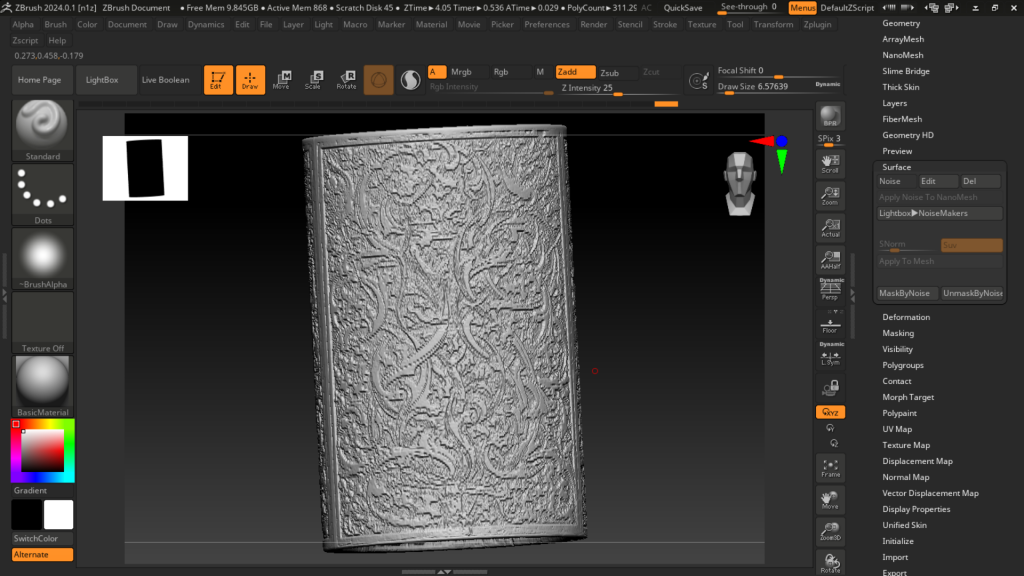
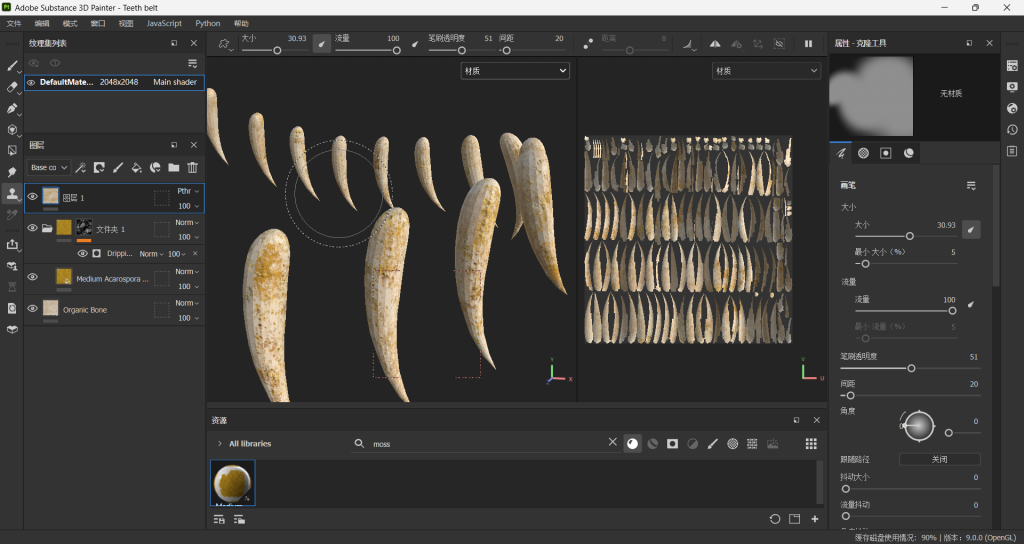
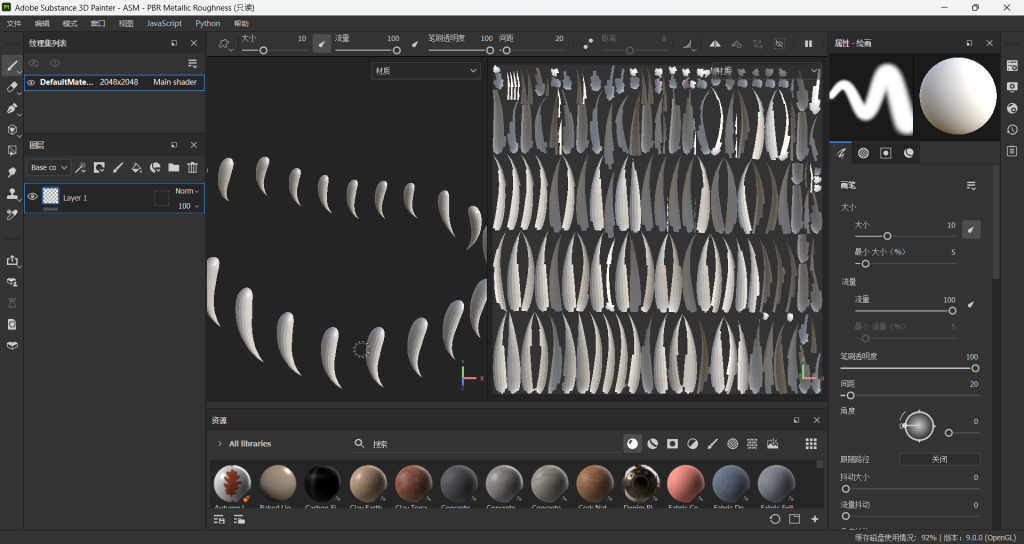
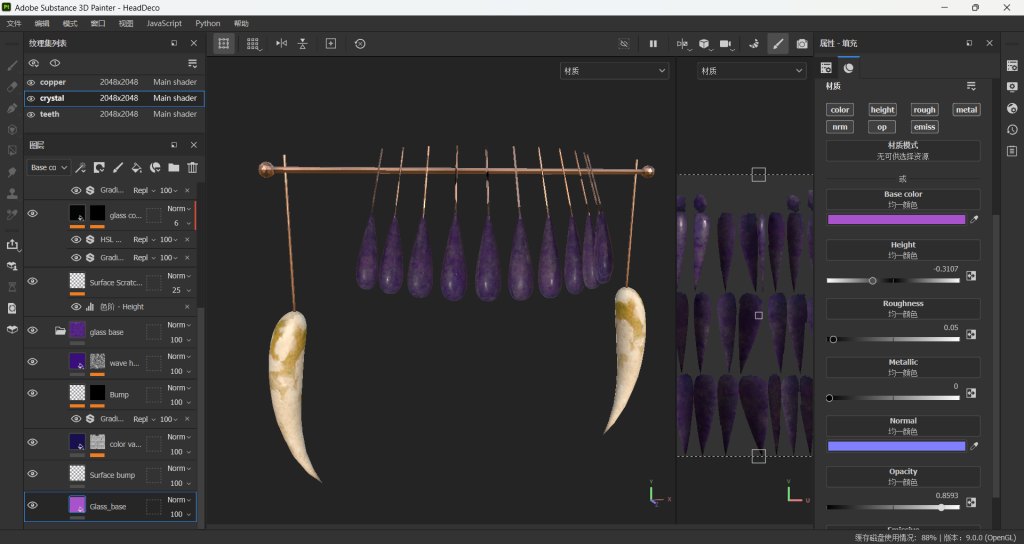
Teeth belt
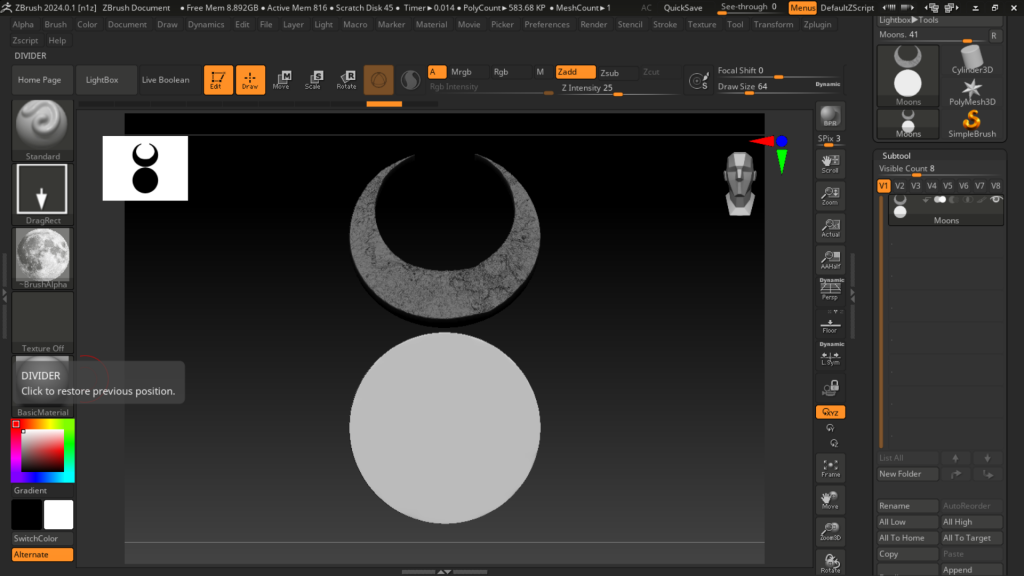
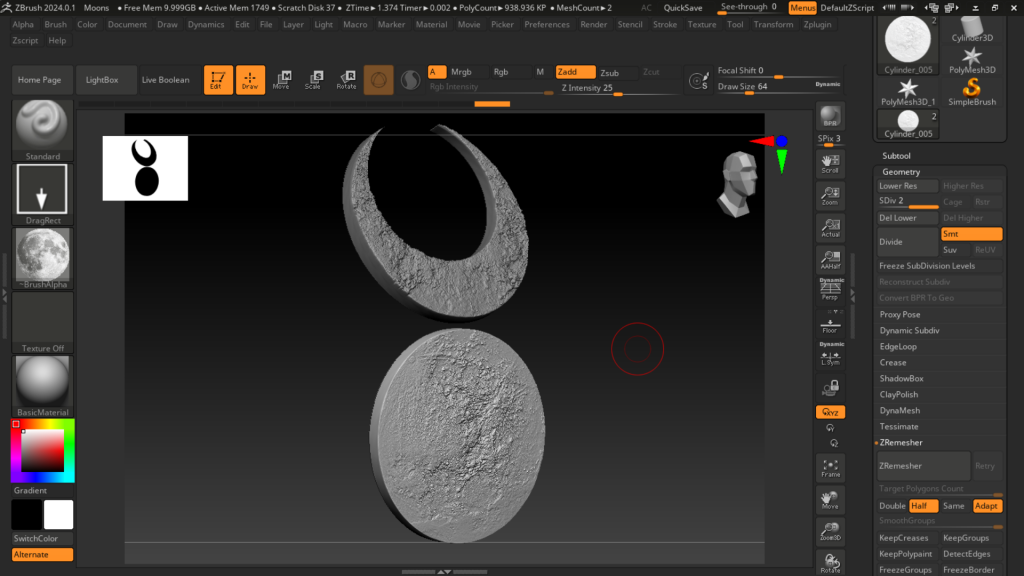
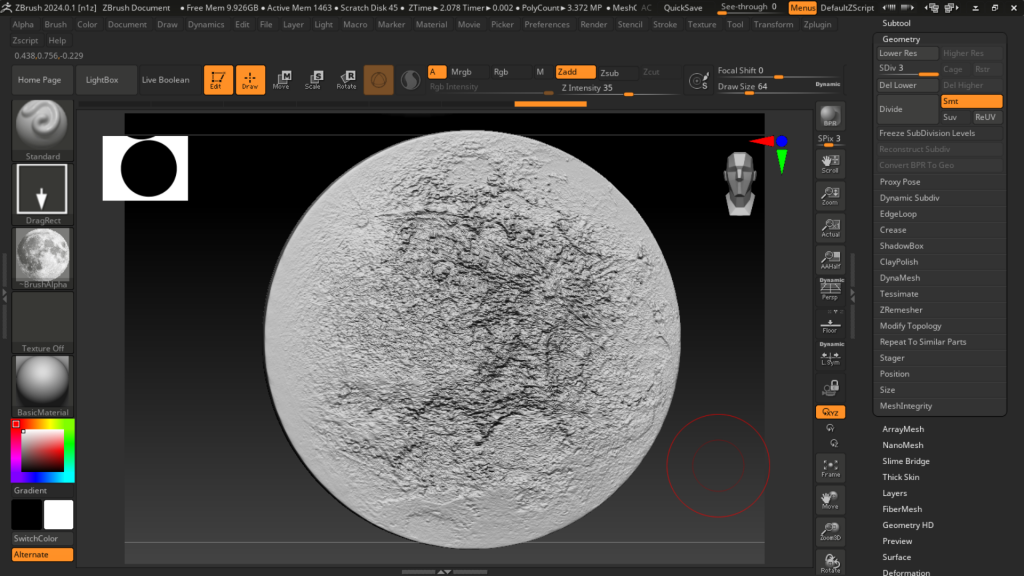
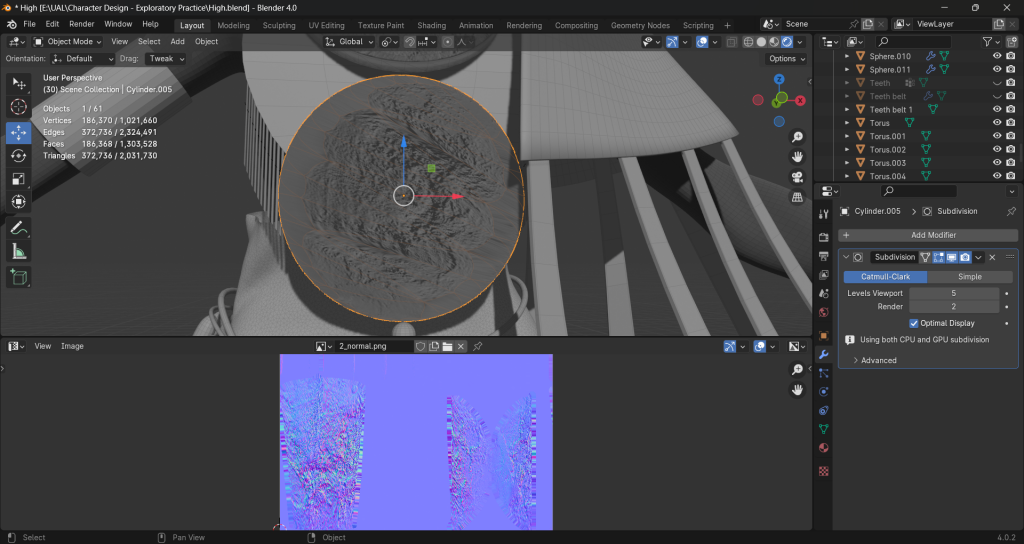
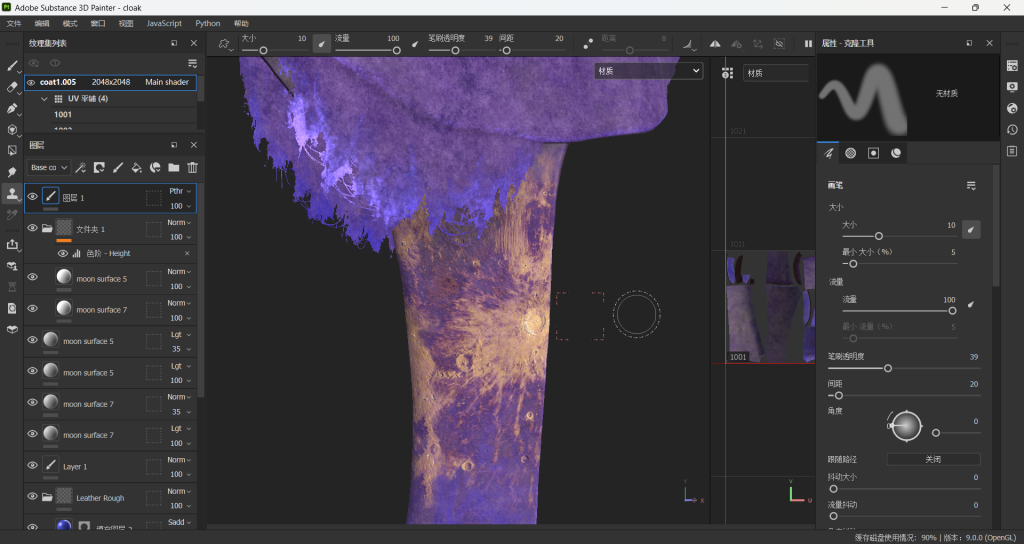
Moons
this version has divided for four times
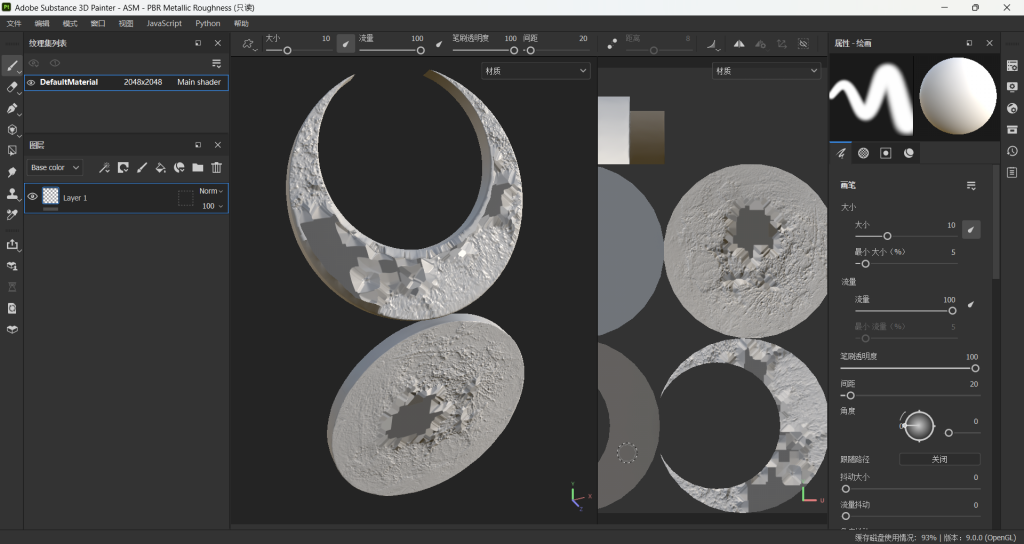
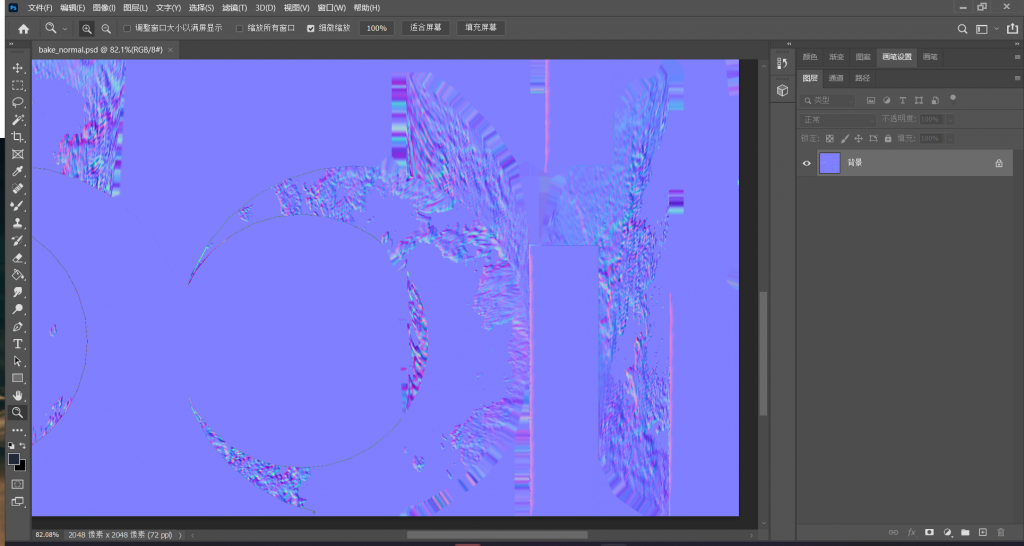
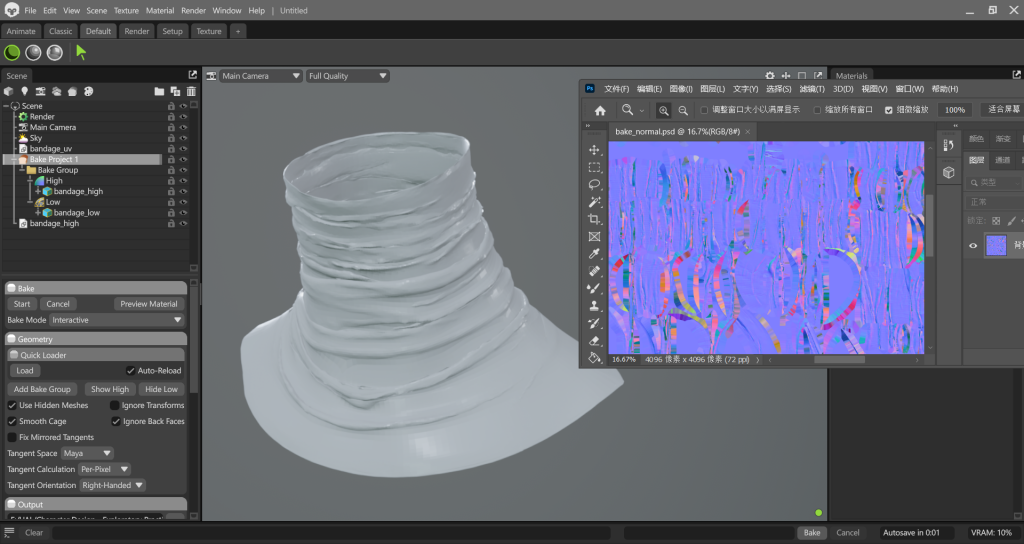
bake
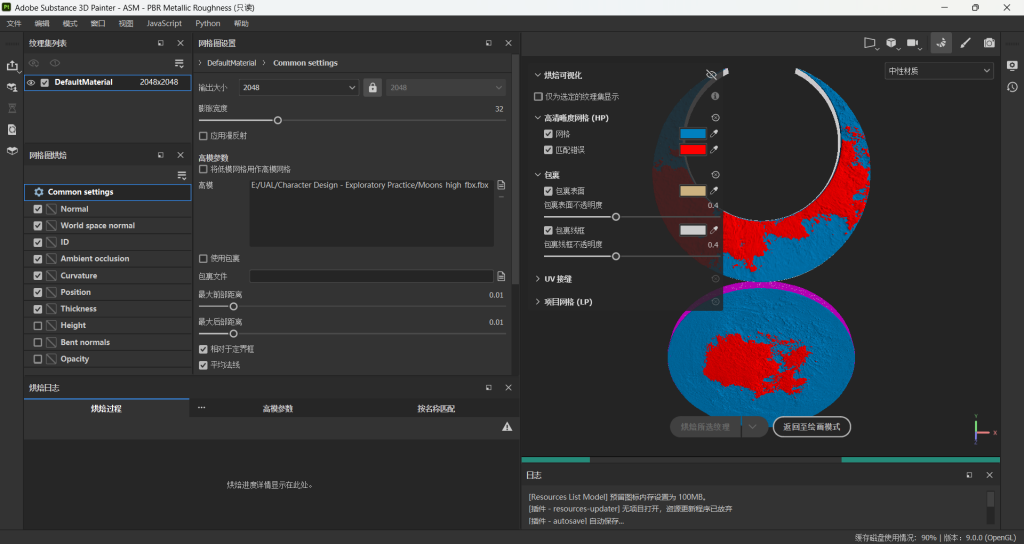
the baking process got some errors
I choose to use Marmoset to do the baking as it is a famous software for baking. But it still can’t bake.
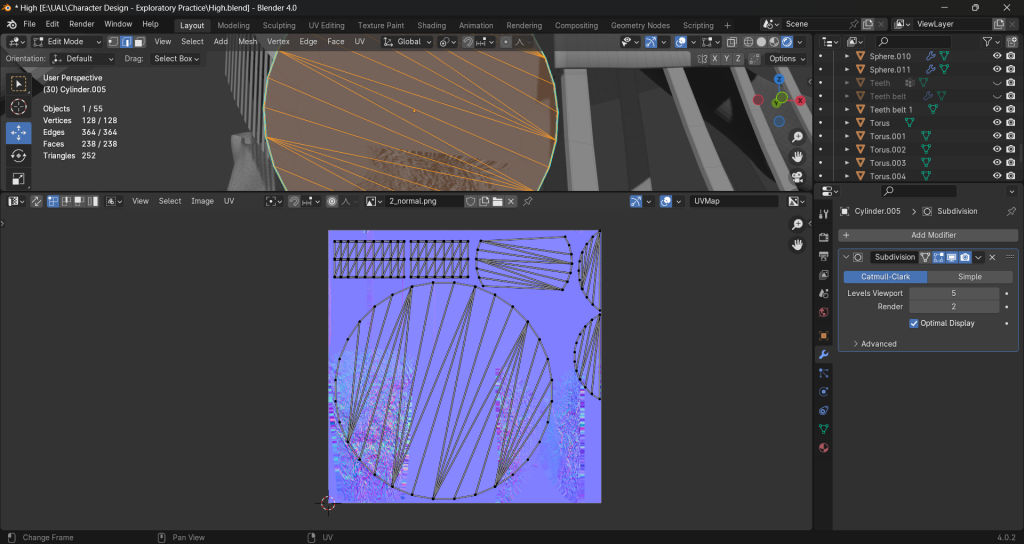
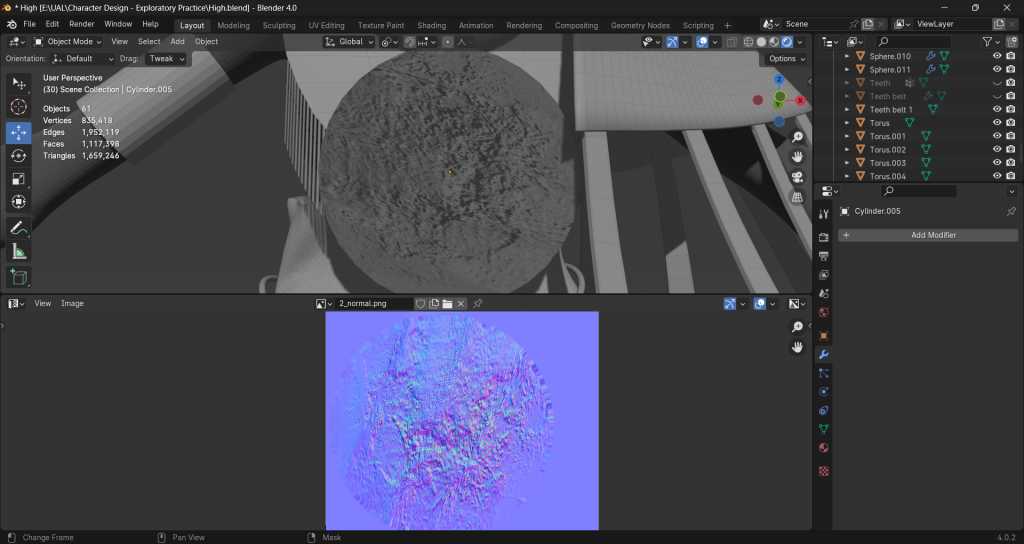
I think the problem is caused by the UV. The uneven distribution of uv cause lots of face is wasted when be divided in ZBrush. The back got few faces and the front had too many, so I can’t use Zremesher to decrease the number of faces(that will cause the front shape very blurred). So I redo the wire and topology for the original model.
This is how it looks now when only divided two times.
the first one looks great now, but the second one has too many stretching details. I am going to cut its uv again to fix it.
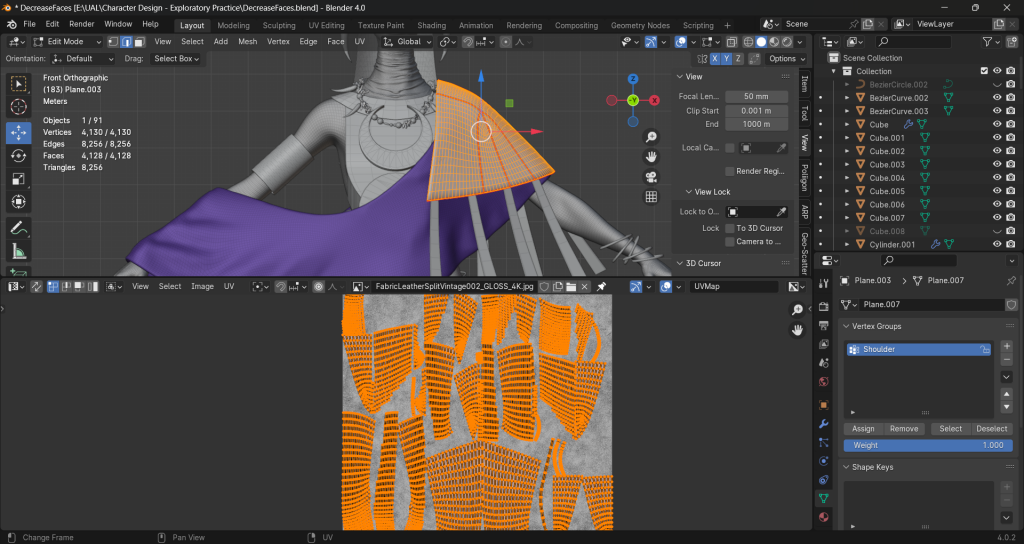
Armlet

Necklace
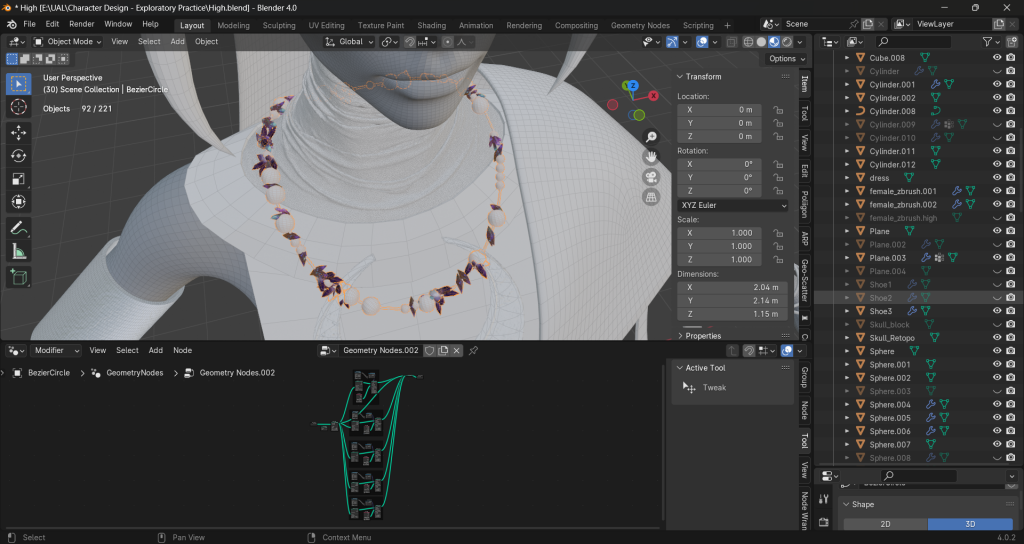
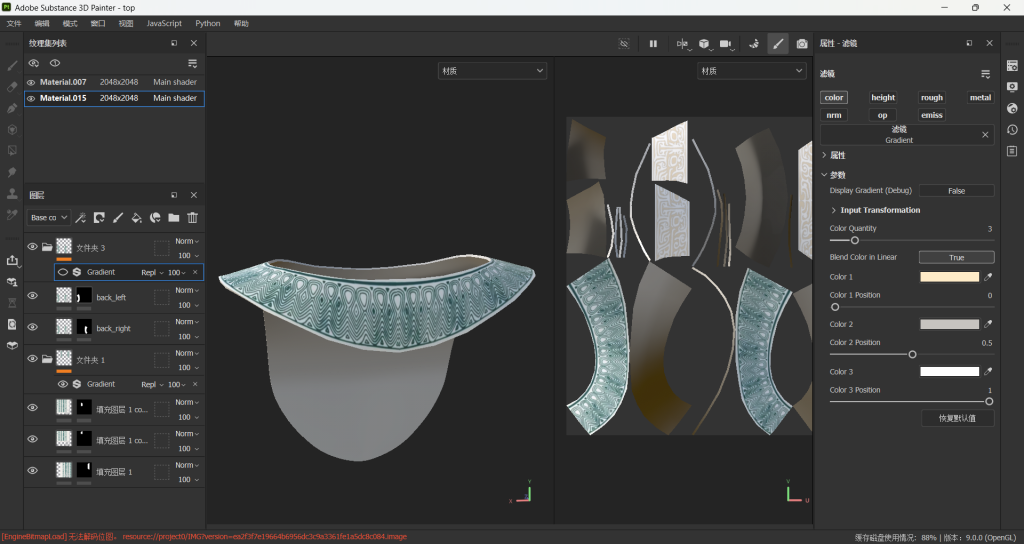
geometry node single group
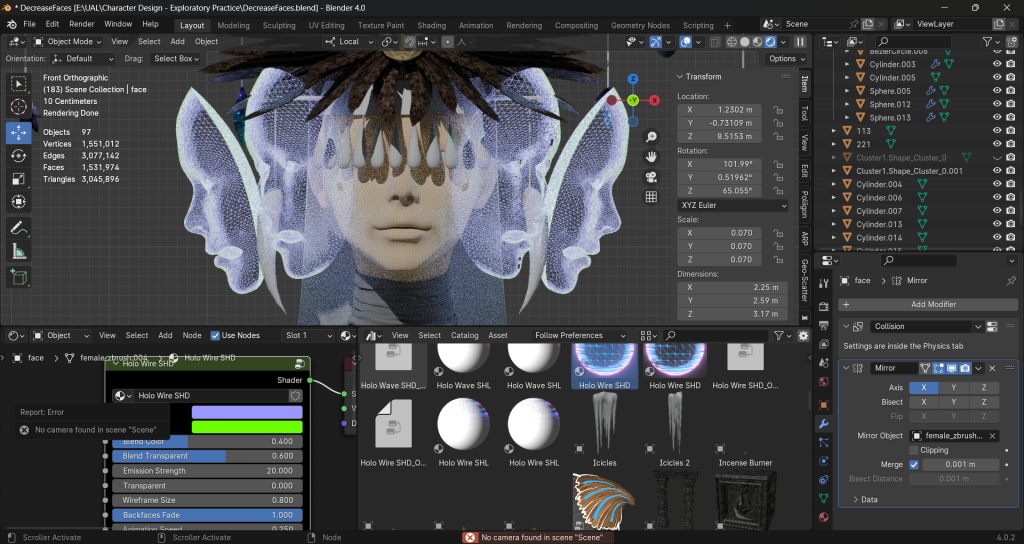
I tested some hologram materials after that.
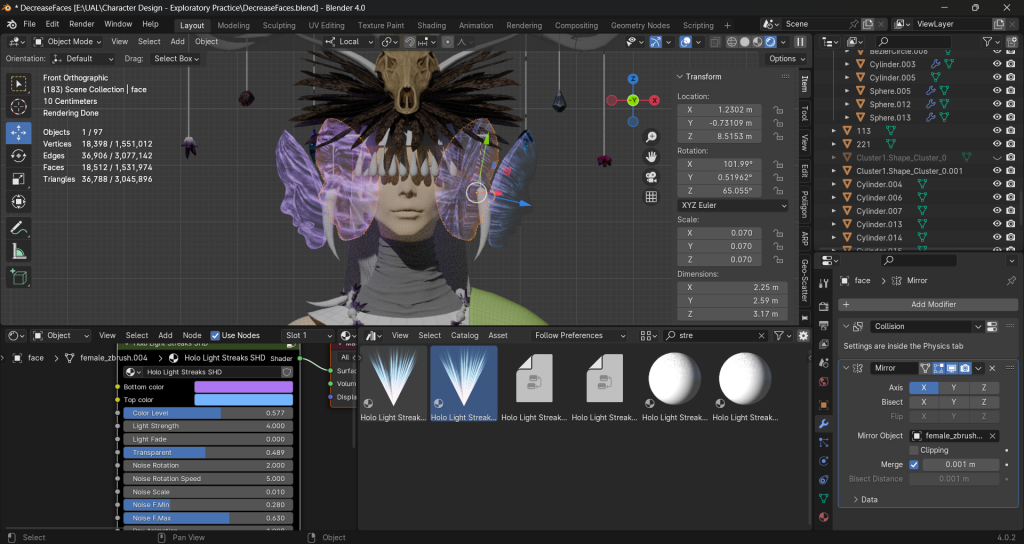
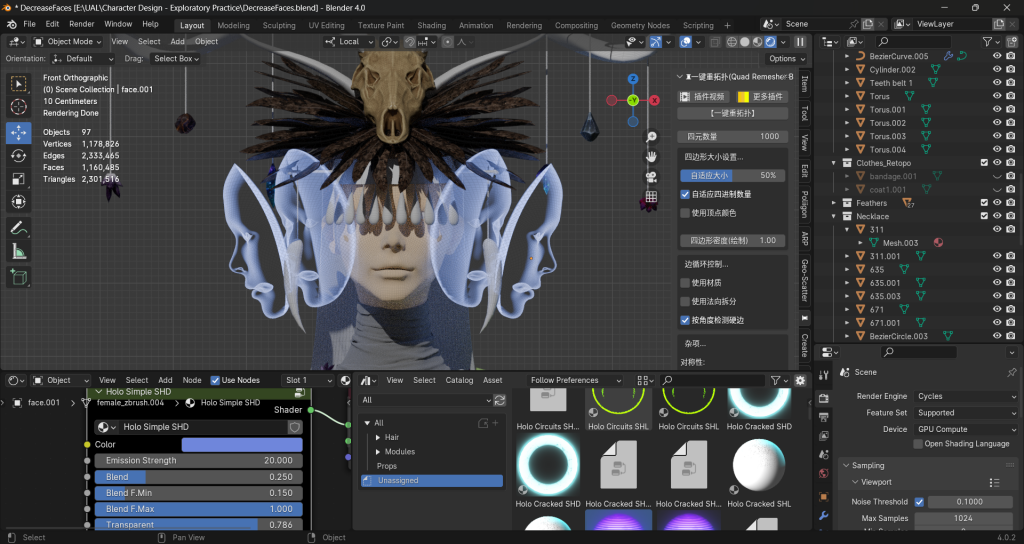
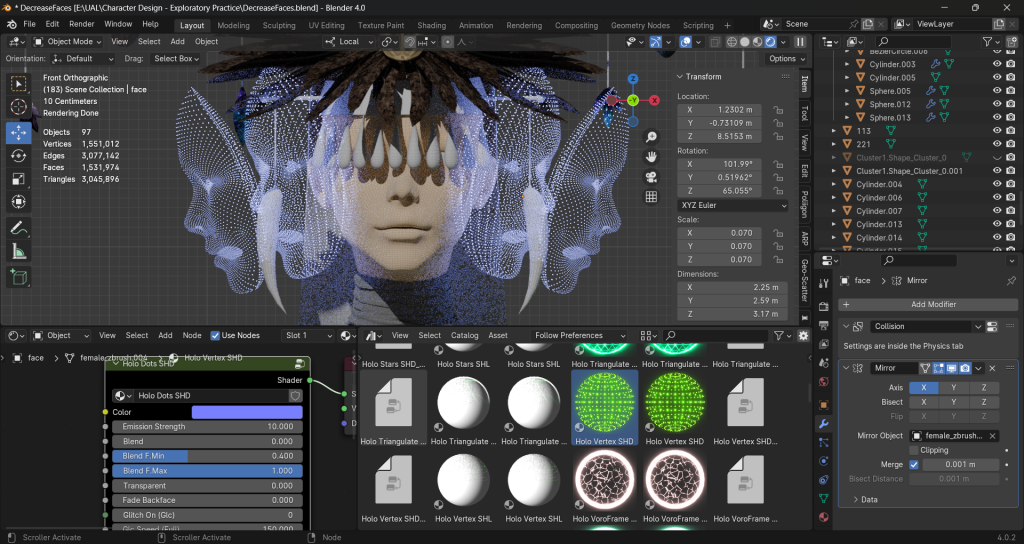
I remove the inner space of the mouth so it won’t be strange when under transparent materials.
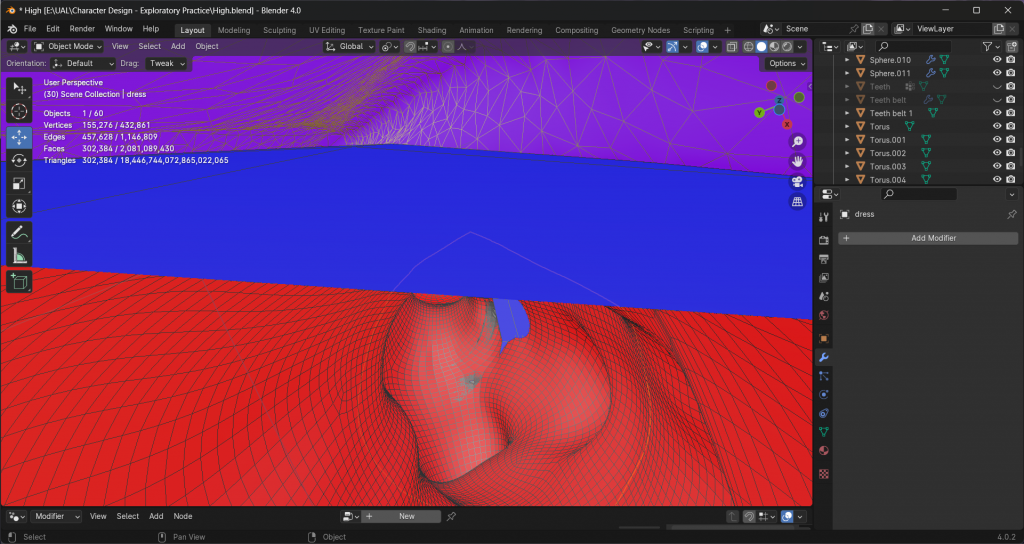
Normal Check
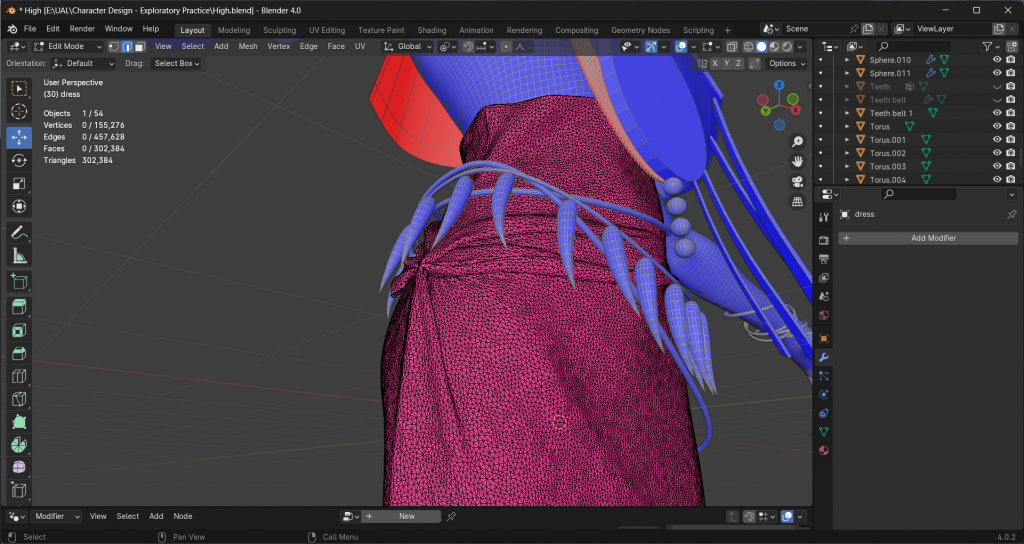
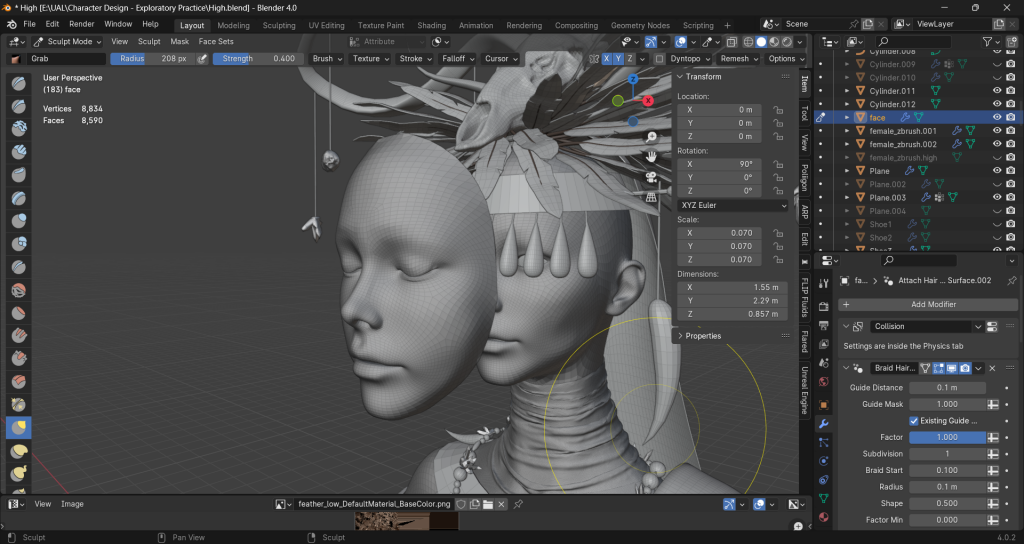
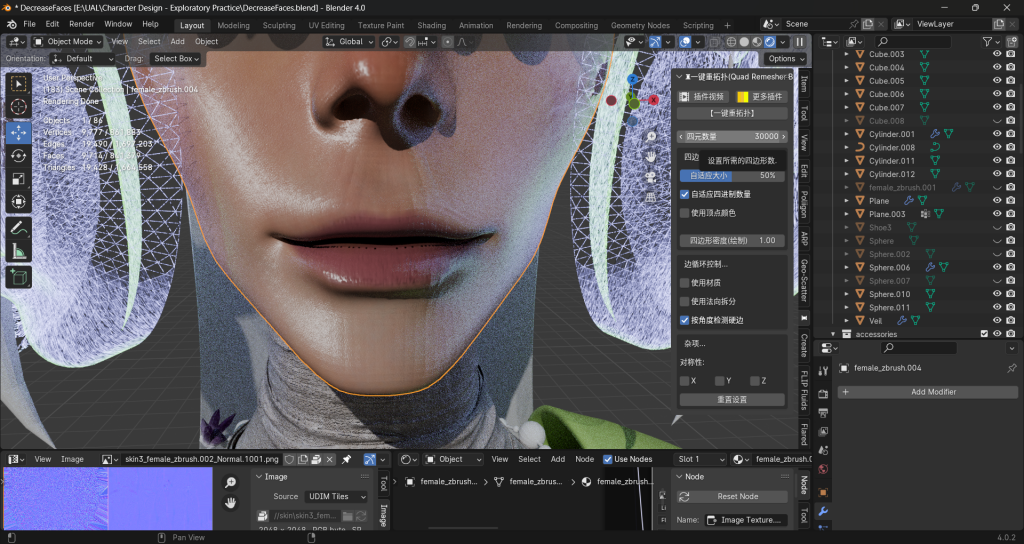
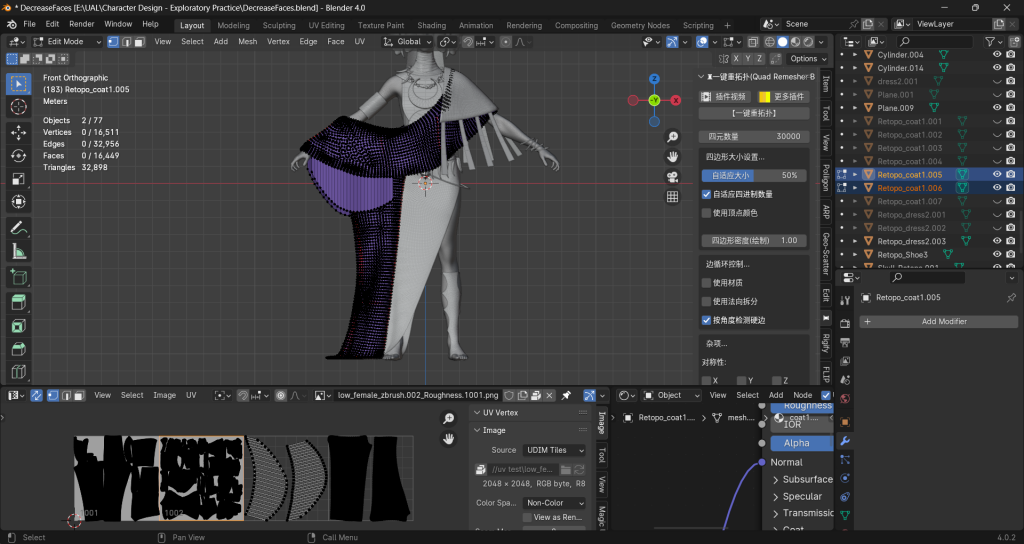
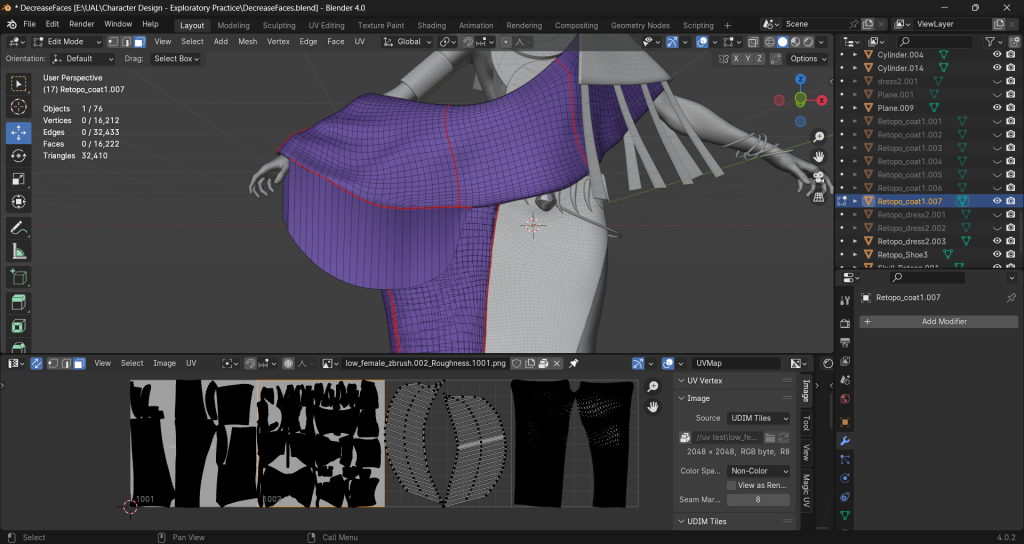
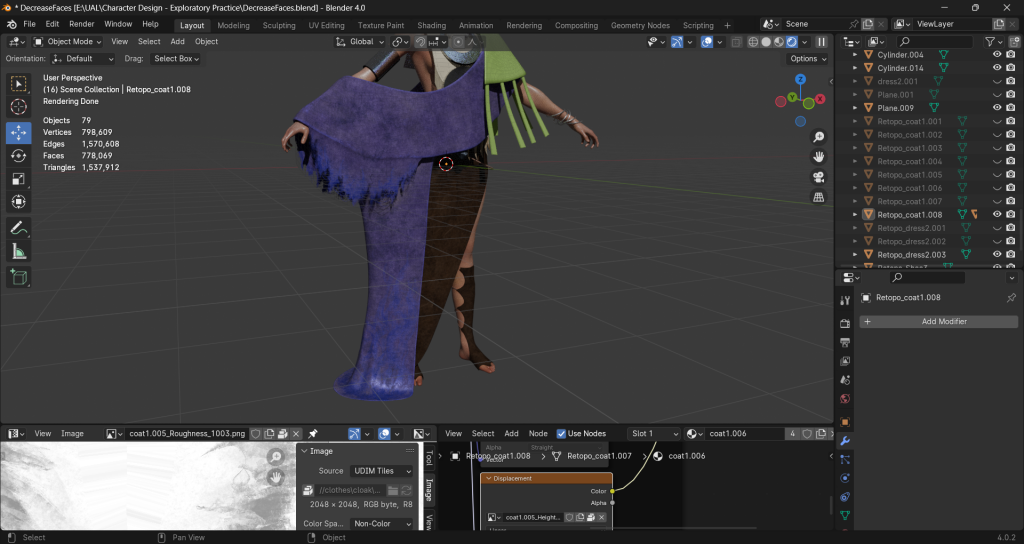
Clothes Retopology
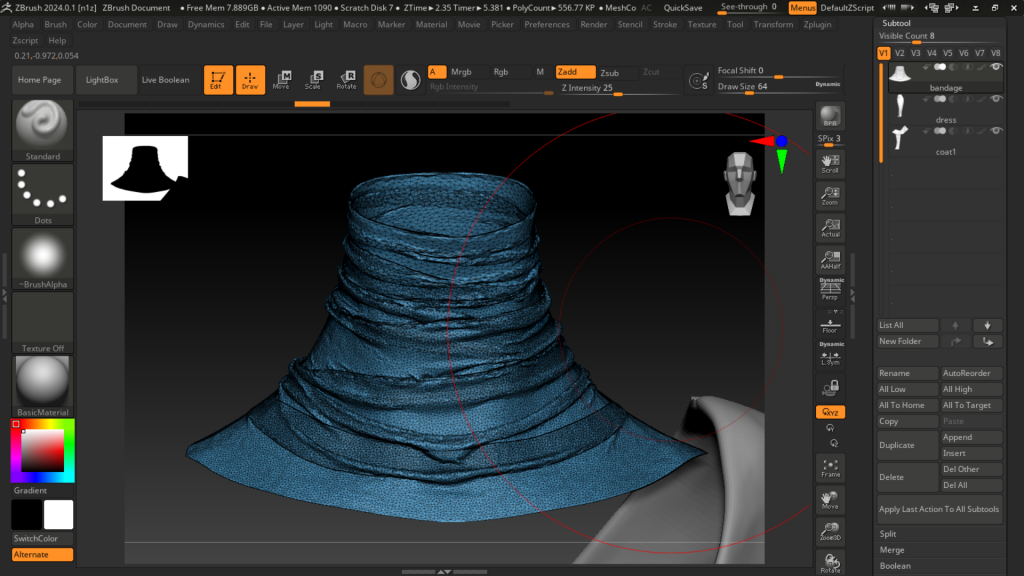
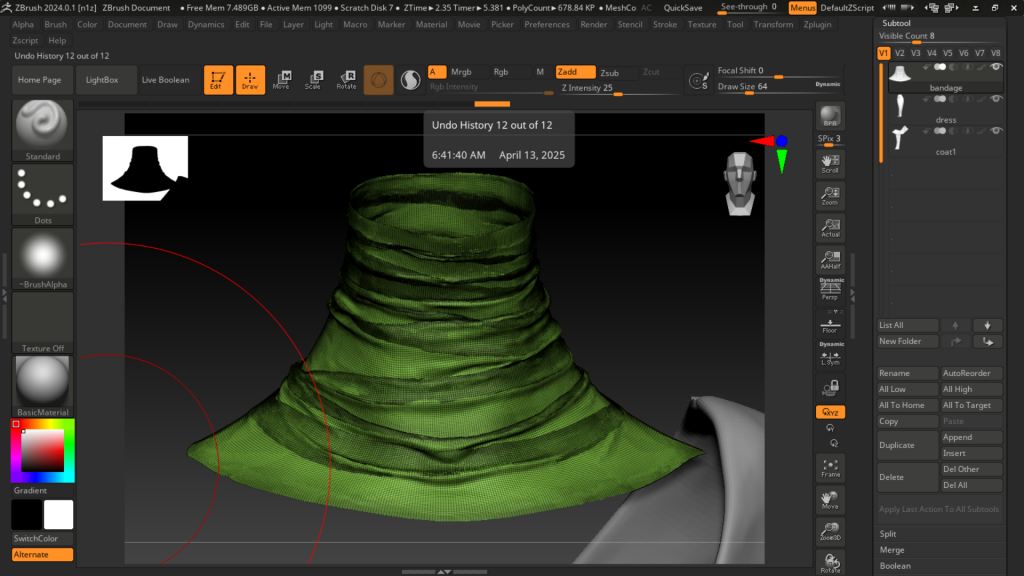
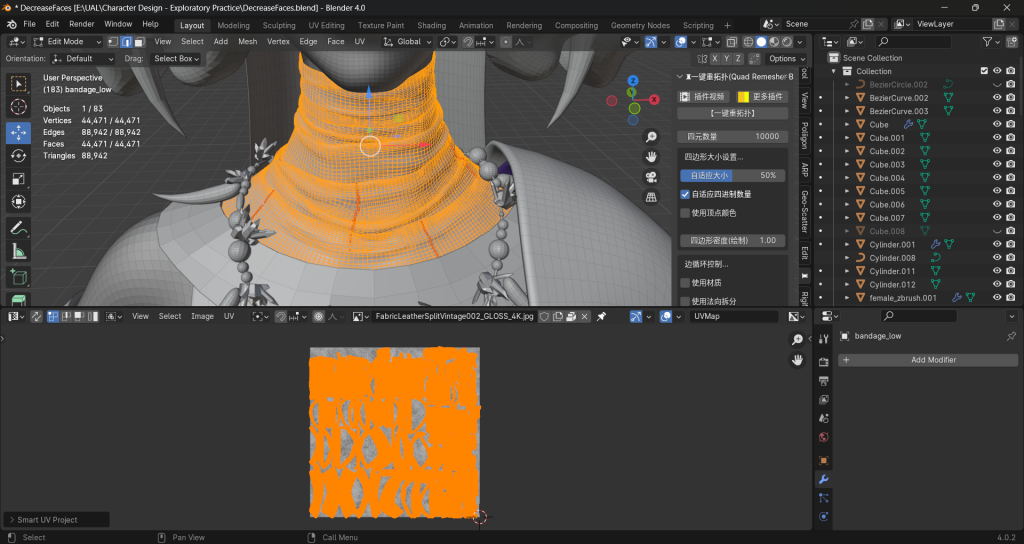
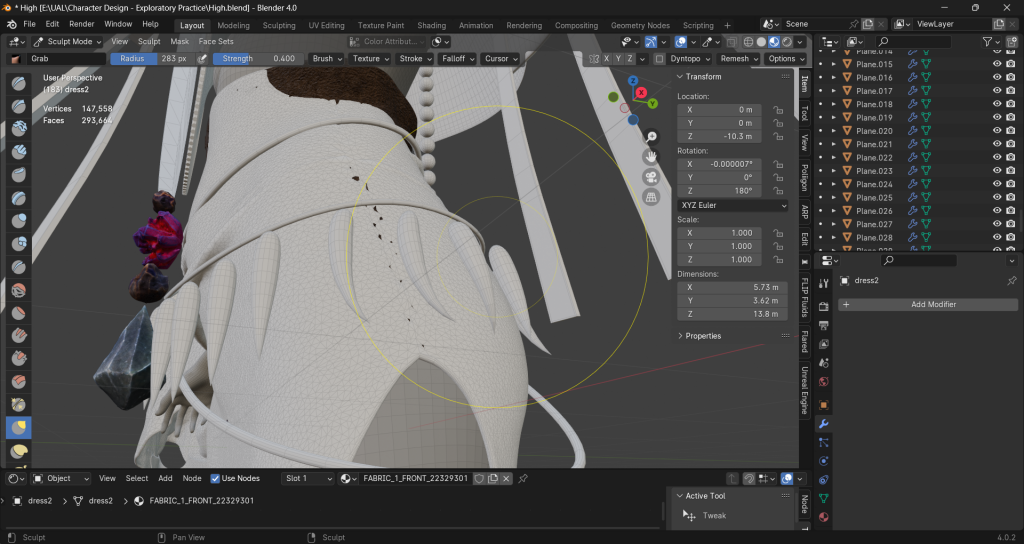
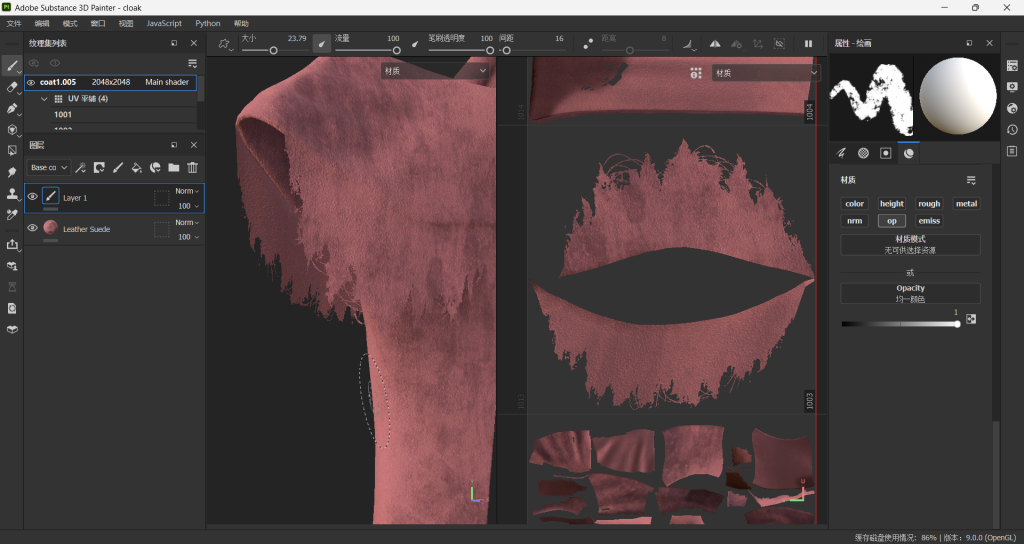
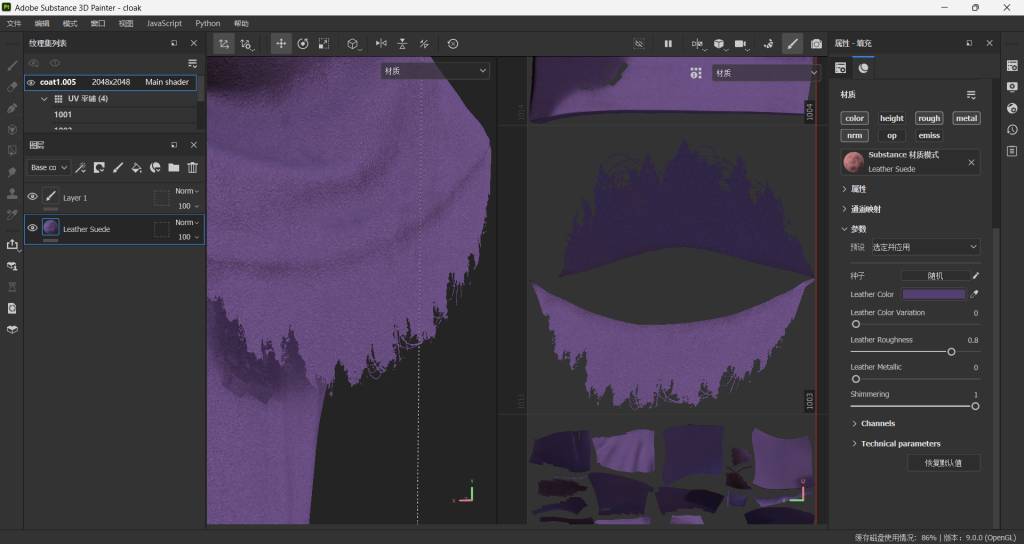
Amil said the bandage has too many polys. So I put it into zbrush to retopologise it again to decrease faces. Then I am going to do the baking and materials in Substance Designer
bake in Substance Painter has some errors. There are some black spots on the model. So I decide to try marmoset toolbag.
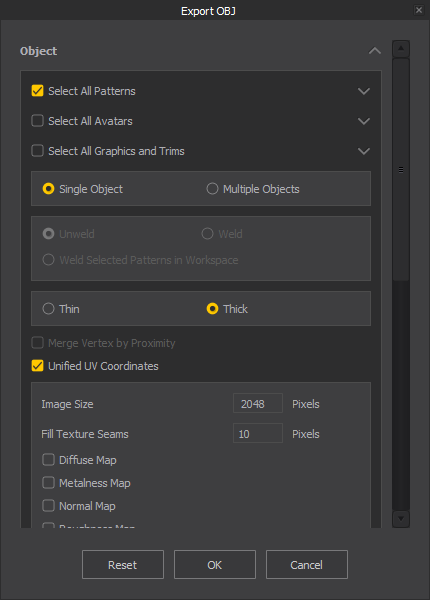
The retopo of the dress failed. Due to the normal check in Blender, I think the export from Marvelous Designer has some problems.
I re-export the dress and now it has thickness. I think the error was caused by I chose thin when export OBJ.
And I have done some tweak on the last version to make it fit the model. So now I need to do that again on this new one.
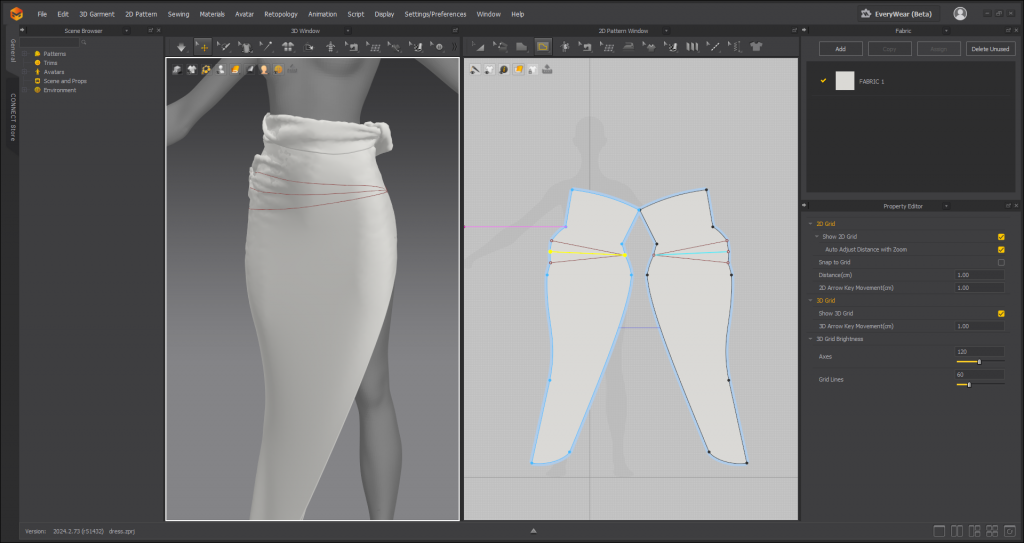
This line is not connected when it’s imported. So I manually sew them together.
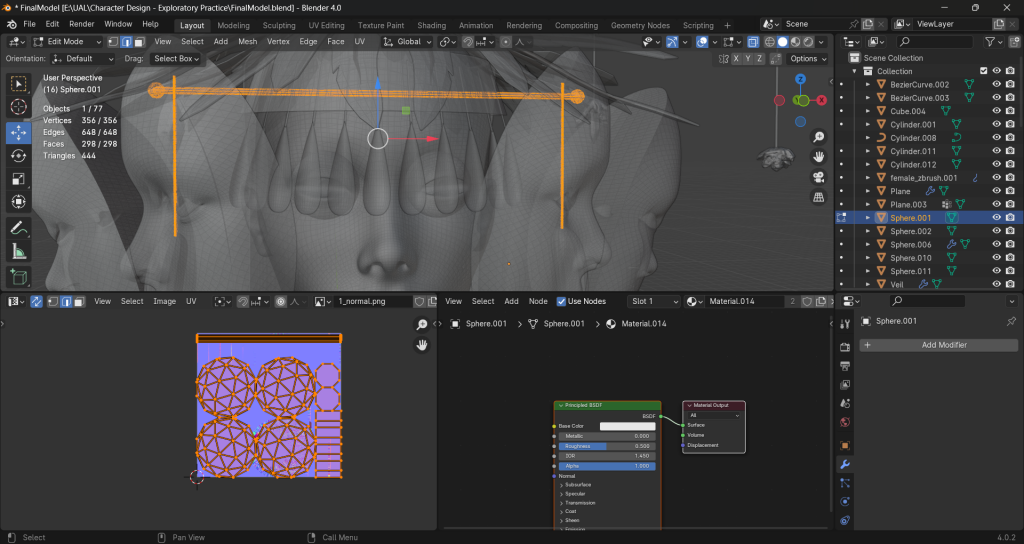
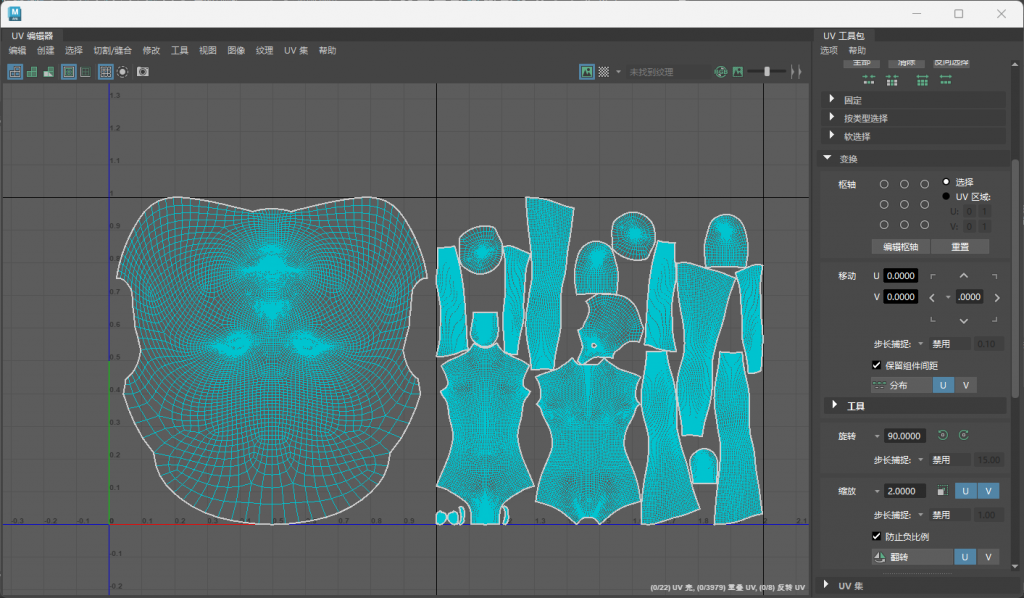
UV unwrap
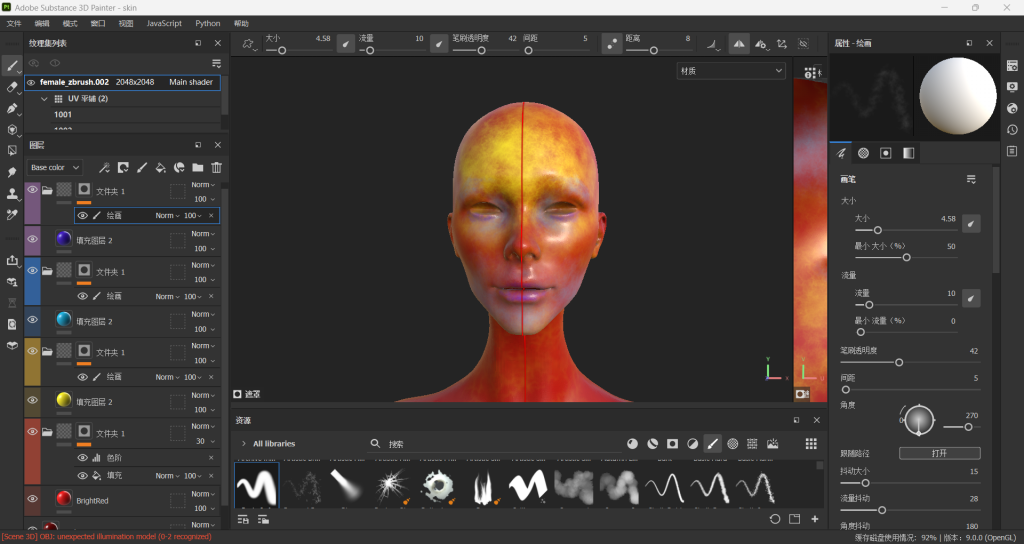
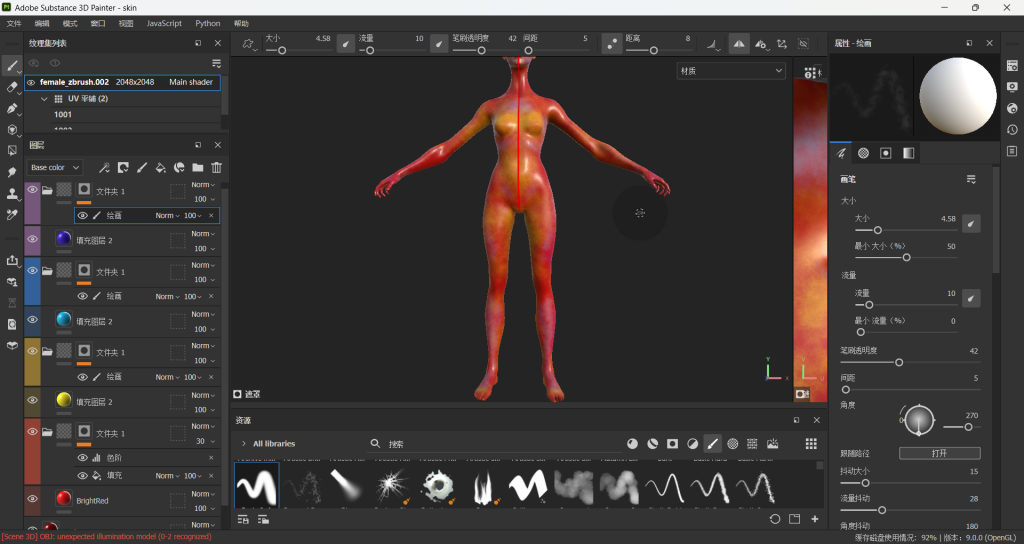
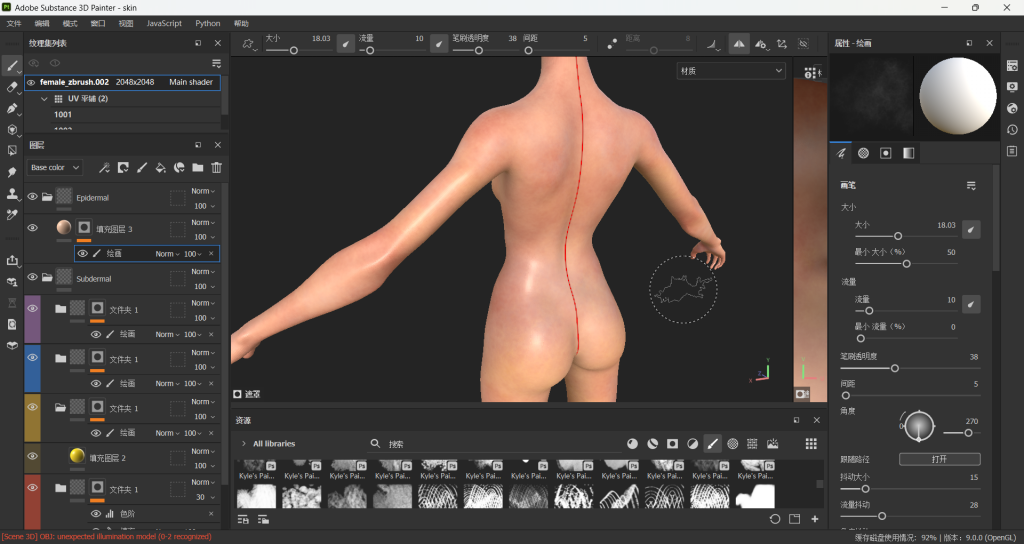
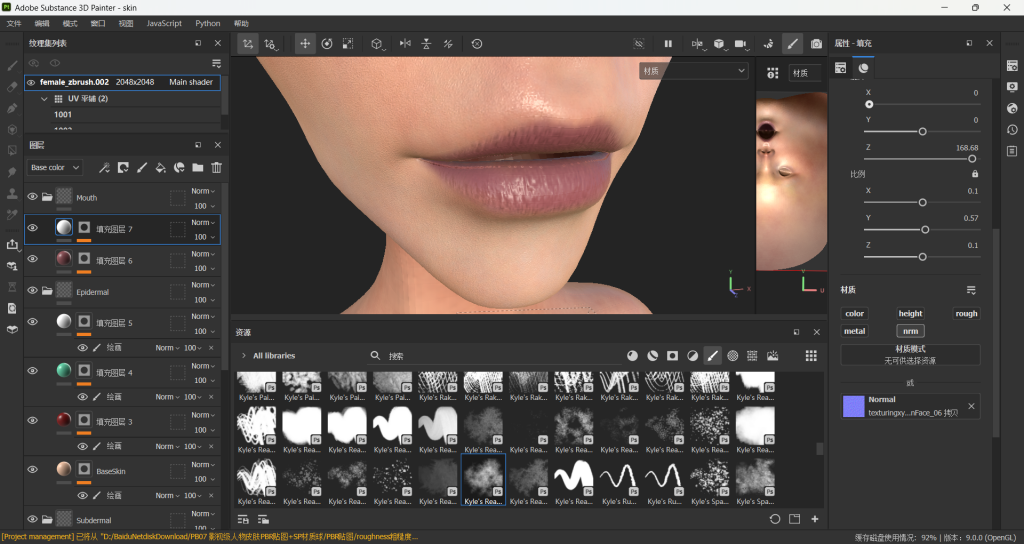
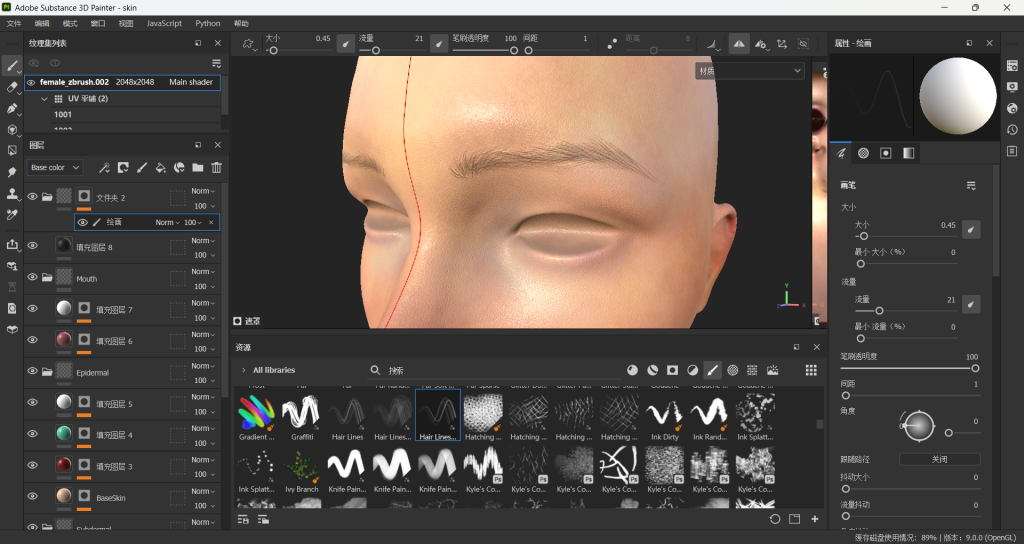
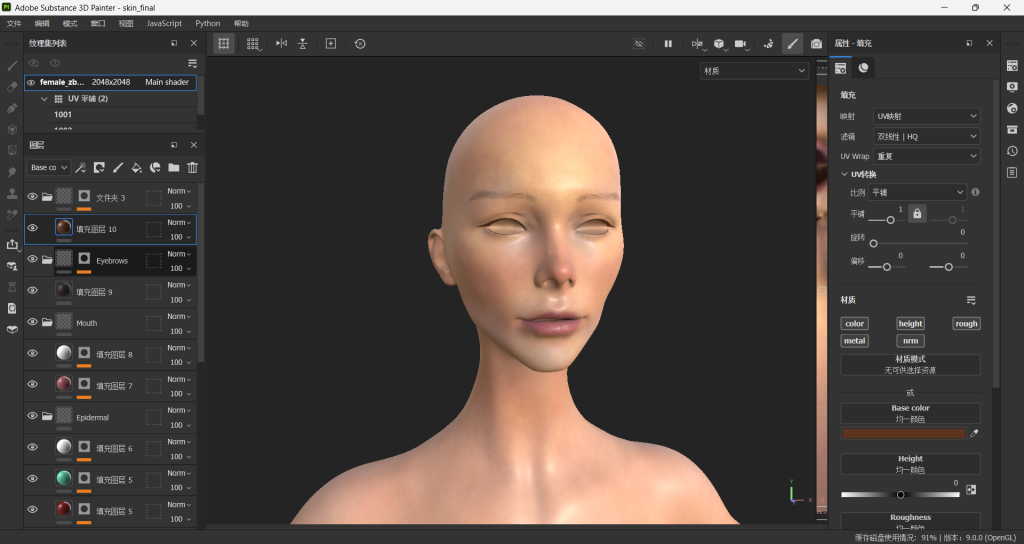
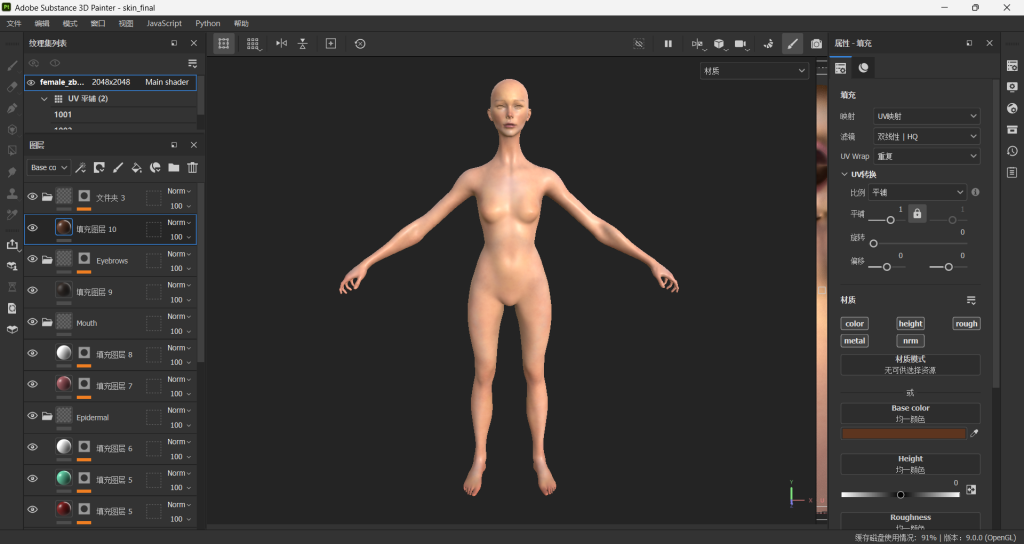
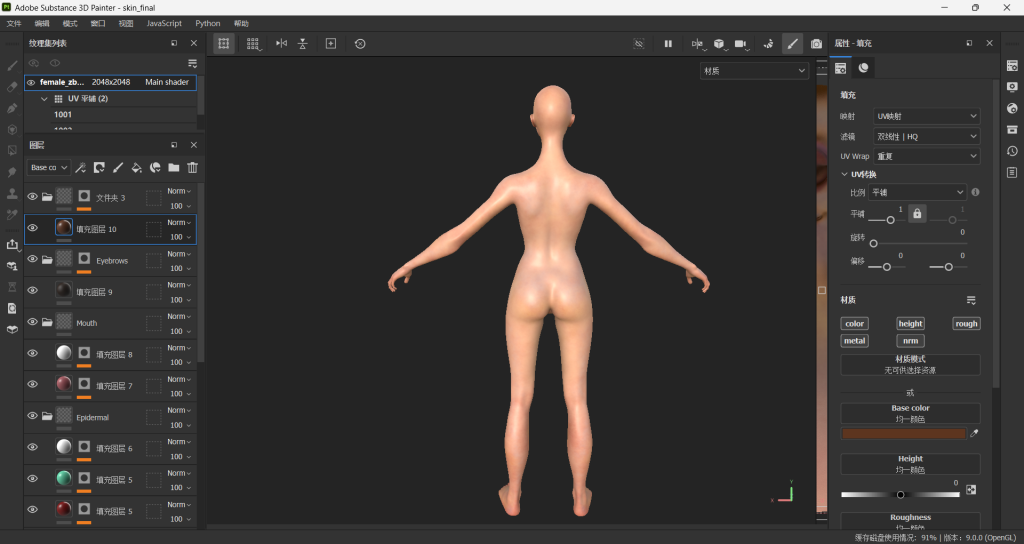
Skin Material
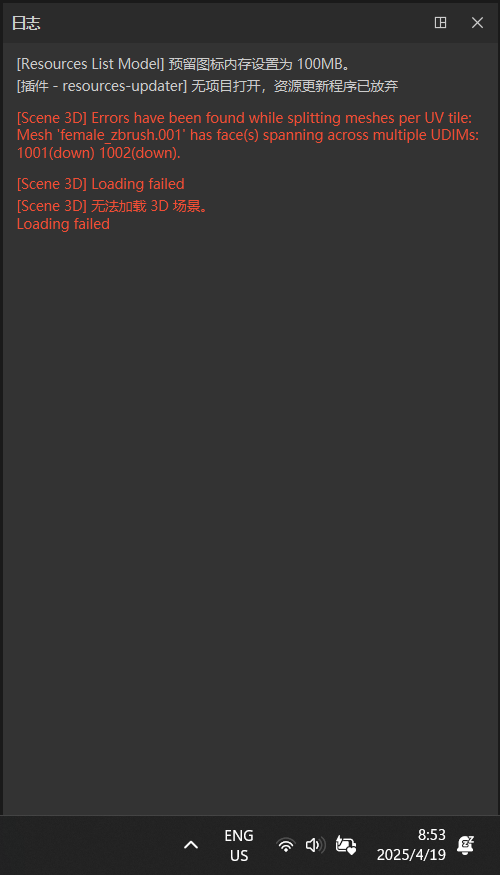
I use udim in Blender for the body. But when I import it into SP, it fails to load
So I put the model into Maya to use the udim. But the error still exist when be imported into SP. Then I change to export OBJ from Blender and it’s working this time.
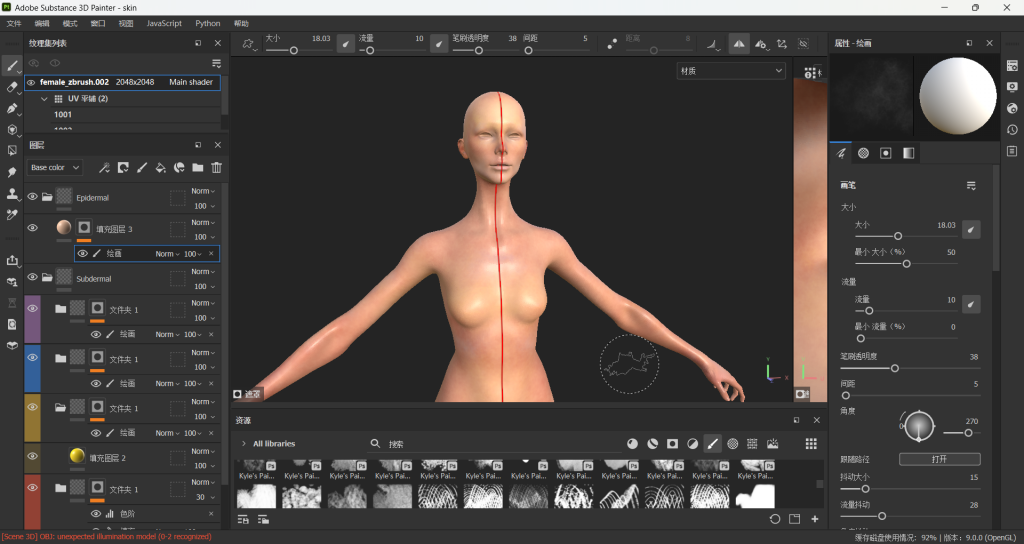
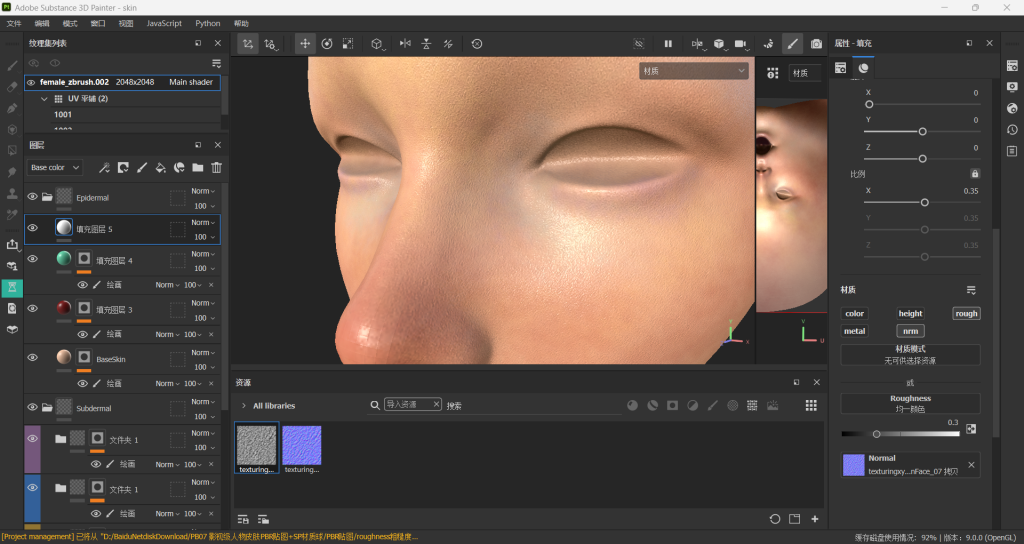
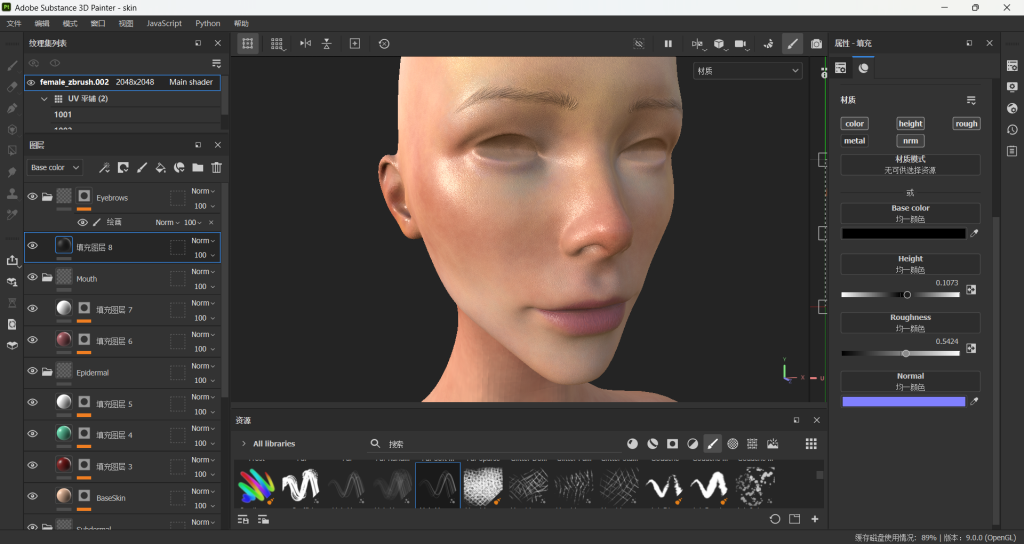
there’s some problem with the normal map.
I tried to bake it under multiple different resolutions, but it still have this kind of grids.

I went to ask Amil. After our discussion, Amil said it’s because OBJ file doesn’t contain smooth group. So I show him the UV that reports error in SP. Amil asked me to scale down a little so the uv shells won’t touch the boarder. Now it is working in SP. The only problem left is that I have to do the whole texture again since they are different file type.
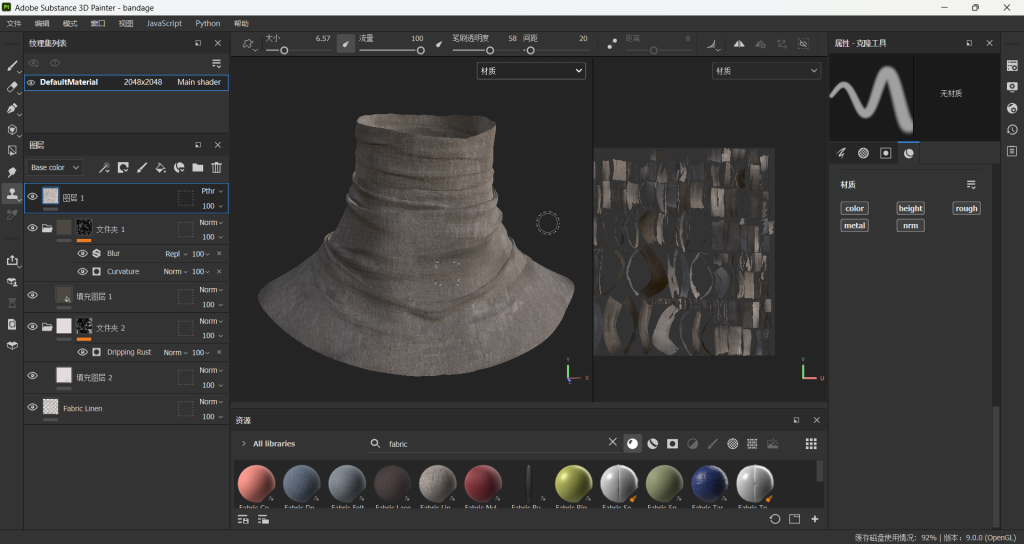
Materials
teeth belt material
I blend bone material with some moss. Then I add a passthrough paintover layer to fix some obvious seams.
I have baked this once before this screenshot. It had lots of error faces after bake. I searched and found someone says it’s caused by the GPU drive. So, I went to update it and it’s working correctly now.
The blog: http://xhslink.com/a/dFd2WHg8AVDab
fabric material test
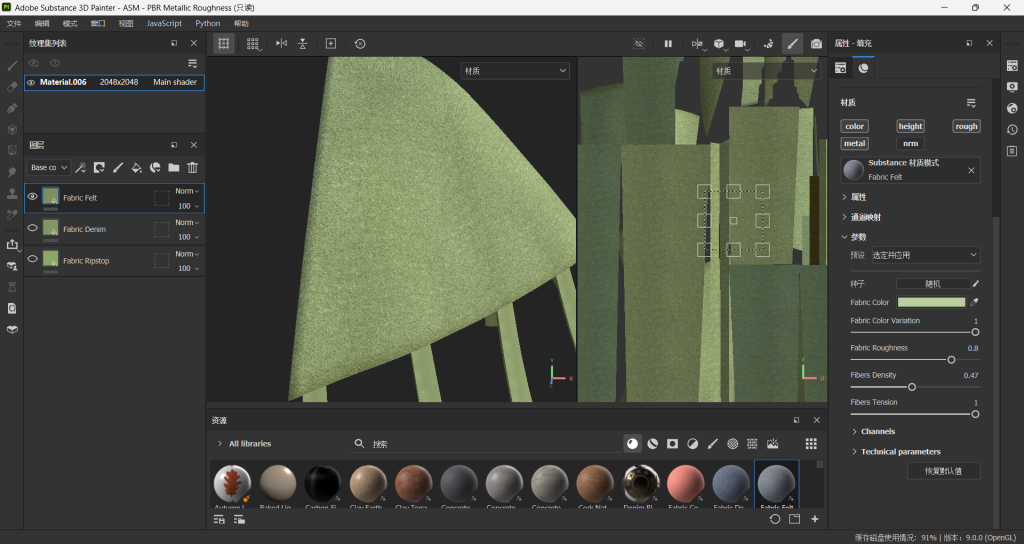
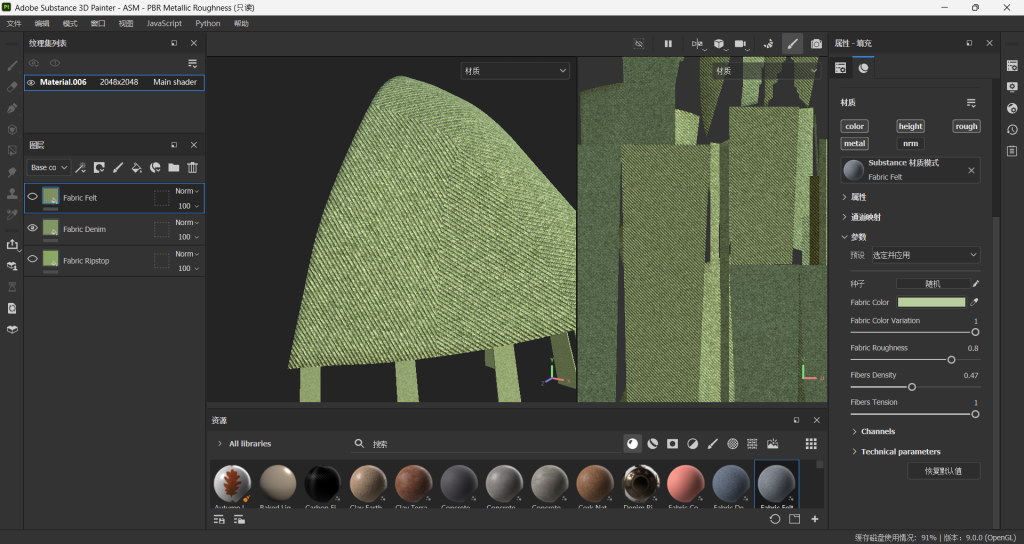
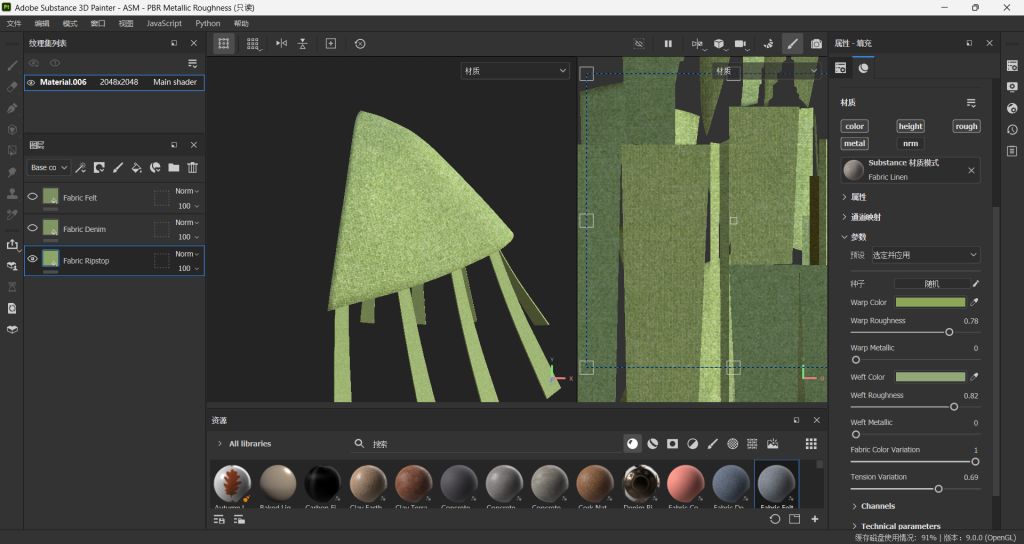
I ask Emerald, and she says she prefer the felt one. I am struggling within these three. I think if there’s only felt, the whole material is a bit boring. I want to add some slight texture on it. I decided to blend the linen normal with felt, so the material of this fabric looks more in line with the shamanic theme, more natural and also with traces of artificiality.
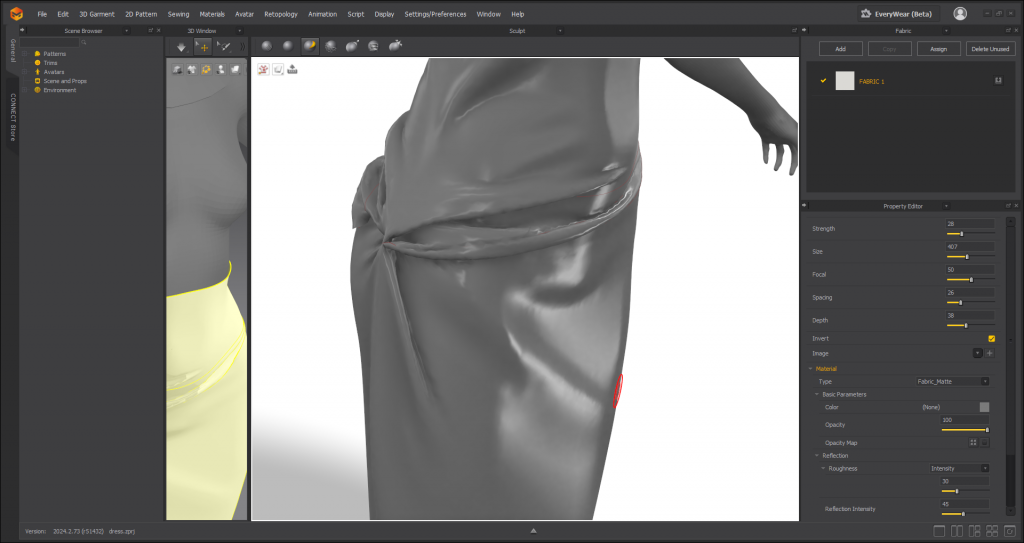
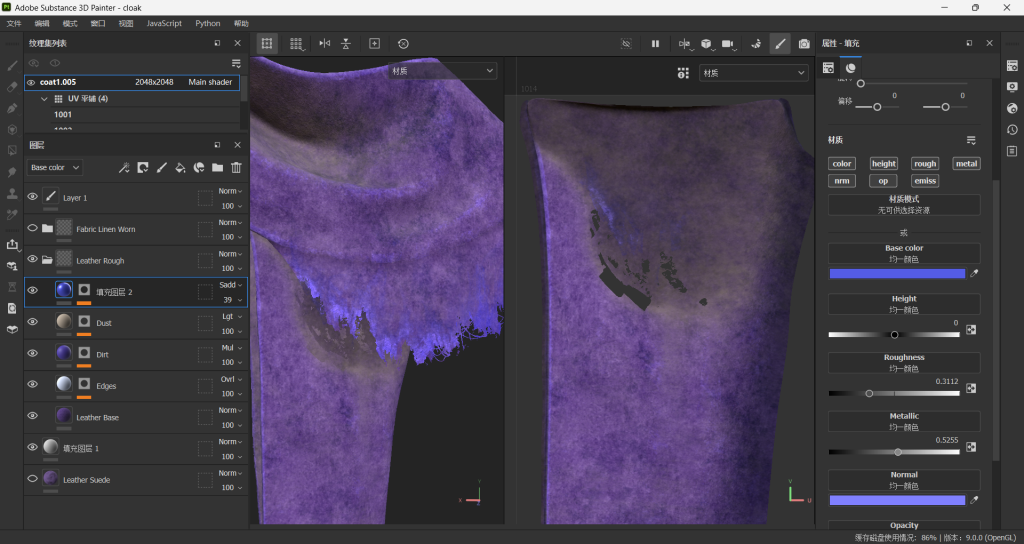
I try to make the torn clothing edges.

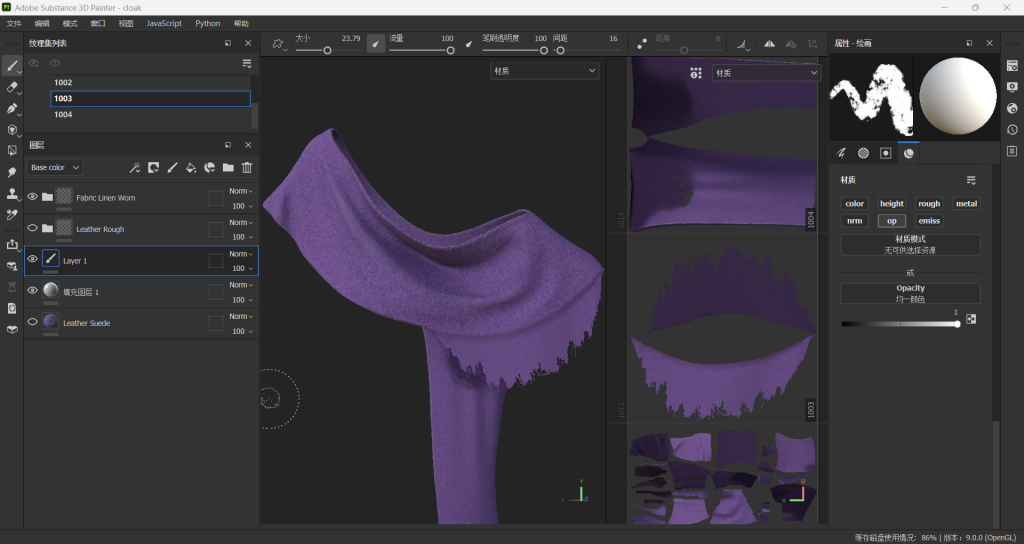
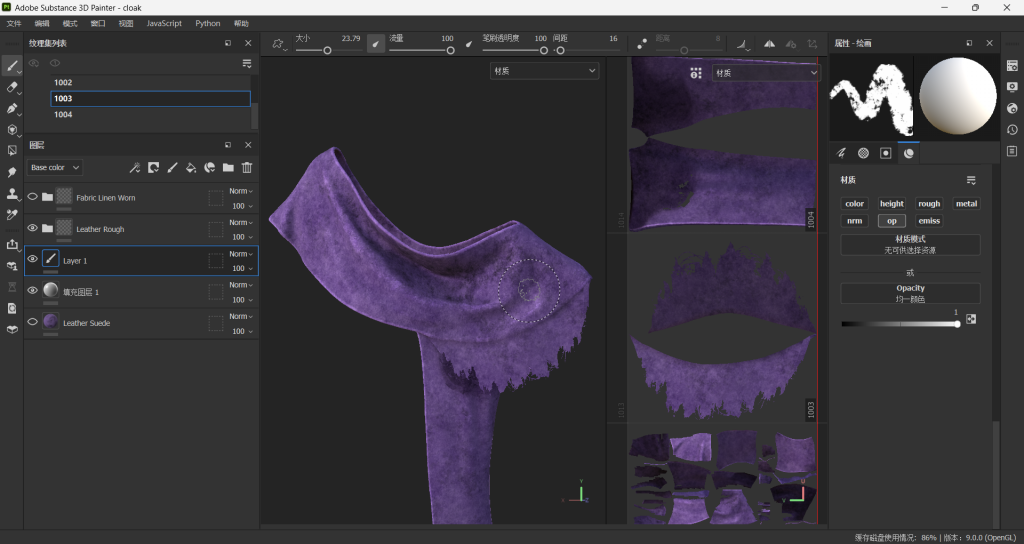
texture test
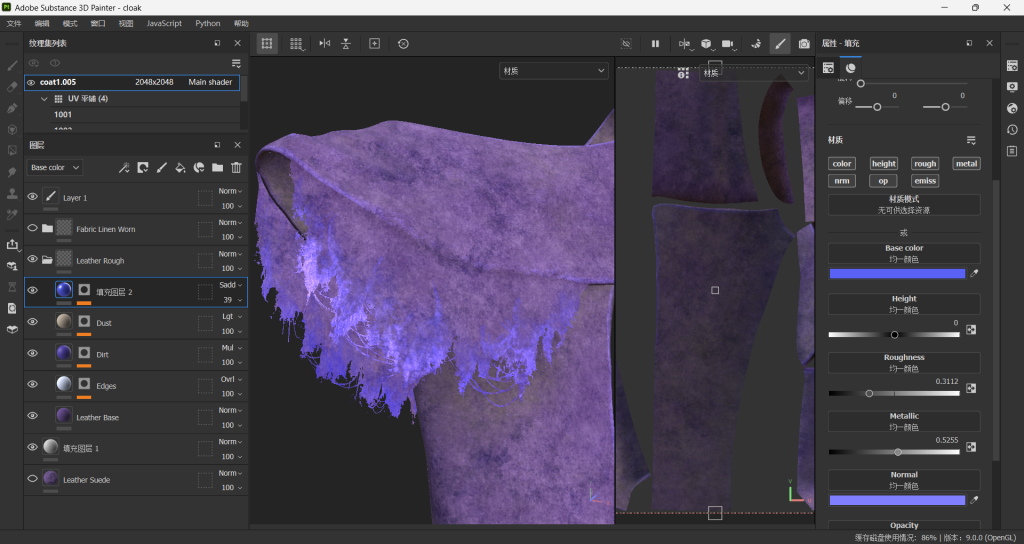
it cause holes on the uv shell when I paint the torn part, even if they are on different islands. So I decided to export one with alpha clip and one without, and use the one without holes to replace the udim that will be used.
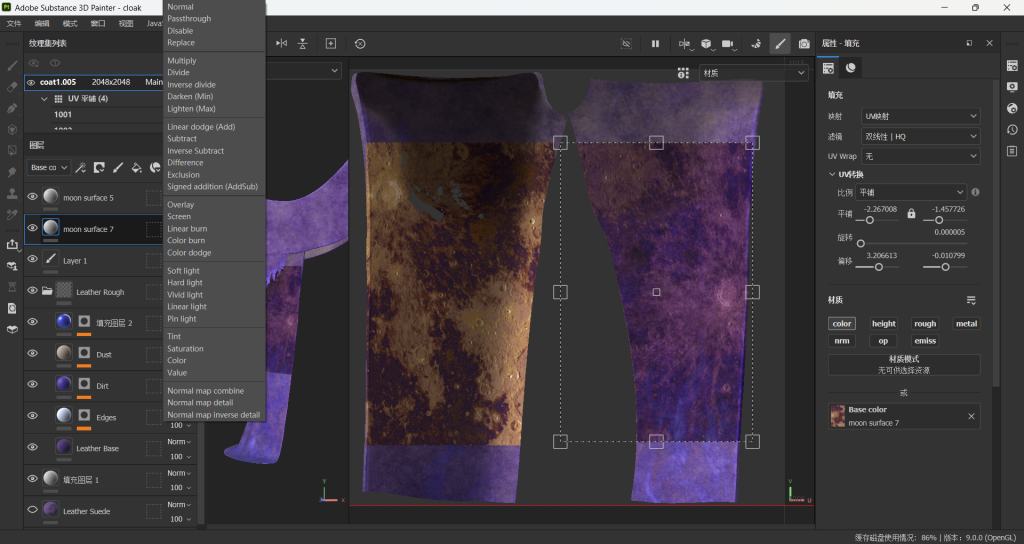
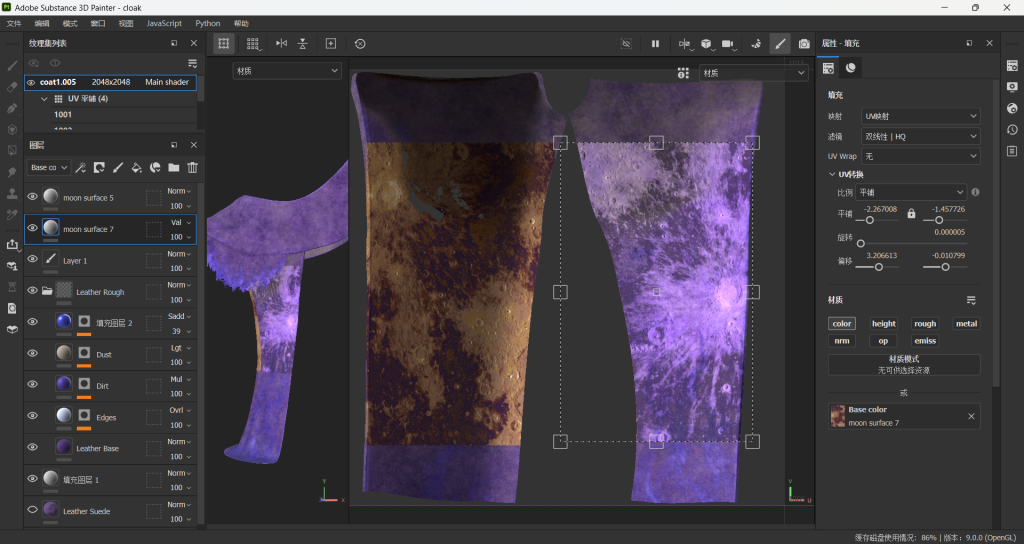
Test texture blend mode
first I use the color gradient to preprocess the moon surface texture, because original ones can’t blend well with the dress material.
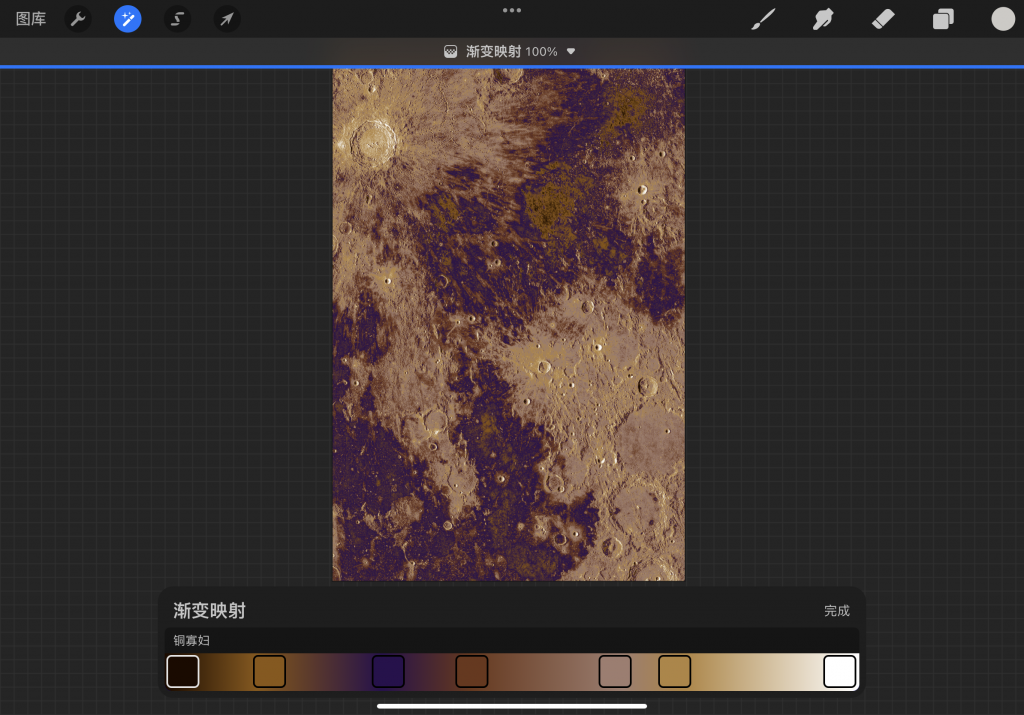
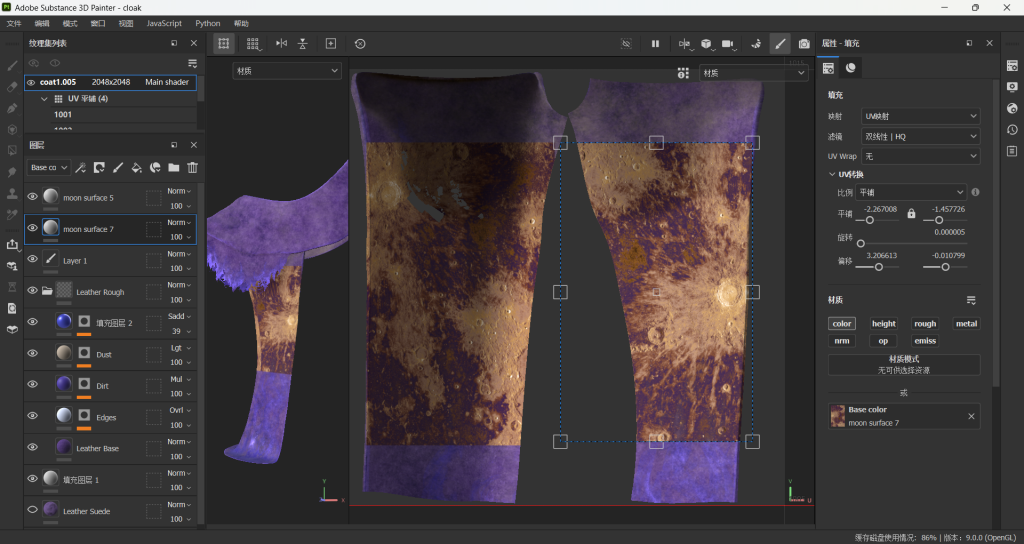
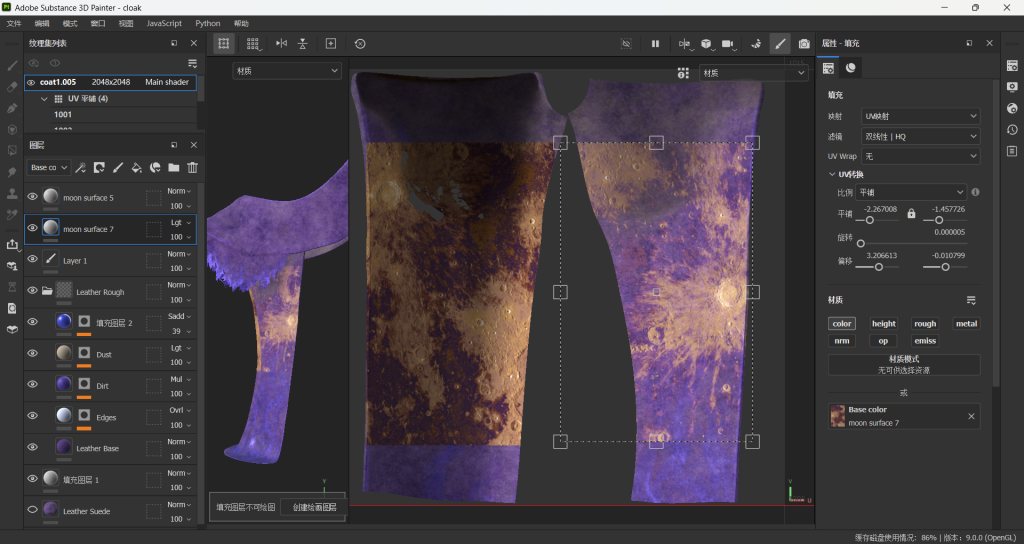
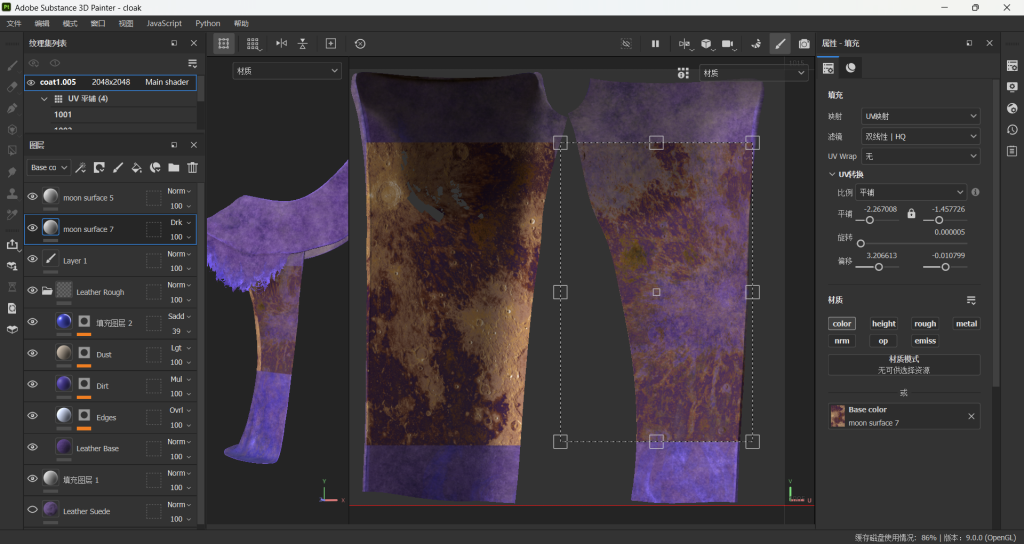

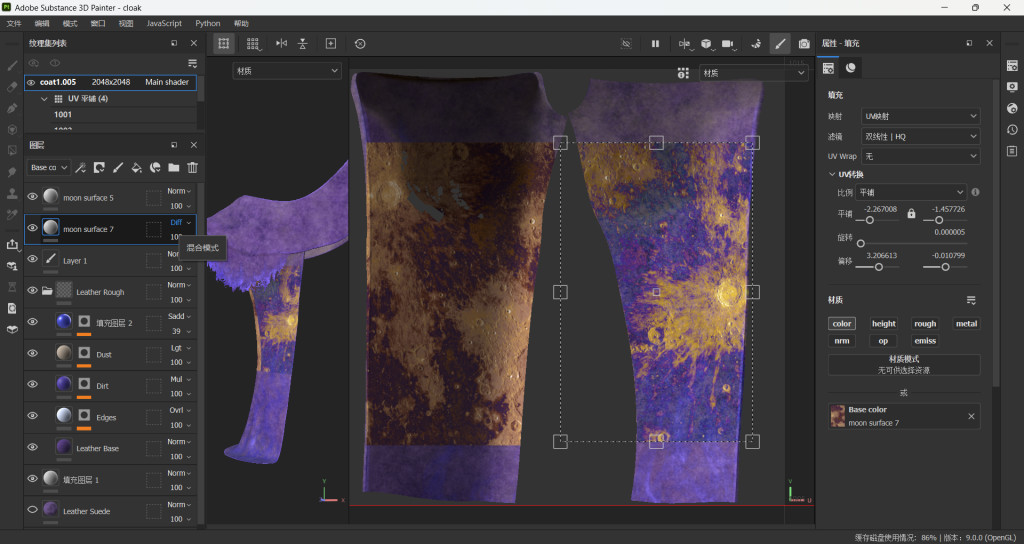
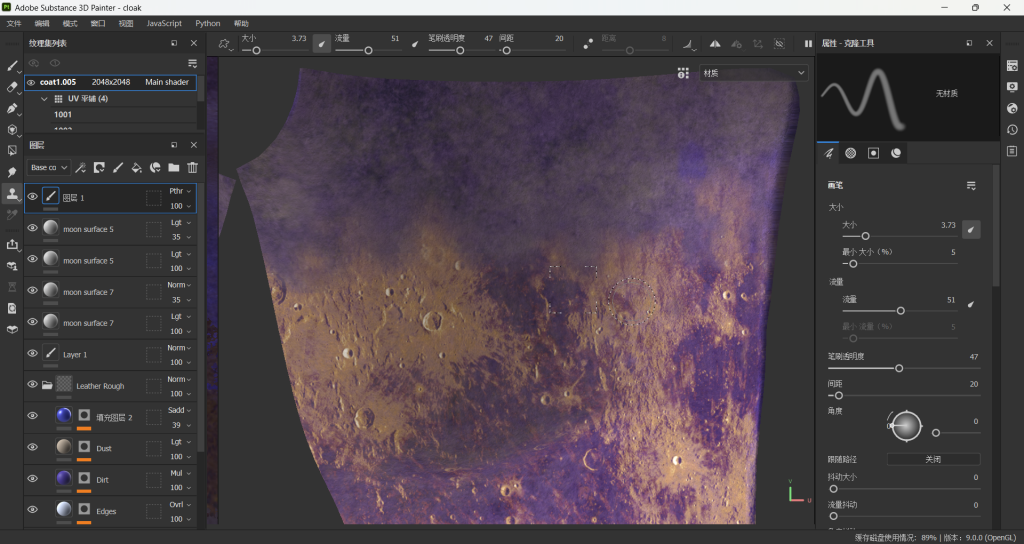
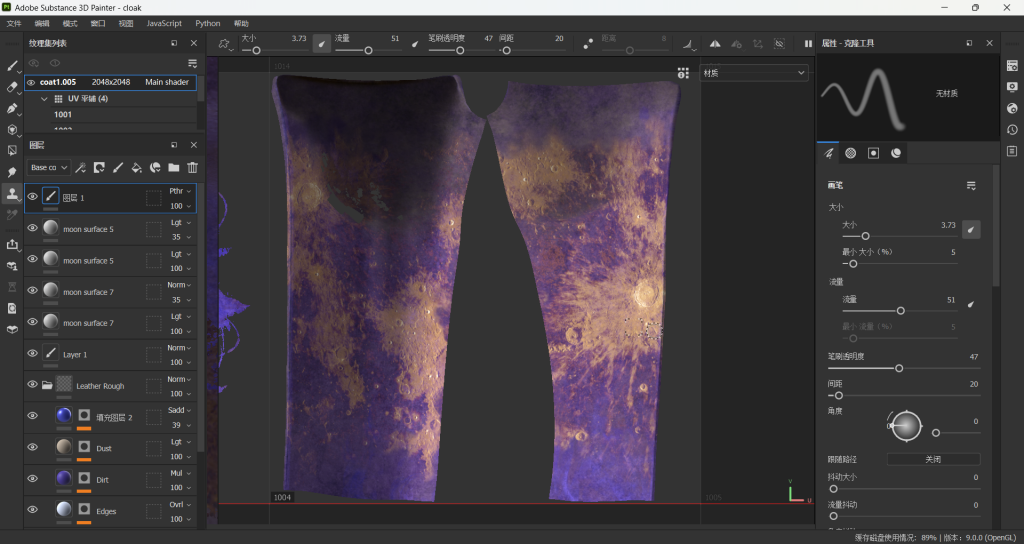
I choose using the lighten(max) mode eventually, and use a passthrough layer to process the edges.
Head Decorations’ texture
I found some Chinese ancient patterns from ZhanGuo Era, and use Photoshop to make them into PNG without background